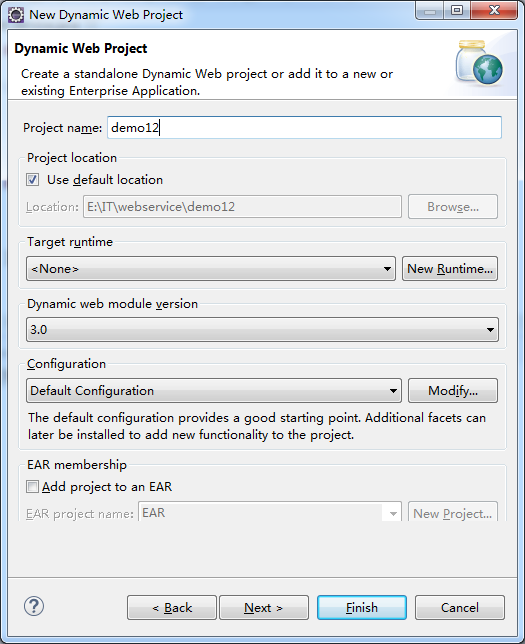
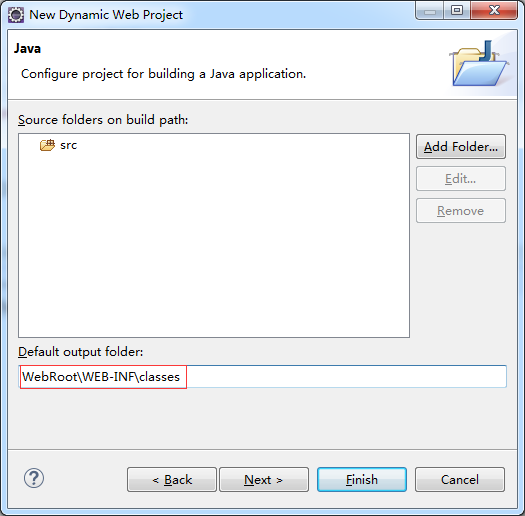
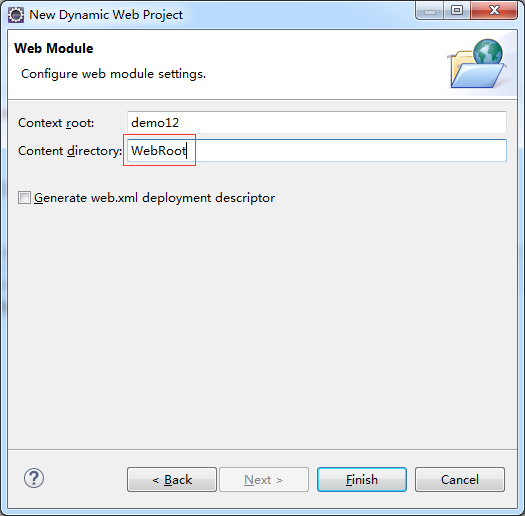
1、新建一个web项目

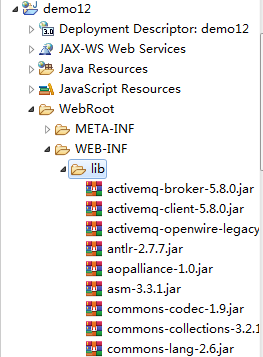
2、导入cxf相应的jar包,并部署到项目中
3、服务接口
 1 package com.xiaostudy;
 2
 3 /**
 4  * @desc 服务器接口
 5  * @author xiaostudy
 6  *
 7  */
 8 public interface Test_service {
 9
10     public String getNumber(String number);
11
12 }
4、服务接口实现类
 1 package com.xiaostudy;
 2
 3 import javax.jws.WebService;
 4 import javax.xml.ws.BindingType;
 5 import javax.xml.ws.soap.SOAPBinding;
 6
 7 /**
 8  * @desc 服务器接口实现类
 9  * @author xiaostudy
10  *
11  */
12 @WebService
13 @BindingType(SOAPBinding.SOAP12HTTP_BINDING)//SOAP1.2声明
14 public class Test_serviceImpl implements Test_service {
15
16     /**
17      * @desc 处理客户端的数据,并返回数据
18      * @param number 参数
19      * @return String 返回数据类型
20      */
21     @Override
22     public String getNumber(String number) {
23
24         System.out.println("我服务器端执行了。。。。");
25
26         return number+"_xiaostudy";
27     }
28
29 }
5、编写applicationContext.xml
 1 <?xml version="1.0" encoding="utf-8"?>
 2 <beans xmlns="http://www.springframework.org/schema/beans"
 3     xmlns:xsi="http://www.w3.org/2001/XMLSchema-instance" xmlns:jaxws="http://cxf.apache.org/jaxws"
 4     xmlns:jaxrs="http://cxf.apache.org/jaxrs" xmlns:cxf="http://cxf.apache.org/core"
 5     xsi:schemaLocation="http://www.springframework.org/schema/beans
 6                             http://www.springframework.org/schema/beans/spring-beans.xsd
 7                             http://cxf.apache.org/jaxrs http://cxf.apache.org/schemas/jaxrs.xsd
 8                             http://cxf.apache.org/jaxws http://cxf.apache.org/schemas/jaxws.xsd
 9                             http://cxf.apache.org/core http://cxf.apache.org/schemas/core.xsd">
10
11     <!-- <jaxws:server发布SOAP协议的服务 ,对JaxWsServerFactoryBean类封装-->
12     <jaxws:server address="/number" serviceClass="com.xiaostudy.Test_serviceImpl">
13         <jaxws:serviceBean>
14             <ref bean="test_serviceImpl"/>
15         </jaxws:serviceBean>
16         <!-- 配置拦截器 -->
17         <jaxws:inInterceptors>
18             <ref bean="inInterceptor"/>
19         </jaxws:inInterceptors>
20         <jaxws:outInterceptors>
21             <ref bean="outInterceptor"/>
22         </jaxws:outInterceptors>
23     </jaxws:server>
24
25     <!-- 配置服务实现类 -->
26     <bean name="test_serviceImpl" class="com.xiaostudy.Test_serviceImpl"/>
27     <!-- 配置拦截器的bean -->
28     <bean name="inInterceptor" class="org.apache.cxf.interceptor.LoggingInInterceptor"/>
29     <bean name="outInterceptor" class="org.apache.cxf.interceptor.LoggingOutInterceptor"/>
30 </beans>
6、编写web.xml
 1 <?xml version="1.0" encoding="UTF-8"?>
 2 <web-app xmlns:xsi="http://www.w3.org/2001/XMLSchema-instance"
 3          xmlns="http://java.sun.com/xml/ns/javaee"
 4          xsi:schemaLocation="http://java.sun.com/xml/ns/javaee http://java.sun.com/xml/ns/javaee/web-app_3_0.xsd" id="WebApp_ID" version="3.0">
 5
 6     <display-name>ws_2_cxf_spring_server</display-name>
 7
 8     <!-- 设置spring的环境 -->
 9     <context-param>
10         <!--contextConfigLocation是不能修改的  -->
11         <param-name>contextConfigLocation</param-name>
12         <param-value>classpath:applicationContext.xml</param-value>
13     </context-param>
14     <listener>
15         <listener-class>org.springframework.web.context.ContextLoaderListener</listener-class>
16     </listener>
17
18     <!-- 配置CXF的Servlet -->
19     <servlet>
20         <servlet-name>CXF</servlet-name>
21         <servlet-class>org.apache.cxf.transport.servlet.CXFServlet</servlet-class>
22     </servlet>
23     <servlet-mapping>
24         <servlet-name>CXF</servlet-name>
25         <url-pattern>/ws/*</url-pattern>
26     </servlet-mapping>
27
28     <welcome-file-list>
29         <welcome-file>index.html</welcome-file>
30         <welcome-file>index.htm</welcome-file>
31         <welcome-file>index.jsp</welcome-file>
32         <welcome-file>default.html</welcome-file>
33         <welcome-file>default.htm</welcome-file>
34         <welcome-file>default.jsp</welcome-file>
35     </welcome-file-list>
36 </web-app>
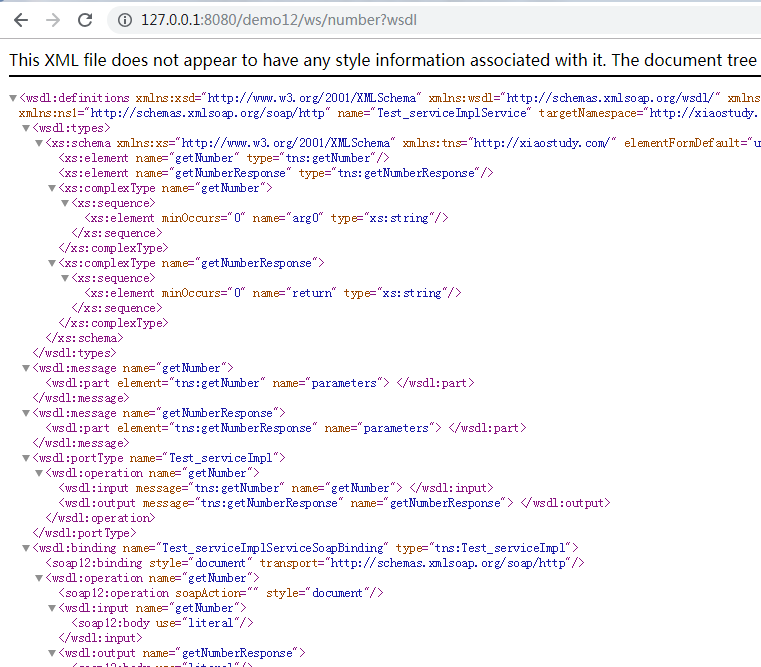
7、Tomcat服务开启