1.1.创建apps/outh模块进行oauth认证
cd syl/apps
python ../manage.py startapp oauth #切换到apps文件夹下执行创建命令
1.2. 添加子路由,oauth/urls.py
from django.urls import path
from .import views
urlpatterns = [
]
1.3 在syl/settings.py 中添加应用
INSTALLED_APPS = [ 'oauth.apps.OauthConfig', ]
1.4 在syl/urls.py 主路由中添加
urlpatterns = [ path('oauth/', include('oauth.urls')), ]
2 生成微博授权url接口
2.1 添加子路由: oauth/urls.py
urlpatterns=[
path('weibo/', views.WeiboUrl.as_view()), # /oauth/weibo/ 返回微博登录地址
]
2.2 syl/settings.py 中配微博地址
2.2视图函数 oauth/views.py


from rest_framework.permissions import AllowAny
from rest_framework.response import Response
from rest_framework.views import APIView
from urllib.parse import urlencode


# 生成前端跳转到微博扫码页面的url
class WeiboUrl(APIView):
    '''
    生成微博的登陆页面路由地址
    https://api.weibo.com/oauth2/authorize? # 微博oauth认证地址
    client_id=4152203033&  # 注册开发者id
    response_type=code&
    redirect_uri=http://127.0.0.1:8888/oauth/callback/
    # 获取code后将code回 调给后端地址   '''

    # 自定义权限类
    permission_classes = (AllowAny,)


    def post(self, request):

        url = 'https://api.weibo.com/oauth2/authorize?' # 微博授权的 url地址
        data = { 'client_id': '1451537590',  # WEIBO_APP_KEY,
        'response_type': 'code',
        'redirect_uri': 'http://127.0.0.1:8888/oauth/callback/', # VUE的回 调,微博后台授权的回调地址
        }
        weibo_url = url + urlencode(data)
        # https://api.weibo.com/oauth2/authorize? client_id=4152203033&response_type=code&redirect_uri=http://127.0.0.1:8000/api/we ibo_back/
        # return Response({'weibo_url': weibo_url})
        return Response({'code': '0', 'msg': '成功', 'data': {'url': weibo_url}})
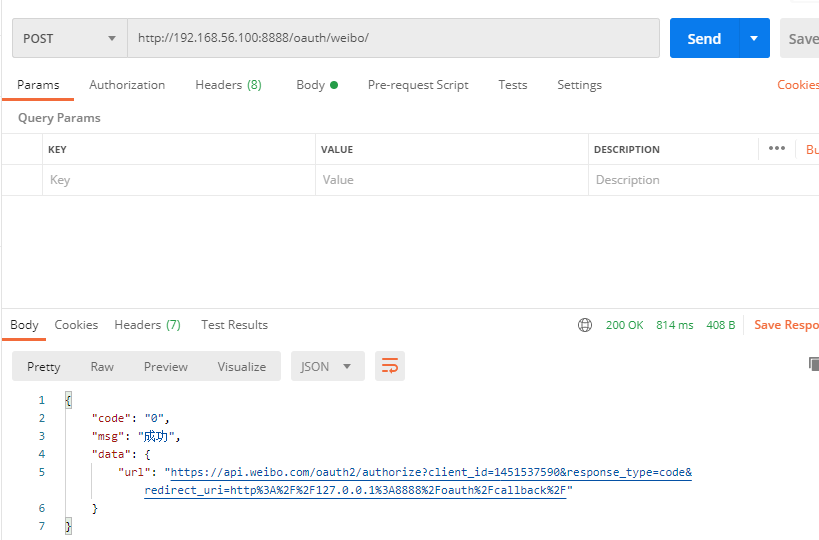
3.测试生成微博售前URL接口
测试接口获取新浪微博地址
http://192.168.56.100:8888/oauth/weibo/
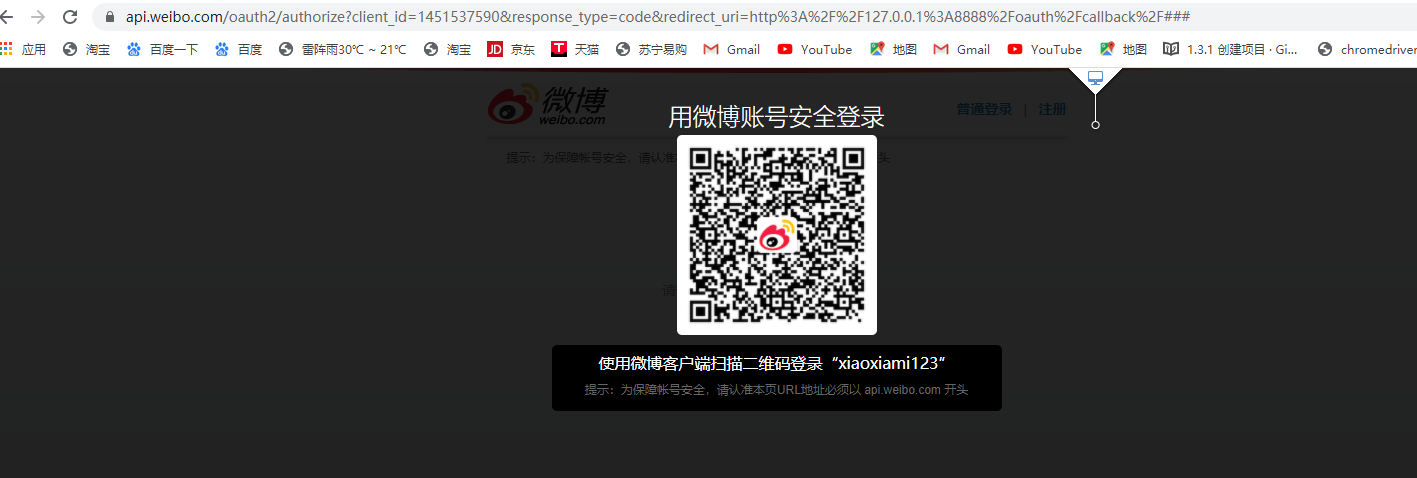
在浏览器访问返回地址即可回到新浪扫码界面
https://api.weibo.com/oauth2/authorize?client_id=1451537590&response_type=code&redirect_uri=http%3A%2F%2F127.0.0.1%3A8888%2Foauth%2Fcallback%2F