参考http://www.rabbitmq.com/tutorials/tutorial-one-java.html,我们直接上代码,由于我们的RabbitMQ服务是安装在虚拟机上的,具体参考上一节。所以我们的代码中间和官网会不同,但是本博主的代码均跑过,能够正常运行。
一、首先我们需要一个java的工程进去写代码,这里为了方便,我们之间通过https://start.spring.io/初始化网站创建一个springboot的maven项目。具体操作不在赘述。
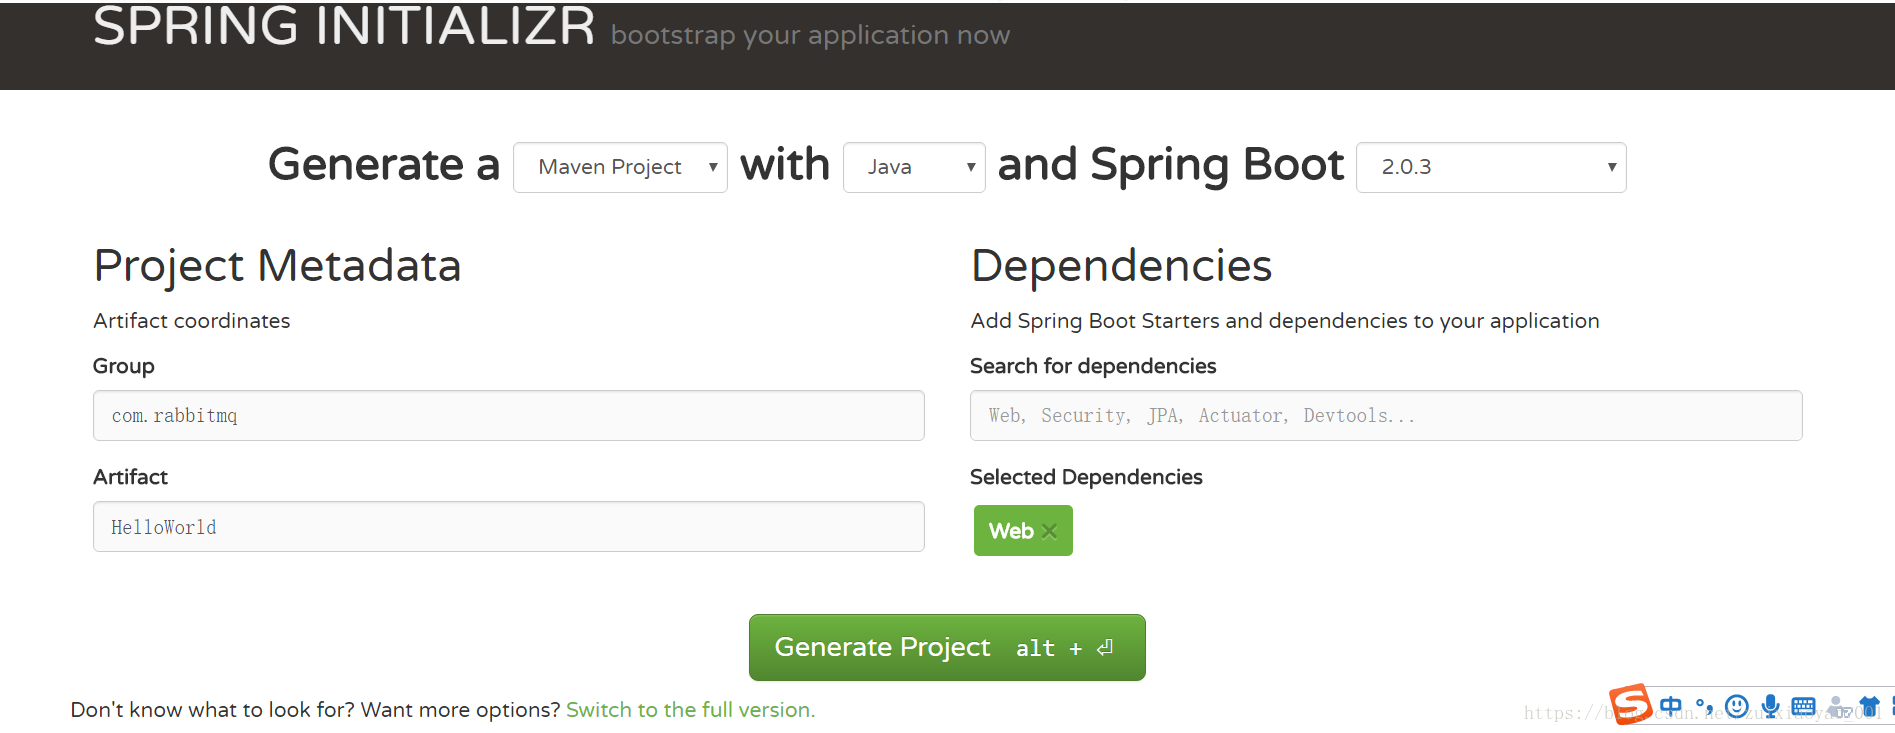
生成的项目导入到eclipse。
二、在pom.xml文件中加入rabbitmq java 客户端的依赖。
		<!-- https://mvnrepository.com/artifact/com.rabbitmq/amqp-client -->
		<dependency>
		    <groupId>com.rabbitmq</groupId>
		    <artifactId>amqp-client</artifactId>
		    <version>5.0.0</version>
		</dependency>
三、创建相关的类,生产者(发送者)代码如下:
package com.rabbitmq.HelloWorld;

import java.io.IOException;
import java.util.concurrent.TimeoutException;

import com.rabbitmq.client.Channel;
import com.rabbitmq.client.Connection;
import com.rabbitmq.client.ConnectionFactory;

public class ProductHelloWorld {

	private final static String QUEUE_NAME ="hello";

	public static void main(String[] args) throws IOException, TimeoutException {
		// TODO Auto-generated method stub
//		创建连接工厂
		ConnectionFactory factory = new ConnectionFactory();
//		设置服务器主机,安装的rabbitmq-server的服务器主机
		factory.setHost("192.168.10.185");
//		默认端口是5672,尽管本人登陆RabbitMQ的端口是15672
		factory.setPort(5672);
		factory.setUsername("admin");
		factory.setPassword("123456");
//		创建连接
		Connection connection = factory.newConnection();
//		创建信道,这是大多数完成任务的API所在的位置。
		Channel channel = connection.createChannel();
//		声明队列,参数(队列名,)声明队列是幂等的——它只会在它不存在的情况下被创建。
		channel.queueDeclare(QUEUE_NAME, false, false, false, null);
//		定义消息内容
		String message = "Hello World!";
//		发布消息
		channel.basicPublish("", QUEUE_NAME, null,message.getBytes());
		System.out.println("[product] sent:'"+message+"'");
//		关闭信道
		channel.close();
//		关闭连接
		connection.close();

	}

}
消费者(接收者)代码如下:
package com.rabbitmq.HelloWorld;

import java.io.IOException;
import java.util.concurrent.TimeoutException;

import com.rabbitmq.client.Channel;
import com.rabbitmq.client.Connection;
import com.rabbitmq.client.ConnectionFactory;
import com.rabbitmq.client.Consumer;
import com.rabbitmq.client.DefaultConsumer;
import com.rabbitmq.client.Envelope;
import com.rabbitmq.client.AMQP.BasicProperties;

public class ConsumerHelloWorld {

	private final static String QUEUE_NAME = "hello";

	public static void main(String[] args) throws IOException, TimeoutException {
		// TODO Auto-generated method stub
//		创建连接工厂
		ConnectionFactory factory = new ConnectionFactory();
//		设置连接rabbitmq的主机地址
		factory.setHost("192.168.10.185");
//		默认端口是5672,尽管本人登陆RabbitMQ的端口是15672
		factory.setPort(5672);
		factory.setUsername("admin");
		factory.setPassword("123456");
//		创建连接
		Connection connection = factory.newConnection();
//		创建信道
		Channel channel = connection.createChannel();
//		声明队列
		channel.queueDeclare(QUEUE_NAME, false, false, false, null);
		System.out.println(" [*] Waiting for messages. To exit press CTRL+C");
//		以对象的形式提供回调,该对象将缓冲消息,直到我们准备好使用它们为止。这就是DefaultConsumer子类所做的事情。
		Consumer consumer = new DefaultConsumer(channel){
			@Override
			public void handleDelivery(String consumerTag, Envelope envelope,
					BasicProperties properties, byte[] body) throws IOException {
				// TODO Auto-generated method stub
				String message = new String(body,"utf-8");
				System.out.println("[消费者]接收:'"+message+"'");
			}
		};
//		消费
		channel.basicConsume(QUEUE_NAME, true, consumer);

	}

}
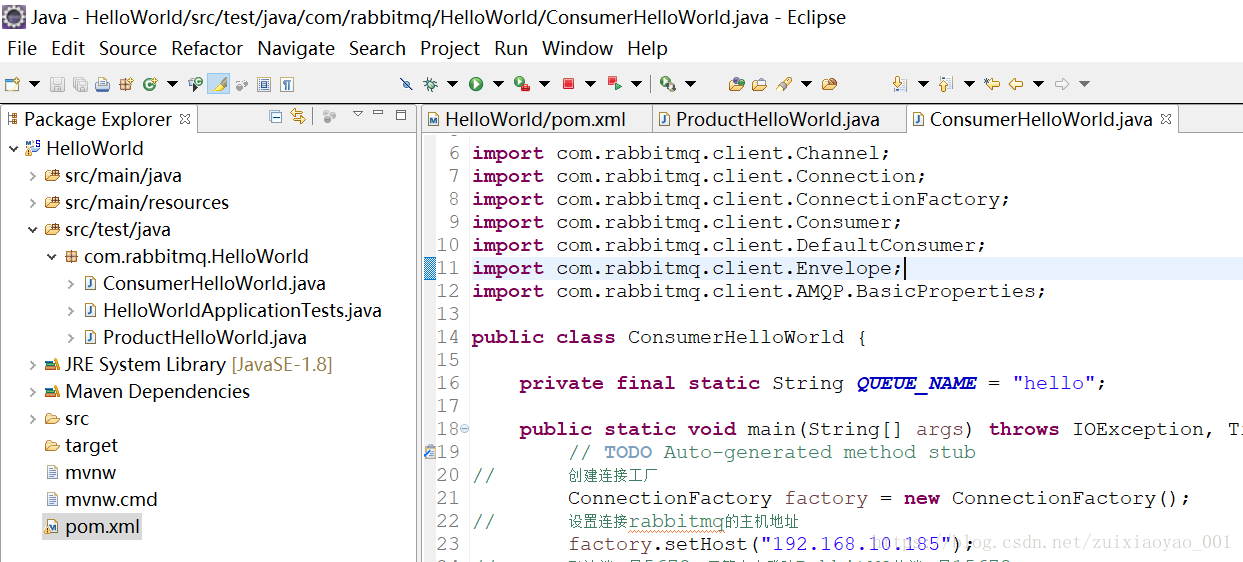
整个springboot代码结构如下,我们只是运用了两个类而已。
四、运行测试
运行结果如下:
生产者

消费者

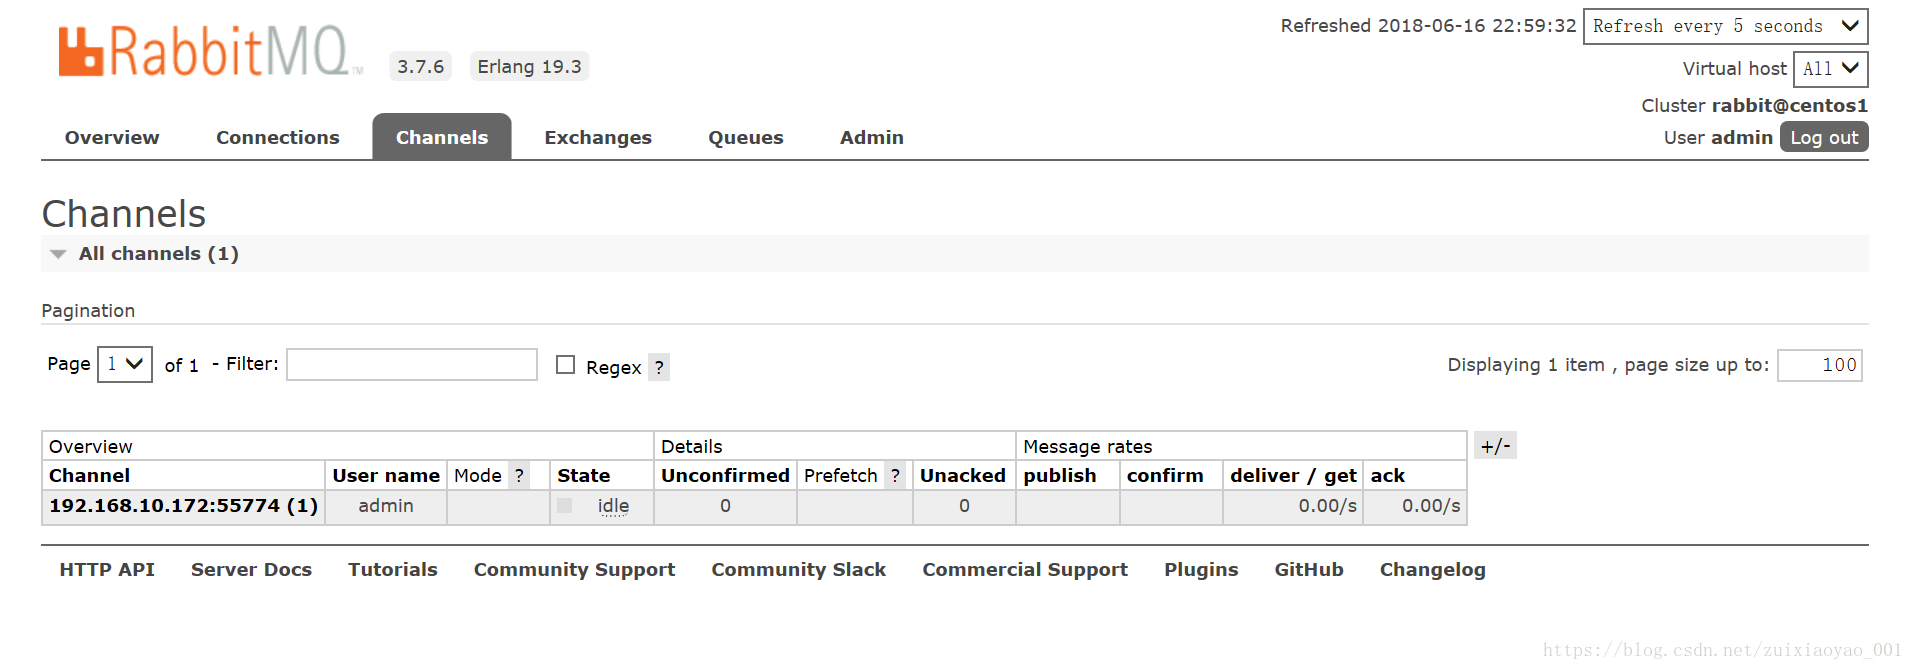
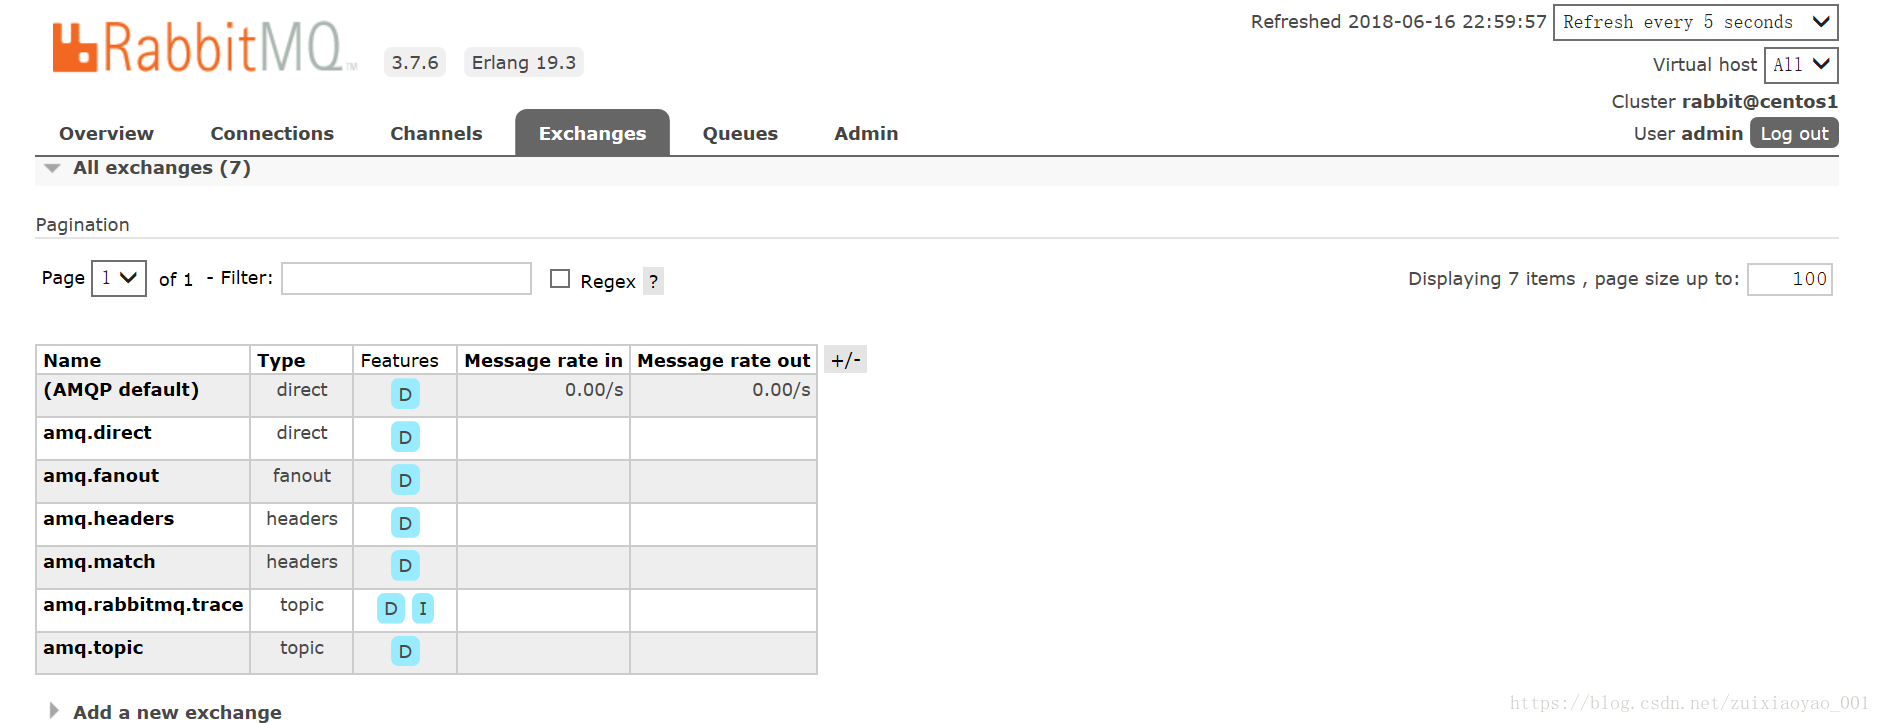
五、查看RabbitMQ管理器
我们在对应RabbitMQ管理器上看一下,有变化发生:

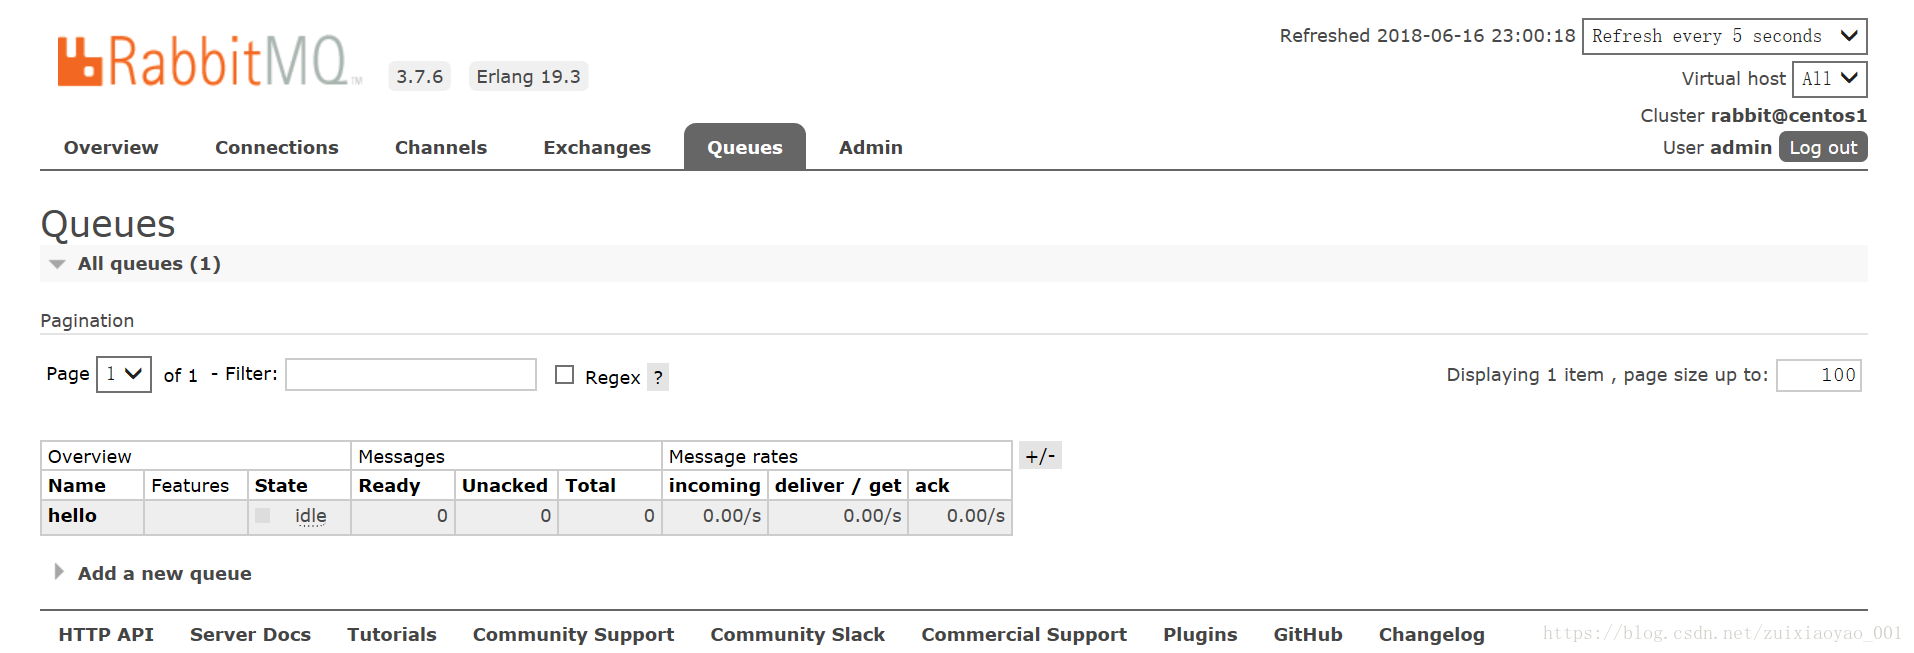
Hello World 完成。