1.安装Python
从https://www.python.org/ftp/python/3.9.1/python-3.9.1-amd64.exe 下载,然后以管理员的方式安装
安装完用 py --version 检查是否安装成功,如果能出现版本号就说明安装成功了。
2.安装虚拟环境
因为Python的版本会一直在更新,那么如果不做虚拟环境,就会受到版本的冲突
py -m venv py39(环境名称) 环境名称建议用Python版本号
py39Scriptsactivate.bat 激活虚拟环境,然后是这样的:

在路径的前端有个环境名称加括号。
在该环境下安装的内容,就是用pip 执行的 是不会影响到别的地方的。
释放环境用
py39Scriptsdeactivate.bat 释放虚拟环境
3.安装Django
在虚拟环境中安装 pip install Django
安装后用 py manage.py --help 进行检查
4.创建网站
py scriptsdjango-admin.py startproject mysite1
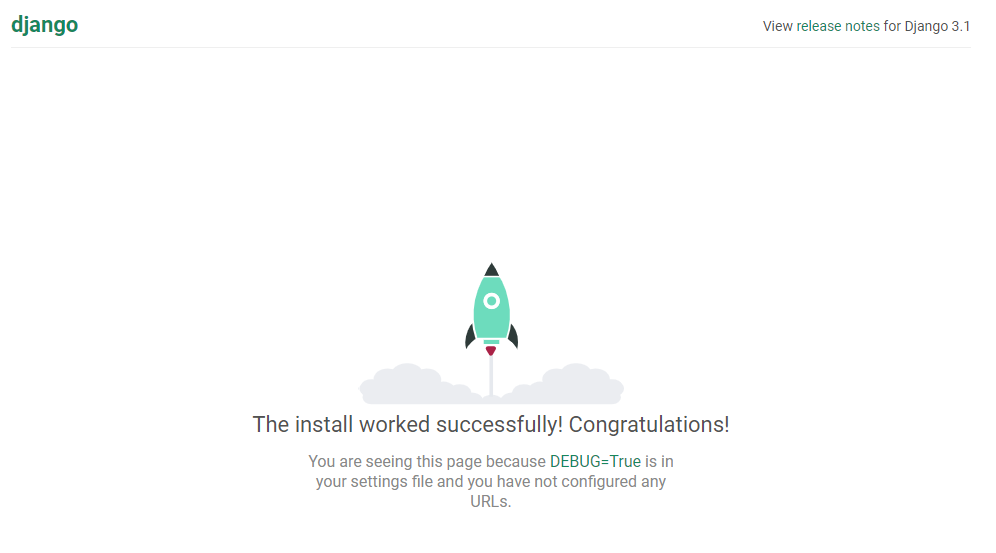
5.运行网站
py manage.py runserver
可以自己定义ip和端口,如下:
python manage.py runserver 0.0.0.0:8000
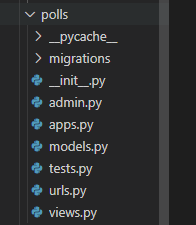
6.新增应用
py manage.py startapp polls
把应用的配置添加到总的配置中

7.新增模型
polls/models.py的代码:
 1 from django.db import models
 2
 3 # Create your models here.
 4 from django.db import models
 5
 6 class Question(models.Model):
 7     question_text=models.CharField(max_length=200)
 8     pub_date = models.DateTimeField('date published')
 9
10
11 class Choice(models.Model):
12     question =models.ForeignKey(Question,on_delete=models.CASCADE)
13     choice_text = models.CharField(max_length=200)
14     votes = models.IntegerField(default=0)
8.数据库的应用
py manage.py migrate
先完成总站的数据库表同步
添加应用后
py manage.py makemigrations polls 生成模型

py manage.py migrate 同步到数据库
数据库的操作:
修改模型后要先执行 py manage.py makemigrations xxxx
然后同步 py manage.py migrate
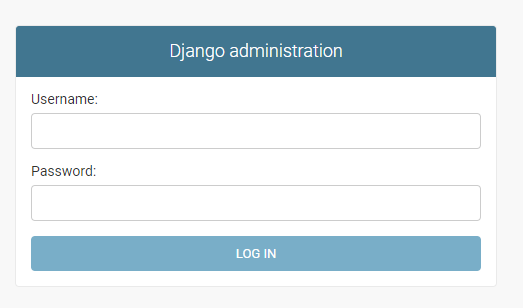
9.添加管理员
py manage.py createsuperuser

地址栏输入:http://localhost:8000/admin/
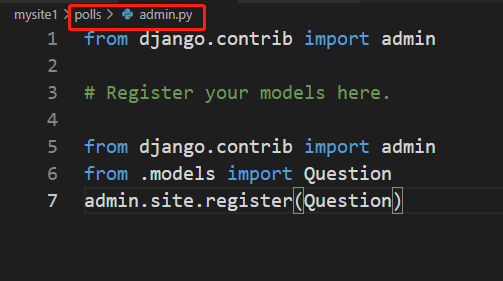
10.把应用管理加入管理平台
修改应用admin.py,代码如下:
刷新后台管理,如下:
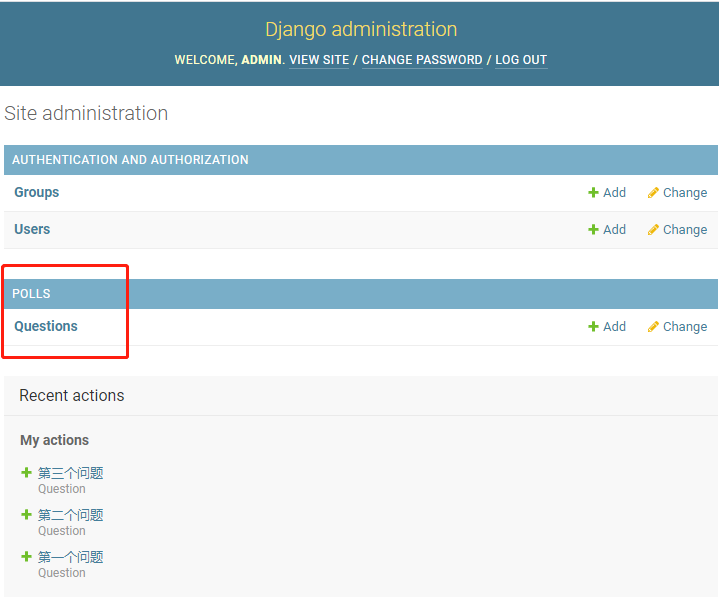
可以对应用中的对象进行增删改查操作。
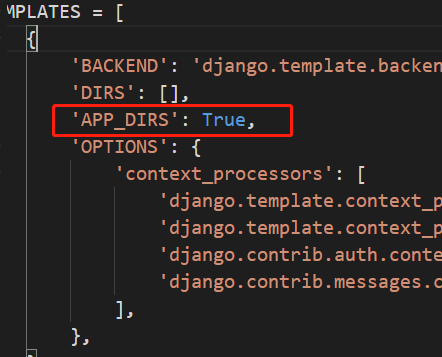
11.模板的使用

确保settings.py中有
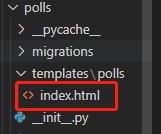
然后在应用中创建templatespolls的目录
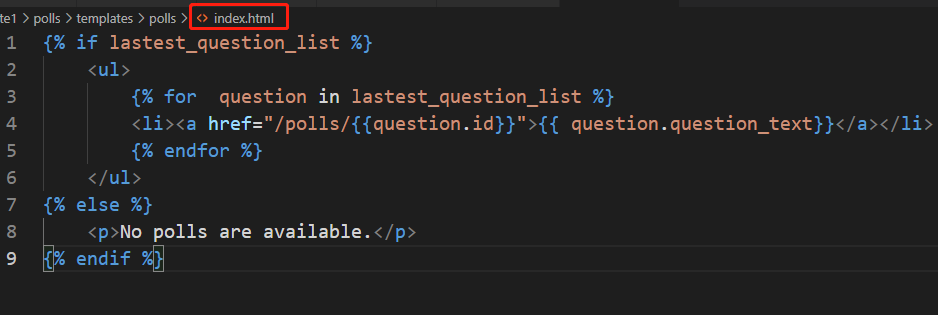
再创建index.html,如下:
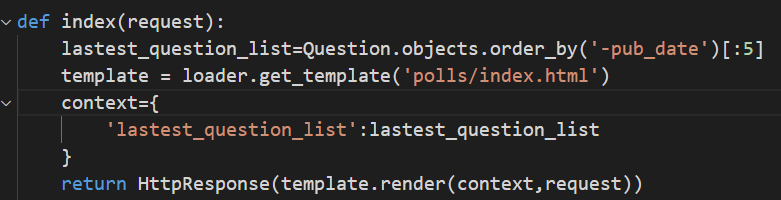
修改关于首页的views.py中的index的代码:
修改index.html
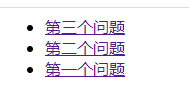
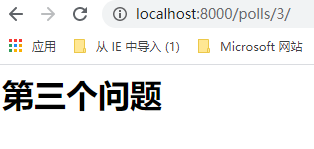
运行结果如下:
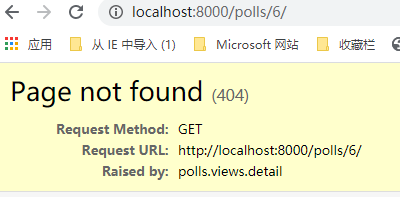
12.引入404错误
修改views.py中的detail的代码,如下:

在templatespolls的目录下新增detail.html,代码如下:
<h1>{{ question.question_text }}</h1>
<ul>
{% for choice in question.choice_set.all %}
    <li>{{ choice.choice_text }}</li>
{% endfor %}
</ul>
输入不存在的就会显示如下:
13.写个提交文档
把detail.html改成可以提交的文档:
<h1>{{ question.question_text }}</h1>

{% if error_message %}<p><strong>{{ error_message }}</strong></p>{% endif %}

<form action="{% url 'polls:vote' question.id %}" method="post">
{% csrf_token %}
{% for choice in question.choice_set.all %}
    <input type="radio" name="choice" id="choice{{ forloop.counter }}" value="{{ choice.id }}">
    <label for="choice{{ forloop.counter }}">{{ choice.choice_text }}</label><br>
{% endfor %}
<input type="submit" value="Vote">
</form>

刷新界面,如下:
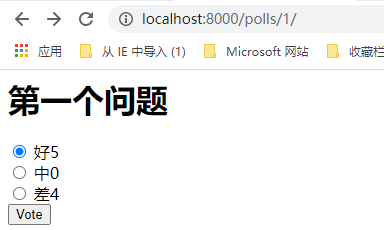
如果界面中的选择项没有值,请在管理员后台添加
把视图views.py中的vote改成:
def vote(request,question_id):

    question =get_object_or_404(Question,pk=question_id)
    choice_id=request.POST['choice']
    print('choice_id',choice_id)
    try:
        selected_choice =question.choice_set.get(pk=choice_id)
    except(KeyError,Choice.DoesNotExist):
        return render(request,'polls/detail.html',{
'question':question,
'error_message':"You didn't select a choice."
        })
    else:
        selected_choice.votes +=1
        selected_choice.save()
        return HttpResponseRedirect(reverse('polls:results',args=(question_id,))) 这个逗号非常重要
14.修改结果界面:
修改views.py中的result
def results(request,question_id):
    question = get_object_or_404(Question,pk=question_id)
    return render(request,'polls/results.html',{'question':question})
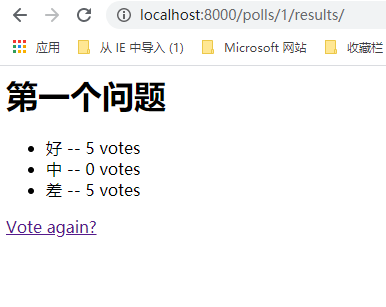
在templatespolls目录下新增result.html,代码如下:
<h1>{{ question.question_text }}</h1>

<ul>
{% for choice in question.choice_set.all %}
    <li>{{ choice.choice_text }} -- {{ choice.votes }} vote{{ choice.votes|pluralize }}</li>
{% endfor %}
</ul>

<a href="{% url 'polls:detail' question.id %}">Vote again?</a>
刷新结果界面,如下:
15.视图升级,引进通用模板
from django.views import generic

class IndexView(generic.ListView):
    template_name='polls/index.html'
    context_object_name='lastest_question_list'

    def get_queryset(self):
        return Question.objects.order_by('-pub_date')[:5]

class DetailView(generic.DetailView):
    model= Question
    template_name='polls/detail.html'

class ResultsView(generic.DetailView):
    model=Question
    template_name='polls/results.html'
修改对应的路由:
urlpatterns = [
    path('', views.IndexView.as_view(), name='index'),
    path('<int:pk>/',views.DetailView.as_view(),name='detail'),
    path('<int:pk>/results/',views.ResultsView.as_view(),name='results'),
    path('<int:question_id>/vote/',views.vote,name='vote'),
]
16.添加测试功能
在tests.py中添加如下代码:
from django.test import TestCase

# Create your tests here.
import datetime

from django.test import TestCase
from django.utils import timezone

from .models import Question

class QuestionModelTests(TestCase):
    def test_was_published_recently_with_future_question(self):
        time = timezone.now()+datetime.timedelta(days=30)
        future_question =Question(pub_date=time)
        self.assertIs(future_question.was_published_recently(),False)
用py manage.py test polls 进行测试
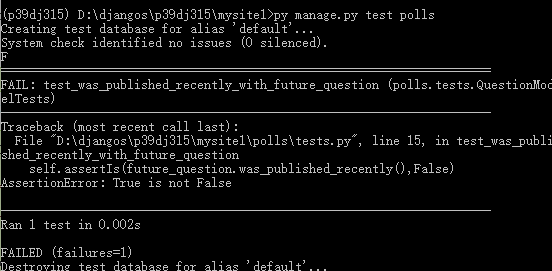
这个是测试结果。是错误的。修改models.py的Question的 was_published_recently的方法:
class Question(models.Model):
    question_text=models.CharField(max_length=200)
    pub_date = models.DateTimeField('date published')
    def __str__(self):
        return self.question_text
    def was_published_recently(self):
        now = timezone.now()
        return now-datetime.timedelta(days=1)<=self.pub_date<=now
再测试就OK了
