1 安装Dapr开发调试环境
1.1 Dapr 完整安装模式不支持开发调试
在上一篇随笔《Blazor+Dapr+K8s微服务之服务调用》中,我们通过为每个微服务运行dapr run ….dotnet run命令,以自宿主的方式在本地开发环境成功运行了服务调用的例子。
但是,这种运行方式是不支持调试的,我们无法在程序中进行断点。这就很不实用了!
搜索一番,找到这么一篇文章:Simple approach to run and debug multiple .NET Dapr projects (w/o Docker) - DEV Community,根据文章,我们可以不依赖Docker,就可以对我们的Dapr微服务本地进行调试。
其主要原理是:通过Dapr简易安装的Daprd命令,以自宿主方式先启动每个微服务的Dapr SideCar, 指定这些SideCar 监听的每个微服务的Http端口,然后,我们就可以在VS中按照监听端口启动每个微服务,这样我们的微服务就能够和Dapr的SideCar实现通信,从而实现服务调用,状态存储的功能。
1.2 修改Dapr完整安装模式为简易模式
我们需要先卸载我们已经安装好的完整模式,命令如下:
Dapr uninstall
然后安装简易模式,命令如下:
dapr init --slim
2 通用Dapr开发调试脚本
我对文章中作者的脚本做了简化处理,实现了一个”通用Dapr 微服务开发调试文件夹”,以方便我们可以利用这个文件夹对任何Dapr微服务进行调试。该文件夹结构如下:
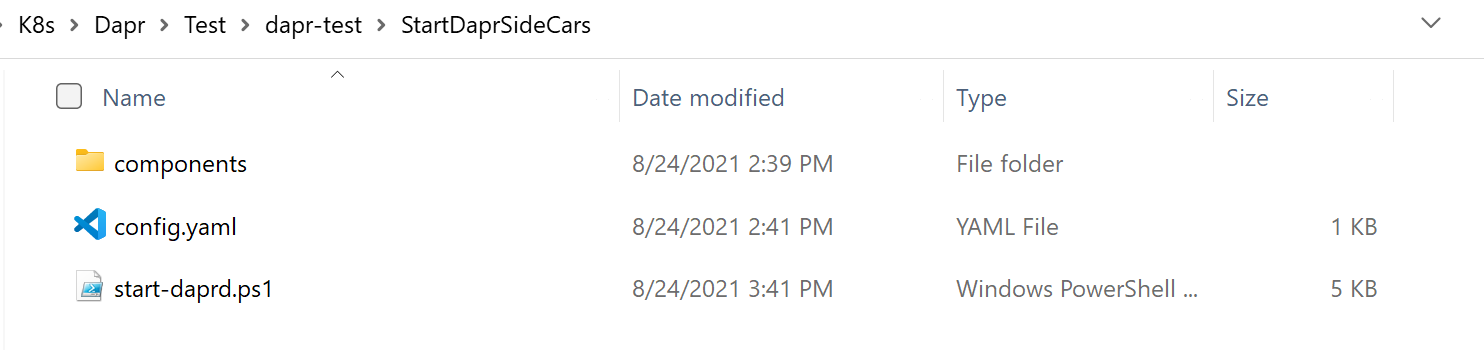
2.1 微服务Dapr SideCar启动脚本。
其中start-daprd.ps1为启动每个微服务SideCar的PowerShell脚本,内容如下:
# pre-requisites:
# - initialized with: dapr init --slim
#   so that redis is running as container and placement service is started on demand

# --------------------------------------------------------------------------------
# projects
# - appId       = needs to be Dapr id commonly used to address service

$configProjects = @(
    @{
        appId       = "blazorweb"
    }
    @{
        appId       = "serviceapi1"
    }
)

# --------------------------------------------------------------------------------
# INIT

$ErrorActionPreference = "Stop"

# stop and remove previous jobs
$jobNamePattern = $configProjects | Join-String -Property appId -Separator "|" -OutputPrefix "(placement|" -OutputSuffix ")"
Get-Job | ? { $_.Name -match $jobNamePattern } | Stop-Job -PassThru | Remove-Job

# --------------------------------------------------------------------------------
# MAIN

$jobs = @()

# start placement service/job
$DAPR_PLACEMENT_PORT = 6050
$jobName = "placement"
Start-Job -Name $jobName -ScriptBlock {
    param( $port )

    placement --port $port

} -Argument $DAPR_PLACEMENT_PORT

Write-Host "started" $jobName "in background, listening port:"$DAPR_PLACEMENT_PORT
"-" * 80
$jobs += $jobName

# start jobs for app and dapr sidecar
$DAPR_HTTP_PORT = 3500
$DAPR_GRPC_PORT = 50001
$METRICS_PORT = 9091
$APP_PORT = 5000

foreach ($configProject in $configProjects) {

    $jobName = $configProject.appId + "-daprd"
    $componentsPath = "components/"
    $configFile = "config.yaml"

    Start-Job -Name $jobName -ScriptBlock {
        param( $appId, $appPort, $DAPR_HTTP_PORT, $DAPR_GRPC_PORT, $DAPR_PLACEMENT_PORT, $METRICS_PORT, $componentsPath, $configFile)

        daprd --app-id $appId  `
            --app-port $appPort `
            --placement-host-address $("localhost:" + $DAPR_PLACEMENT_PORT) `
            --log-level debug `
            --components-path $componentsPath `
            --config $configFile `
            --dapr-http-port $DAPR_HTTP_PORT `
            --dapr-grpc-port $DAPR_GRPC_PORT `
            --metrics-port $METRICS_PORT

    } -Argument $configProject.appId, $APP_PORT, $DAPR_HTTP_PORT, $DAPR_GRPC_PORT, $DAPR_PLACEMENT_PORT, $METRICS_PORT, $componentsPath, $configFile
    Write-Host "started "$jobName" in background, DAPR_HTTP_PORT: "$DAPR_HTTP_PORT "DAPR_GRPC_PORT:"$DAPR_GRPC_PORT "METRICS_PORT:"$METRICS_PORT
    Write-Host "expecting "$configProject.appId" to be started on listening port:"$APP_PORT
    "-" * 80
    $jobs += $jobName

    $DAPR_HTTP_PORT += 10
    $DAPR_GRPC_PORT += 10
    $APP_PORT += 10
    $METRICS_PORT += 1
}


# handle menu

$running = $true

while ($running) {
    Write-Host "s: job status"
    Write-Host "e: check all logs for errors"
    Write-Host "q: stop jobs and quit"
    $jobId = 0
    foreach ($job in $jobs) {
        Write-Host $($jobId.ToString() + ": show log of " + $job)
        $jobId += 1
    }

    $option = Read-Host "Enter option"

    switch ($option.ToUpper()) {
        "S" {
            Get-Job | ? { $_.Name -match $jobNamePattern } | Format-Table Name, State
        }
        "E" {
            foreach ($job in $jobs) {
                $errors = $null
                if ($job -match "-app$") {
                    $errors = (Receive-Job -Name $job -Keep) -match "(error|fail):"
                }
                else {
                    $errors = (Receive-Job -Name $job -Keep) -match "level=error"
                }
                if ($errors) {
                    "-" * 80
                    Write-Host "ERROR IN JOB:" $job -ForegroundColor Red
                    $errors
                }
            }
        }
        "Q" {
            Get-Job | ? { $_.Name -match $jobNamePattern } | Stop-Job -PassThru | Remove-Job
            $running = $false
        }
        default {
            if ([int32]::TryParse($option , [ref]$jobId )) {
                if ($jobId -ge 0 -and $jobId -lt $jobs.Count) {
                    Receive-Job -Name $jobs[$jobId] -Keep | code -
                }
            }
        }
    }
}
对于每个微服务,我们需要在变量configProjects中定义每个微服务的名字/ID,这里使用的是上一节服务调用中的两个微服务的名字 blazorweb和serviceapi1。其它内容不需要变动。
2.2 其它配置文件
其中components文件夹和config.yml 分别定义了SideCar启动需要的组件和配置。组件包括订阅发布组件和状态存储组件,如下:

这两个组件的内容很简单,都是连结到一个Redis服务,提供订阅发布需要的消息队列和状态存储需要的缓存。这两个组件的文件和config.yml配置文件其实我是拷贝的完整安装目录(C:UsersXXX.dapr)下面的文件。
3 调试服务调用
3.1 为每个微服务启动Dapr SideCar 服务
启动每个微服务的SideCar:
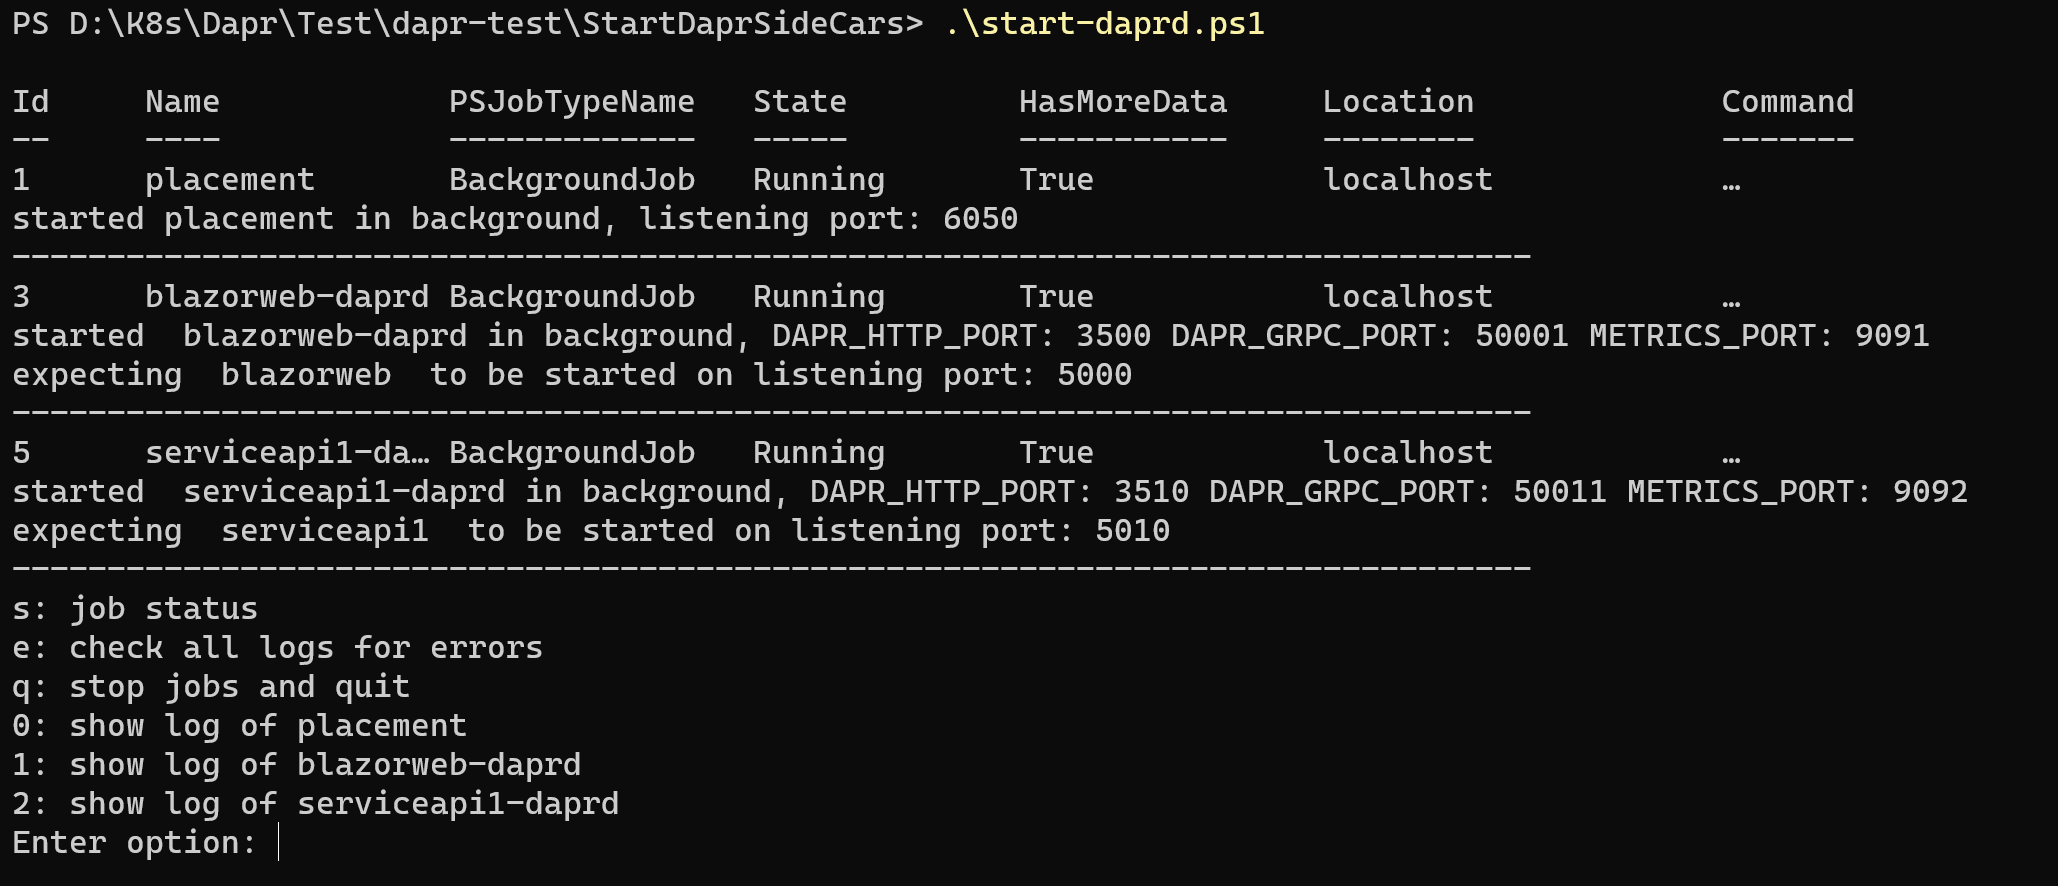
可以看到,我们以Job方式分别启动了三个服务,分别是,placement, blazorweb-daprd 和serviceapi1-daprd, placement 服务是Dapr用来实现Actor模式的。而blazorweb-daprd 和serviceapi1-daprd则分别是我们两个微服务的Dapr SideCar。两个SideCar分别要求我们的微服务在5000和5010端口启动。
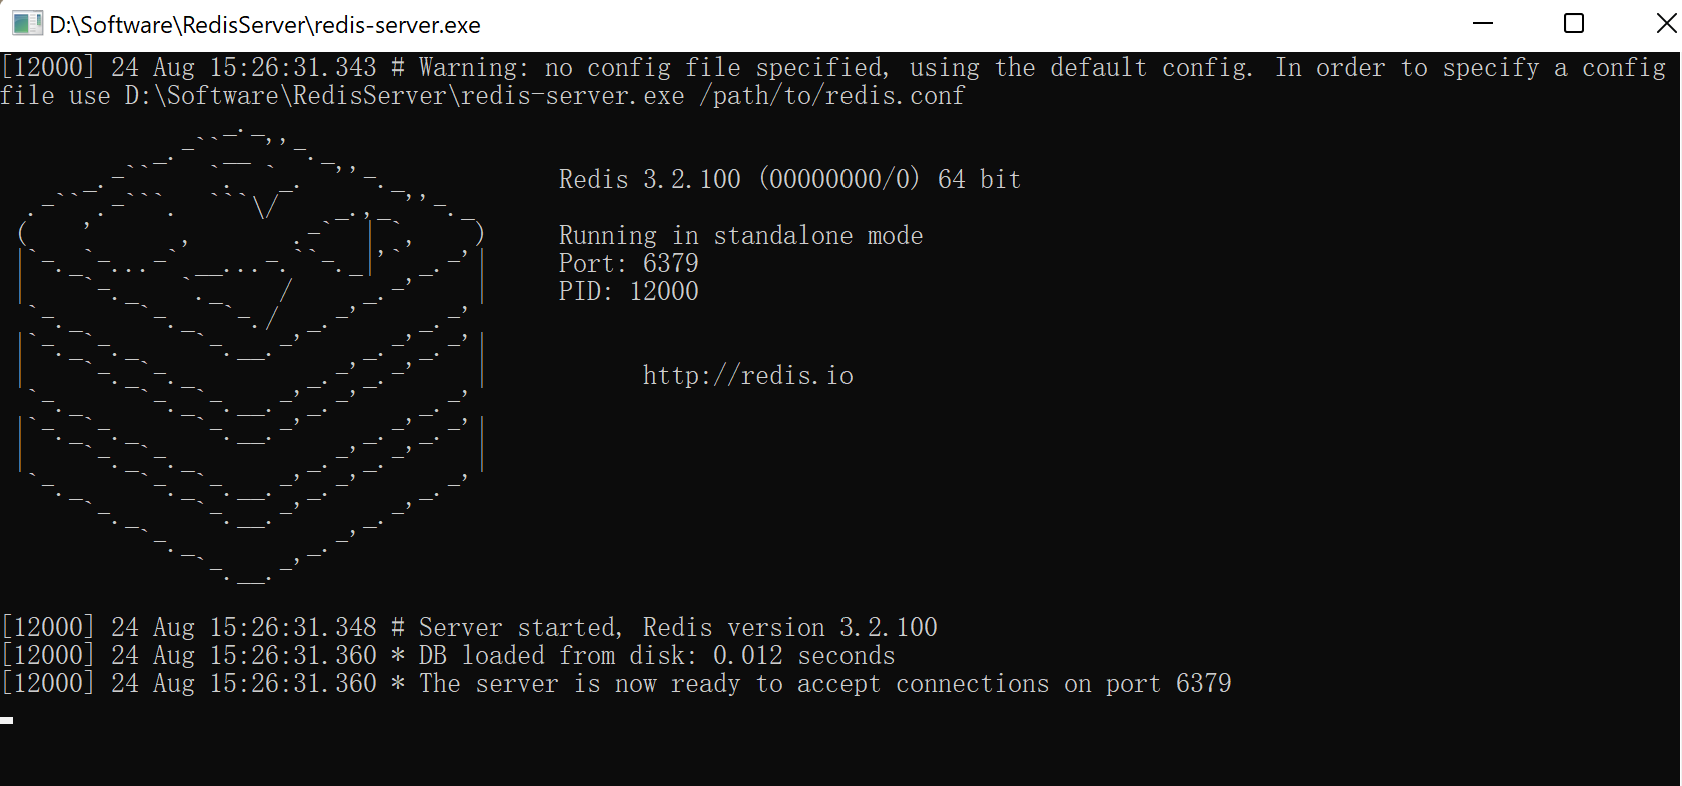
需要说明的是,启动微服务SideCar之前,先要启动Dapr组件需要的Redis服务,我这边启动了一个简易的Windows Redis Server。
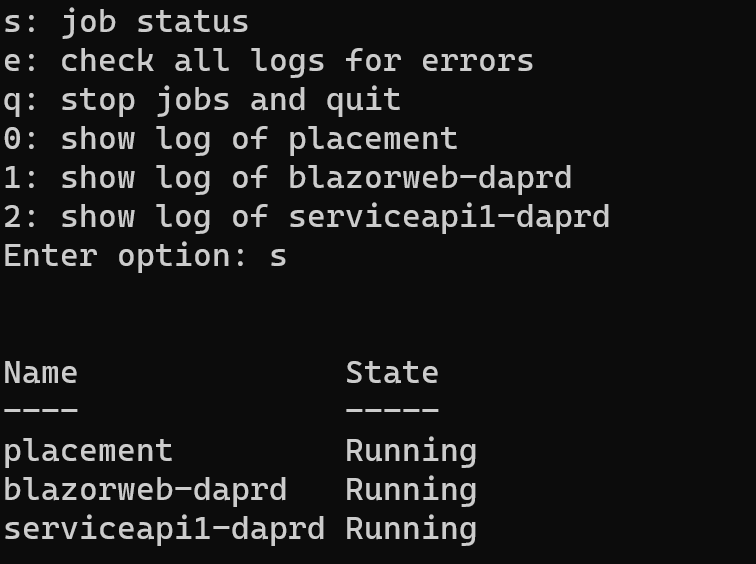
这时候,我们查看每个服务的状态都是运行状态:
3.2 启动每个微服务
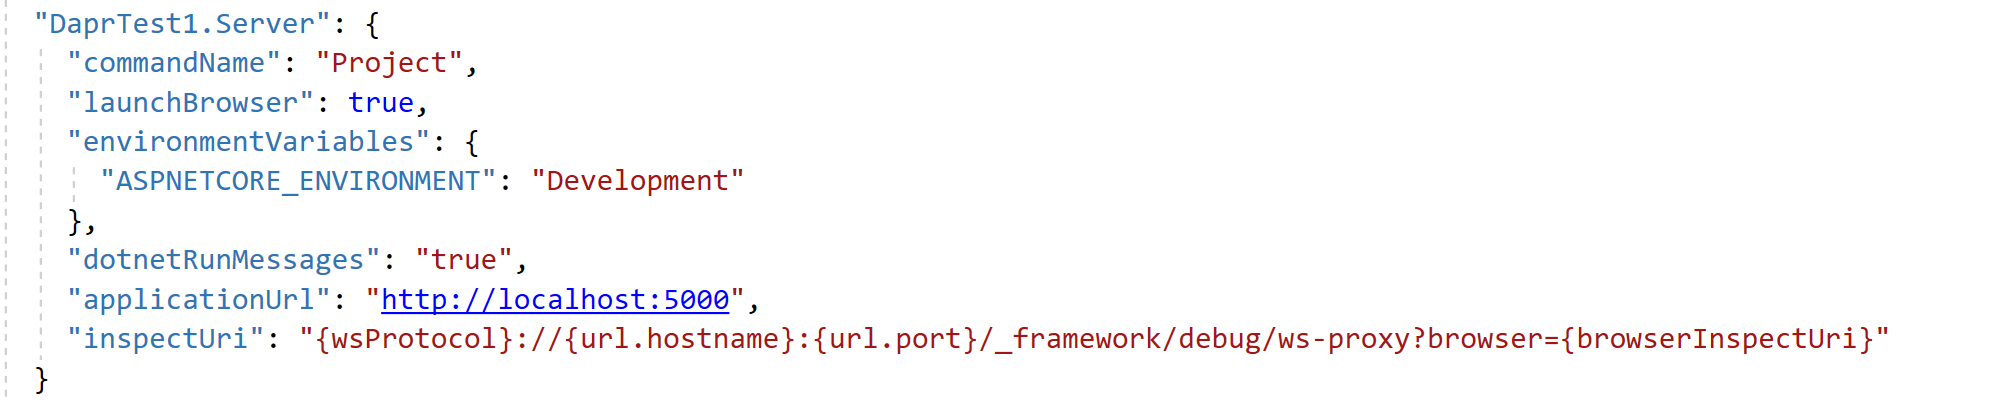
我们在VS中,修改每个微服务宿主项目的launchSettings文件,分别在5000端口和5010端口启动我们的两个微服务:

3.3 调试服务调用

我们在DaprTest1.ServiceApi1项目的WeatherForecastController.cs文件中打个断点,然后点击Blazor界面中的Fetch Data菜单,可以看到程序停在了我们的断点上。

这里需要说明一个问题,我们在做服务调用的时候,在简易安装模式下,Dapr会始终调用127.0.0.1的3500端口,例如http://127.0.0.1:3500/v1.0/invoke/serviceapi1/method/WeatherForecast,并不会调用当前微服务SideCar指定的Dapr Http 端口。其实,我们如果访问http://127.0.0.1:3510/v1.0/invoke/serviceapi1/method/WeatherForecast,也是可以调用微服务的。