Sonar(SonarQube)是一个开源平台,用于管理源代码的质量。Sonar 不只是一个质量数据报告工具,更是代码质量管理平台。支持的语言包括:Java、PHP、C#、C、Cobol、PL/SQL、Flex 等。
一、环境准备
1、JDK安装配置
下载jdk:https://www.oracle.com/java/technologies/javase-jdk11-downloads.html
上传到linux,解压,配置环境变量,重载生效:
[root@localhost ~]# tar -zxvf jdk-11.0.12_linux-x64_bin.tar.gz [root@localhost ~]# vi /etc/profile
#java
export JAVA_HOME=/opt/jdk-11.0.12
export PATH=$JAVA_HOME/bin:$PATH
export CLASSPATH=.:$JAVA_HOME/lib/dt.jar:$JAVA_HOME/lib

[root@localhost ~]# source /etc/profile
验证测试:

2、系统配置
sysctl -w vm.max_map_count=262144
sysctl -w fs.file-max=65536
ulimit -n 65536
ulimit -u 4096
二、安装部署
1、安装PostgreSQL 10
(1) 安装Pg数据库
wget https://download.postgresql.org/pub/repos/yum/reporpms/EL-7-x86_64/pgdg-redhat-repo-latest.noarch.rpm
yum install pgdg-redhat-repo-latest.noarch.rpm
yum install -y postgresql10-server postgresql10
(2)初始化数据库并启动
/usr/pgsql-10/bin/postgresql-10-setup initdb
systemctl start postgresql-10
(3)创建pg用户
#切换账号
su — postgres
#进入pg库,直接 psql
psql

创建sonar用户
create user sonar with password '123456';
创建sonarqube数据库
create database sonarqube owner sonar;

(4)开启远程外联
修改配置文件,
位置:/var/lib/pgsql/10/data/postgresql.conf
修改:取消# 注释或者按照我这样新增 listen_addresses = ‘*’

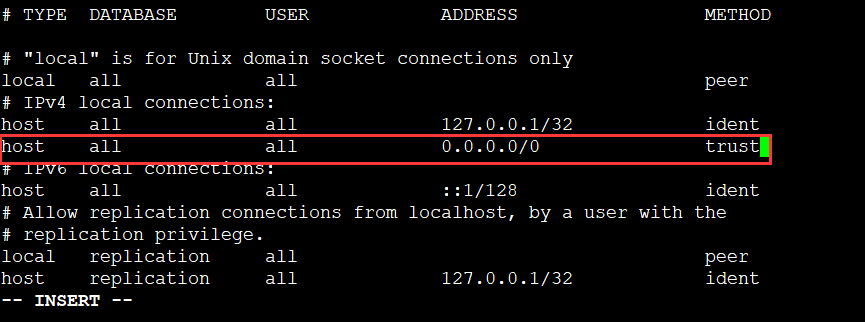
位置:/var/lib/pgsql/10/data/pg_hba.conf
修改:新增 host all all 0.0.0.0/0 trust 访问规则
(5)重启服务,测试
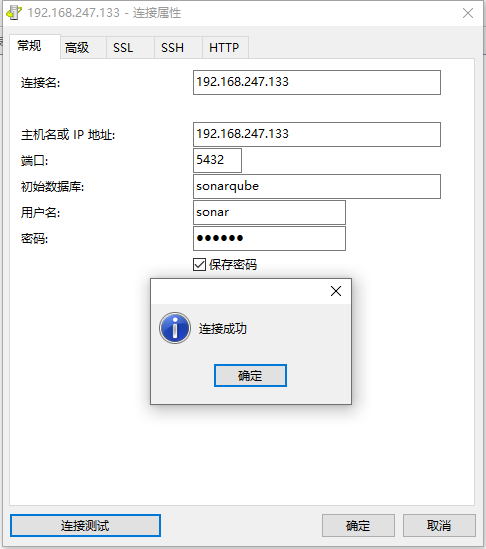
systemctl restart postgresql-10
2、SonarQube安装部署
(1)下载软件包
下载地址:https://www.sonarqube.org/downloads/
wget https://binaries.sonarsource.com/Distribution/sonarqube/sonarqube-8.9.2.46101.zip
(2)添加系统用户
useradd sonar
passwd sonar
(3)解压安装包
mv sonarqube-7.9.1.zip /opt/sonarqube/
chown -R sonar:sonar /opt/sonarqube/
su - sonar
unzip sonarqube-8.9.2.46101.zip
(4)更改配置文件
[sonar@localhost conf]$ grep -Ev "^$|^[#;]" sonar.properties
sonar.jdbc.username=sonar
sonar.jdbc.password=123456
sonar.jdbc.url=jdbc:postgresql://192.168.247.133/sonarqube
(5)启动SonarQube
./sonar.sh start
(6)验证检查是否搭建成功
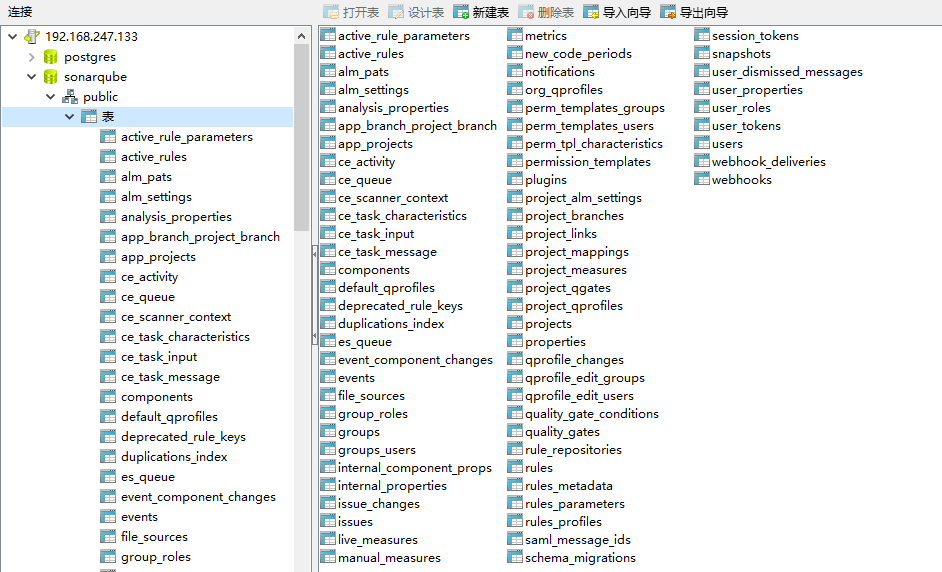
检查步骤一:连接PostgreSQL,查看sonar的数据库下面是否自动创建了相关的表。
步骤二:检查sonarqube的服务端的地址是否可以正常访问。
三、登录配置
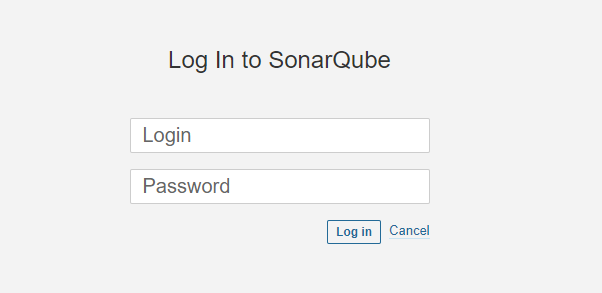
(1)默认账户admin/admin,首次登录,强制修改密码。
(2)安装汉化插件
选择 Administration -> Marketplace -> Plugins 中搜索 Chinese pack ,然后Install.
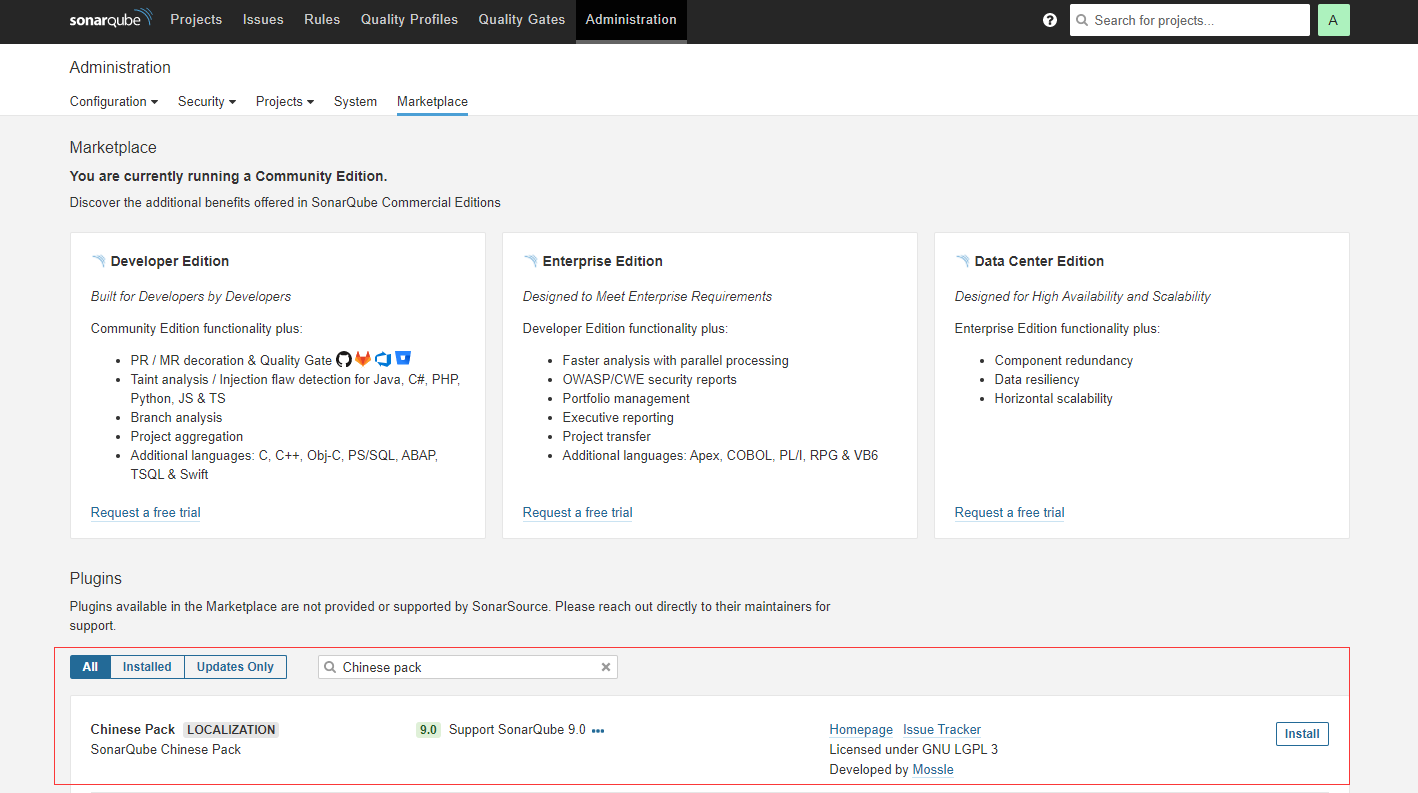
Restart Server生效。

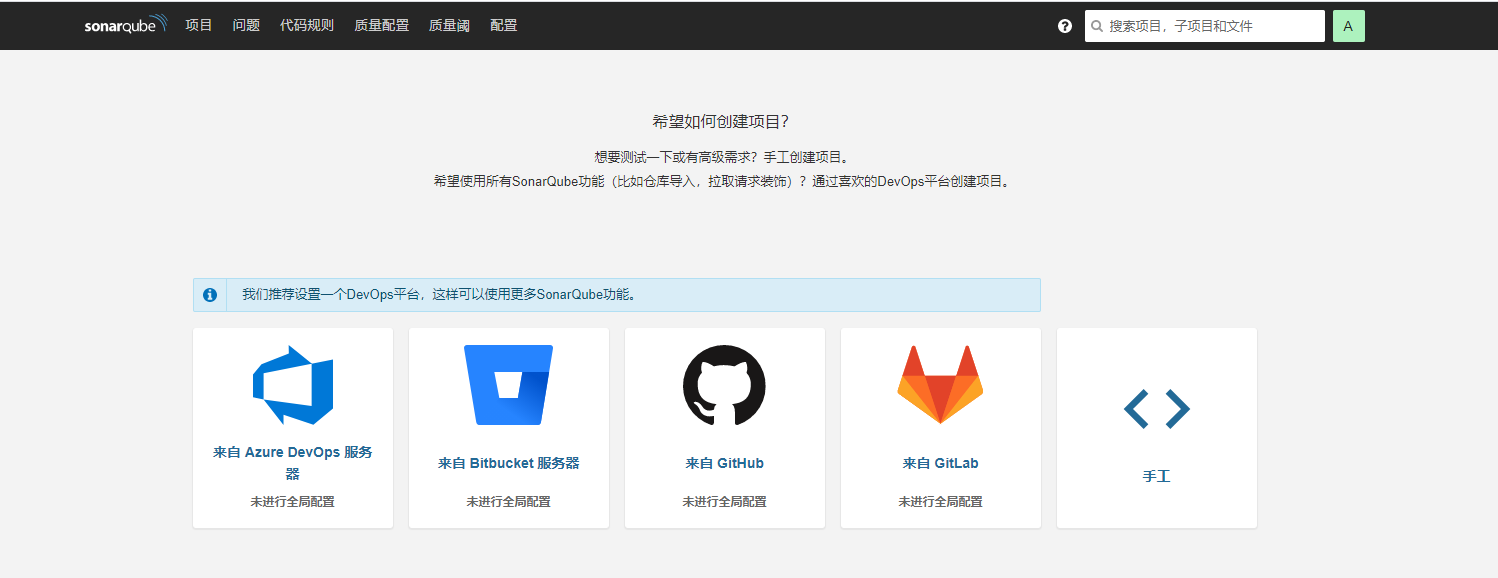
四、SonarScanner扫描
(1) 安装配置
下载地址:https://docs.sonarqube.org/latest/analysis/scan/sonarscanner/
[root@localhost ~]# unzip sonar-scanner-cli-4.6.2.2472-linux.zip -d /opt/SonarScanner
[root@localhost ~]# vi /etc/profile
#SonarScanner
export Sonar_Home=/opt/SonarScanner/
export PATH=$Sonar_Home/bin:$PATH
[root@localhost ~]# source /etc/profile
扫描方式一:SonarScanner配置
修改配置信息/opt/SonarScanner/conf/sonar-scanner.properties:

扫描方式二:创建项目
在sonar控制台,新建项目,创建令牌,选择扫描方式。
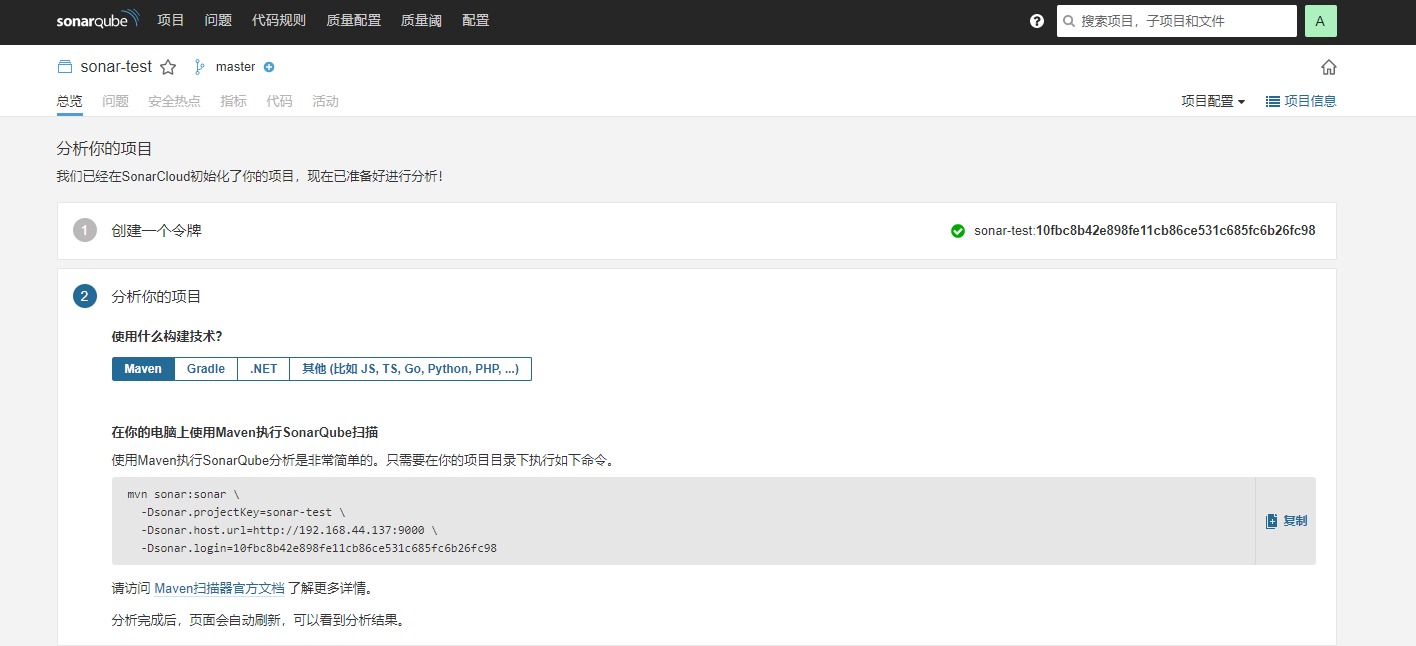
扫描方式三:扫描项目
编写脚本执行
[root@localhost simple-java-maven-app]# ./sonar.sh
sonar-scanner -Dsonar.host.url=http://192.168.247.133:9000
-Dsonar.projectKey=demo-maven-service
-Dsonar.projectName=demo-maven-service
-Dsonar.projectVersion=1.0
-Dsonar.login=admin
-Dsonar.password=abc123!
-Dsonar.ws.timeout=30
-Dsonar.projectDescription="my first project!"
-Dsonar.links.homepage=http://www.baidu.com
-Dsonar.sources=src
-Dsonar.sourceEncoding=UTF-8
-Dsonar.java.binaries=target/classes
-Dsonar.java.test.binaries=target/test-classes
-Dsonar.java.surefire.report=target/surefire-reports

参考连接:
Centos7 安装Postgresql 10 详细步骤(远程连接)
https://www.icode9.com/content-2-816200.html
https://www.cnblogs.com/mascot1/category/1291403.html
