gitlab的自动化持续集成
gitlab runner 安装
1.在系统中的某个位置创建一个文件夹,例如: D:gitlab-runner 。
2.下载安装包gitlab-runner,(云盘提供安装包),放到上一步创建的文件夹
3.以管理员权限打开cmd命令,并切到安装包所在目录
D:softgitlab-runner>gitlab-runner-windows-386.exe install

D:softgitlab-runner>gitlab-runner-windows-386.exe start
发现服务启动成功

gitlab runner注册
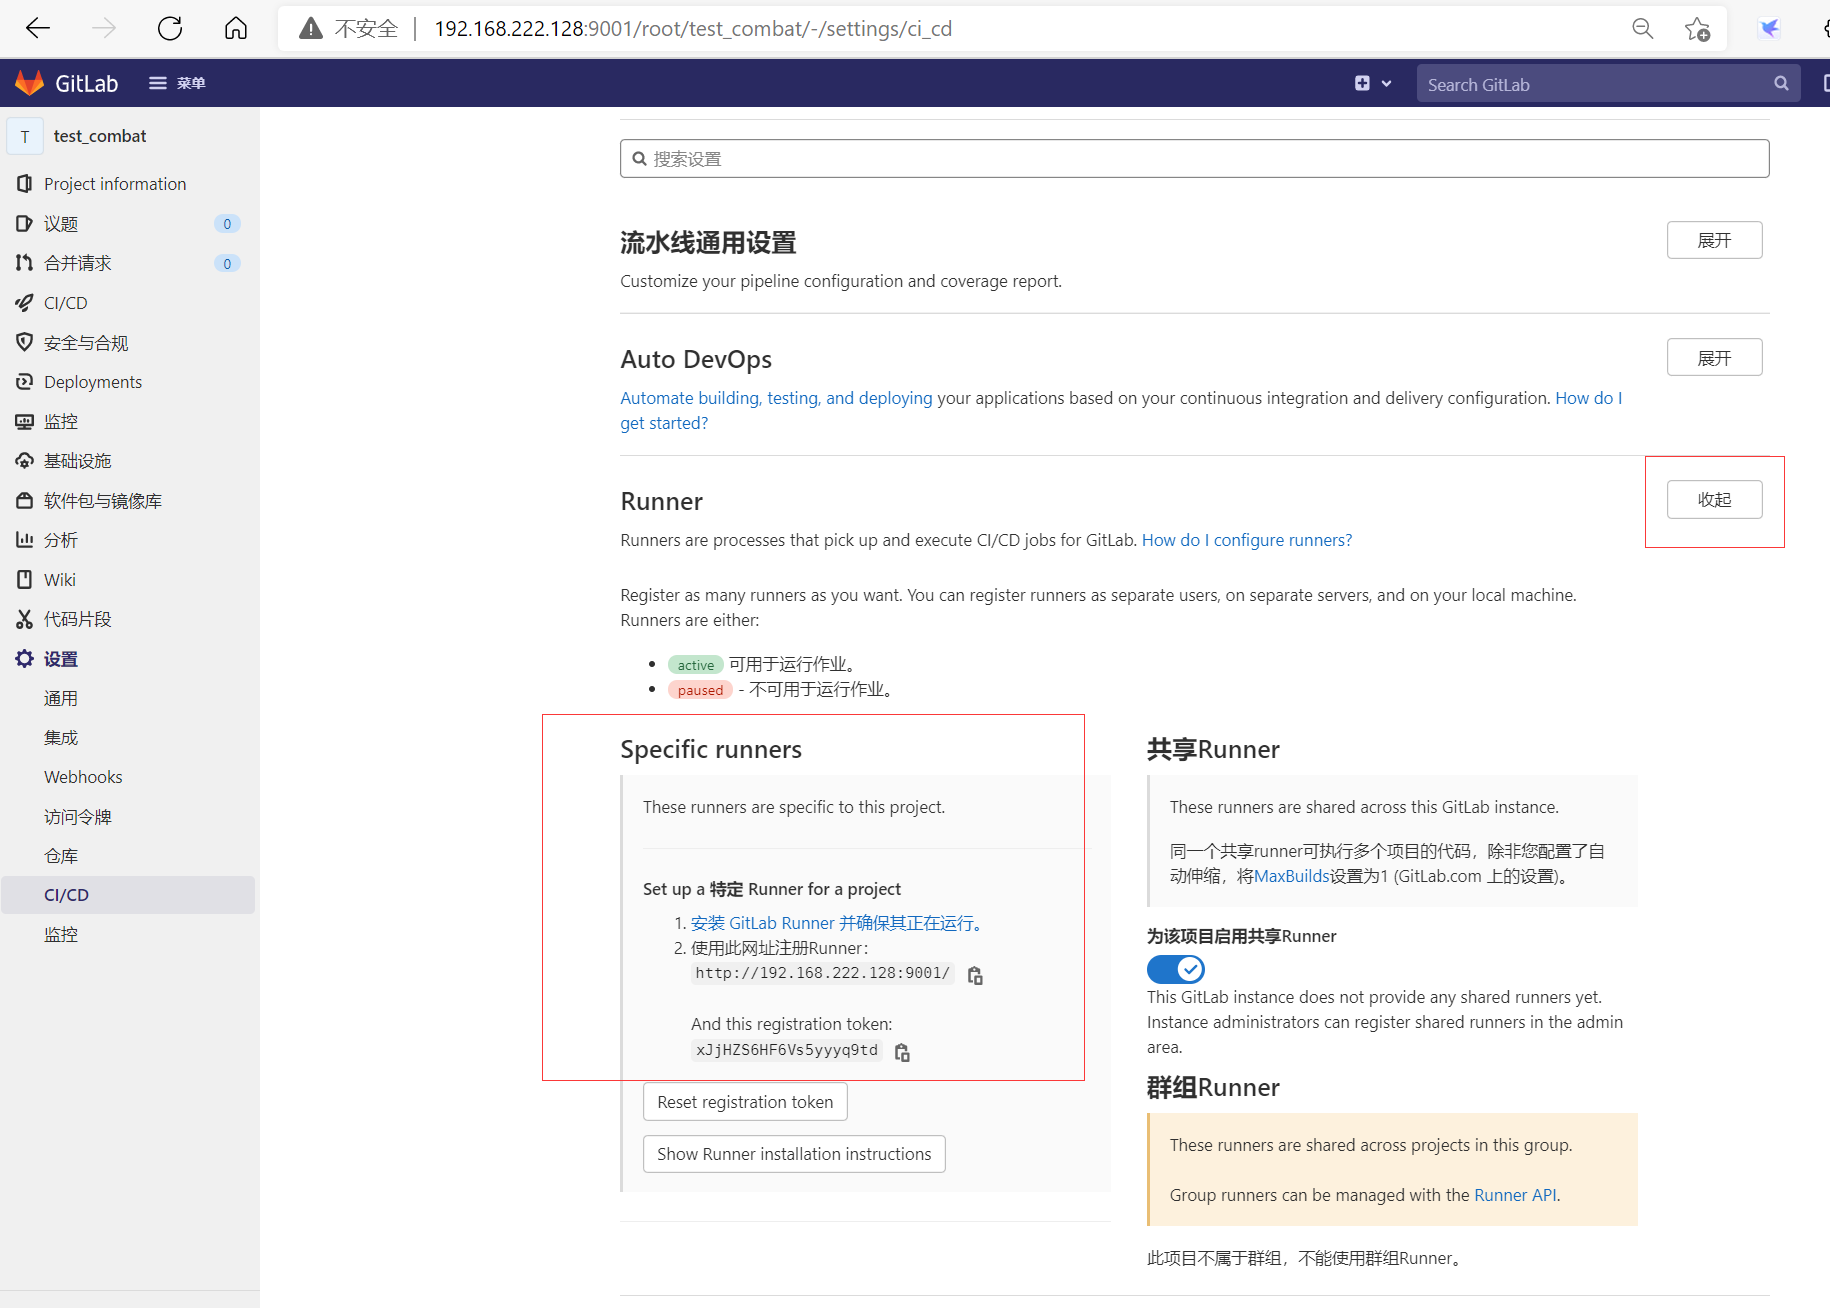
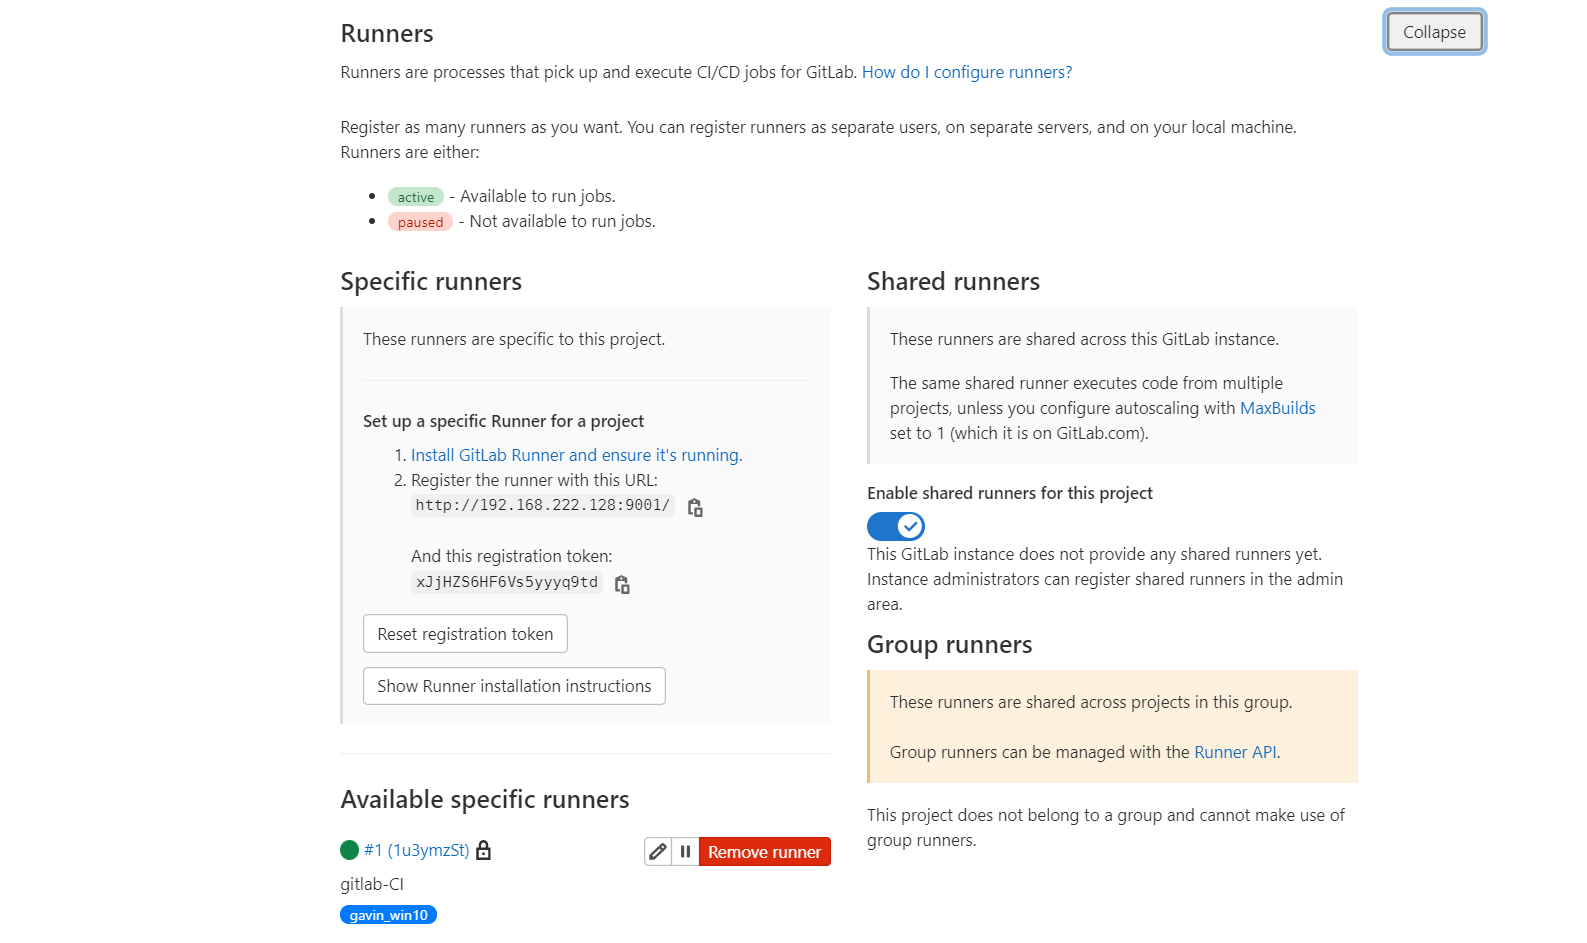
打开你 GitLab 中的项目页面,以实战公网环境为例:在项目设置中找到 runners,具体路径
是Settings — CI/CD — Runners — 右侧展开按钮 — Setup a specific Runner manually
- 运行 gitlab-runner-windows-386.exe register
- 输入 CI URL (Specify the following URL during the Runner setup:后面对应的url)
- 输入 Token (Use the following registration token during setup: 后面对应的token)
- 输入 Runner 的名字 (不重要)
- 是否输入tag标记 (因为我在这里是以本机作为服务地址的,这里的tag千万别输入东西,要不
然后面运行总是卡住,找不到对应服务器,默认到Docker上了。直接回车即可) - 选择 Runner 的类型,输入 Shell
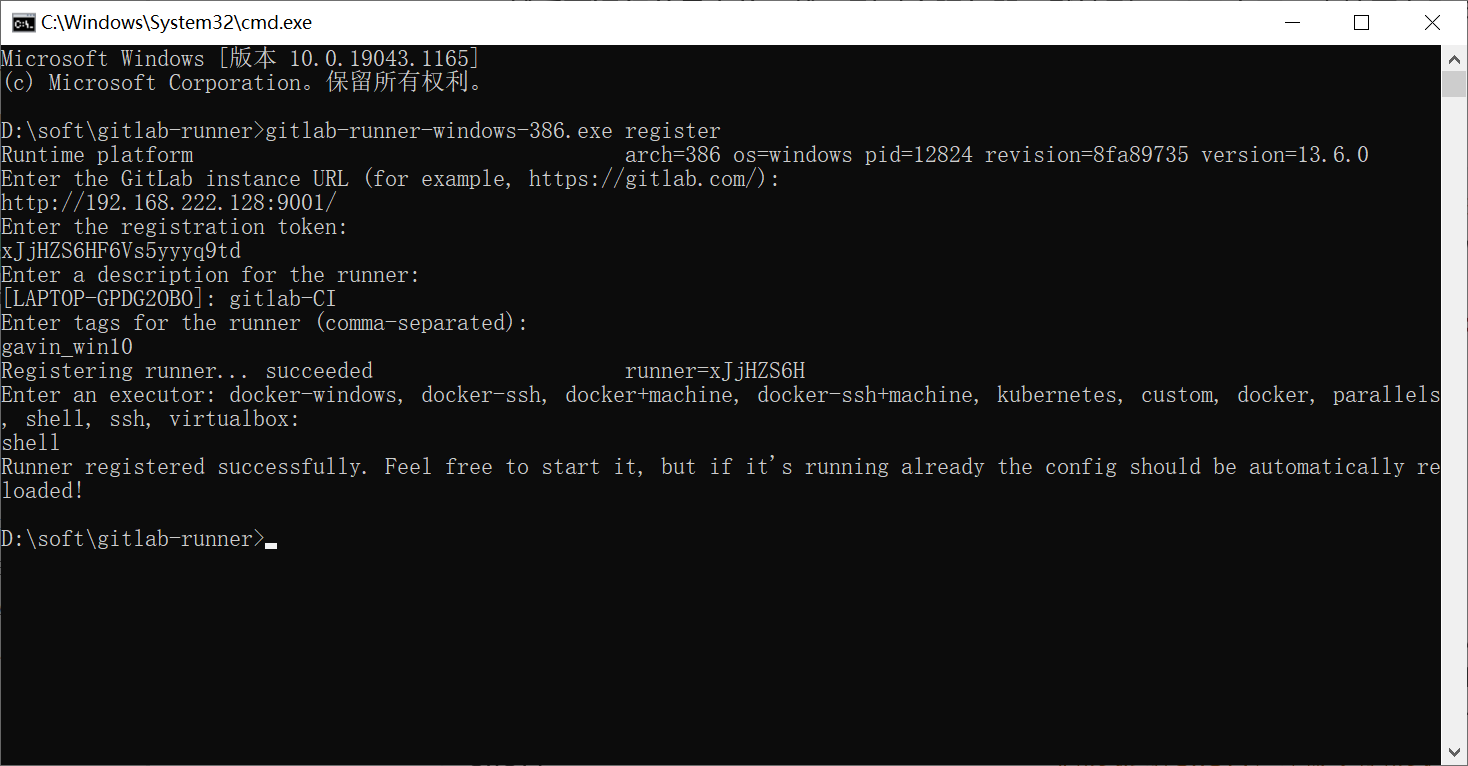
D:softgitlab-runner>gitlab-runner-windows-386.exe register
Runtime platform                                    arch=386 os=windows pid=12824 revision=8fa89735 version=13.6.0
Enter the GitLab instance URL (for example, https://gitlab.com/):
http://192.168.222.128:9001/
Enter the registration token:
xJjHZS6HF6Vs5yyyq9td
Enter a description for the runner:
[LAPTOP-GPDG2OBO]: gitlab-CI
Enter tags for the runner (comma-separated):
gavin_win10
Registering runner... succeeded                     runner=xJjHZS6H
Enter an executor: docker-windows, docker-ssh, docker+machine, docker-ssh+machine, kubernetes, custom, docker, parallels, shell, ssh, virtualbox:
shell
Runner registered successfully. Feel free to start it, but if it's running already the config should be automatically reloaded!
当注册好 Runner 之后,可以用 gitlab-runner-windows-386.exe list 命令来查看各个 Runner 的
状态
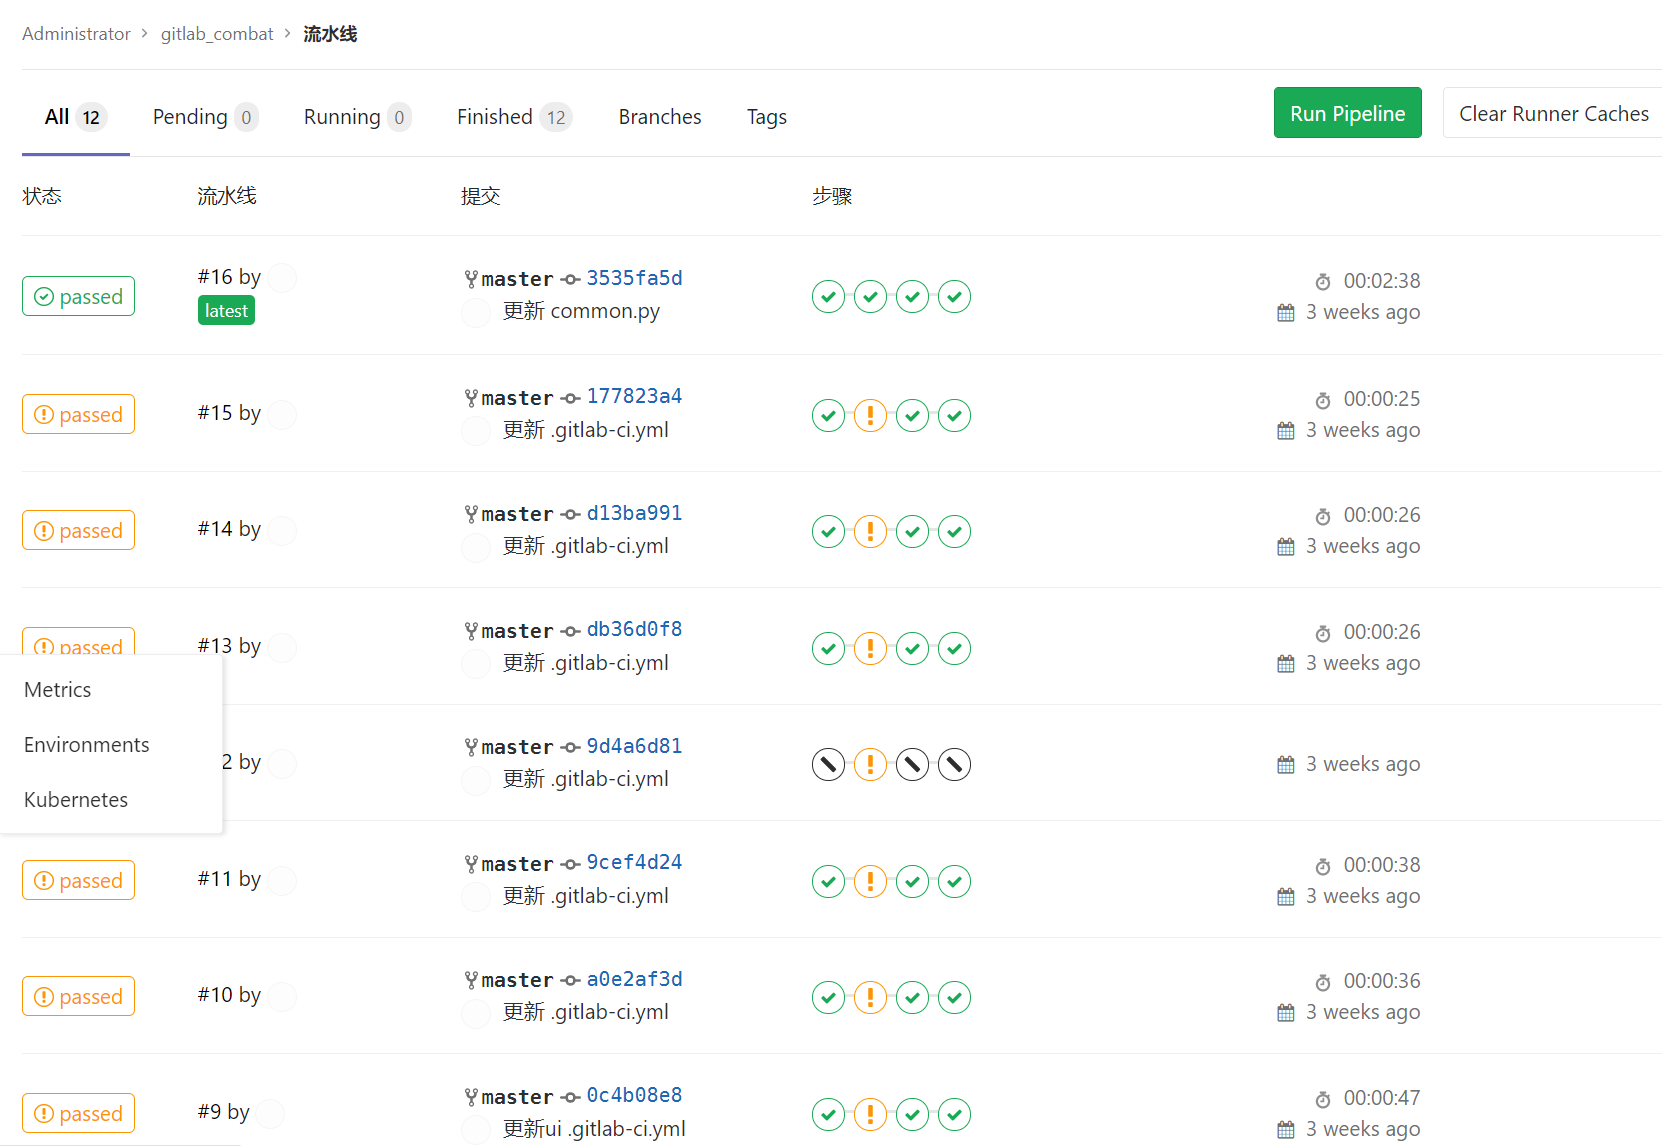
注册完成刷新gitlab页面可以看到新增的runner
配置文件.gitlab-ci.yml语法
在项目根目录下新建 .gitlab-ci.yml 文件,并编辑相应的关键字,提交到gitlab后,会自动根据设定
好的关键字流程执行CI任务
gavin@LAPTOP-GPDG2OBO MINGW64 /d/py project/Merchants_combat/day6 (master)
$ touch .gitlab-ci.yml
stage
stages是用来定义任务执行的顺序,规则如下
1.相同stage的任务会并行触发
2.所有前置stage的任务运行成功后,当前stage的任务才会被执行
例如以下.gitlab-ci.yml文件
stages:
  - build
  - deploy
  - test
job1:
  stage: build
  script: echo 'excute job1'

job2:
  stage: deploy
  script: echo 'excute job2'

job3:
  stage: test
  script: echo 'excute job3'
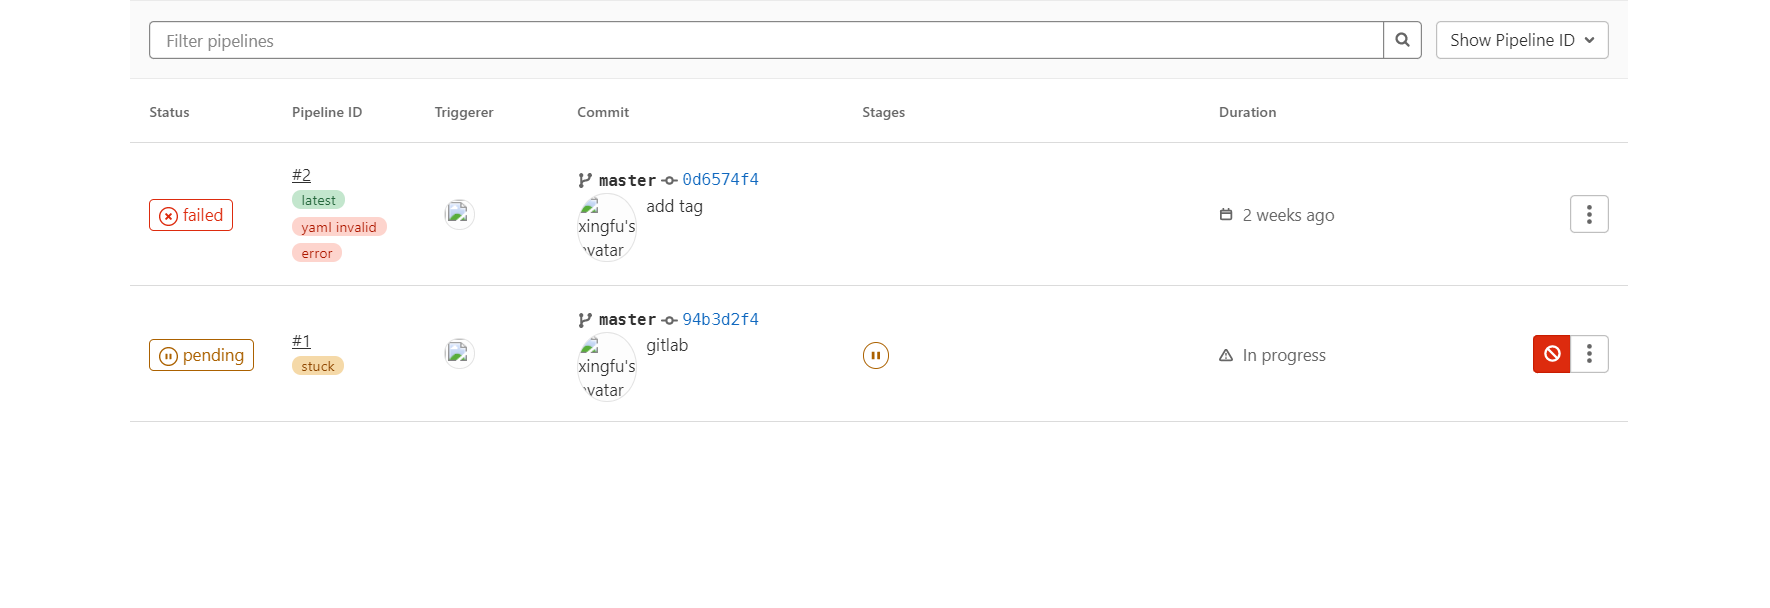
推送代码到gitlab自动执行流水线,但是流水线失败了
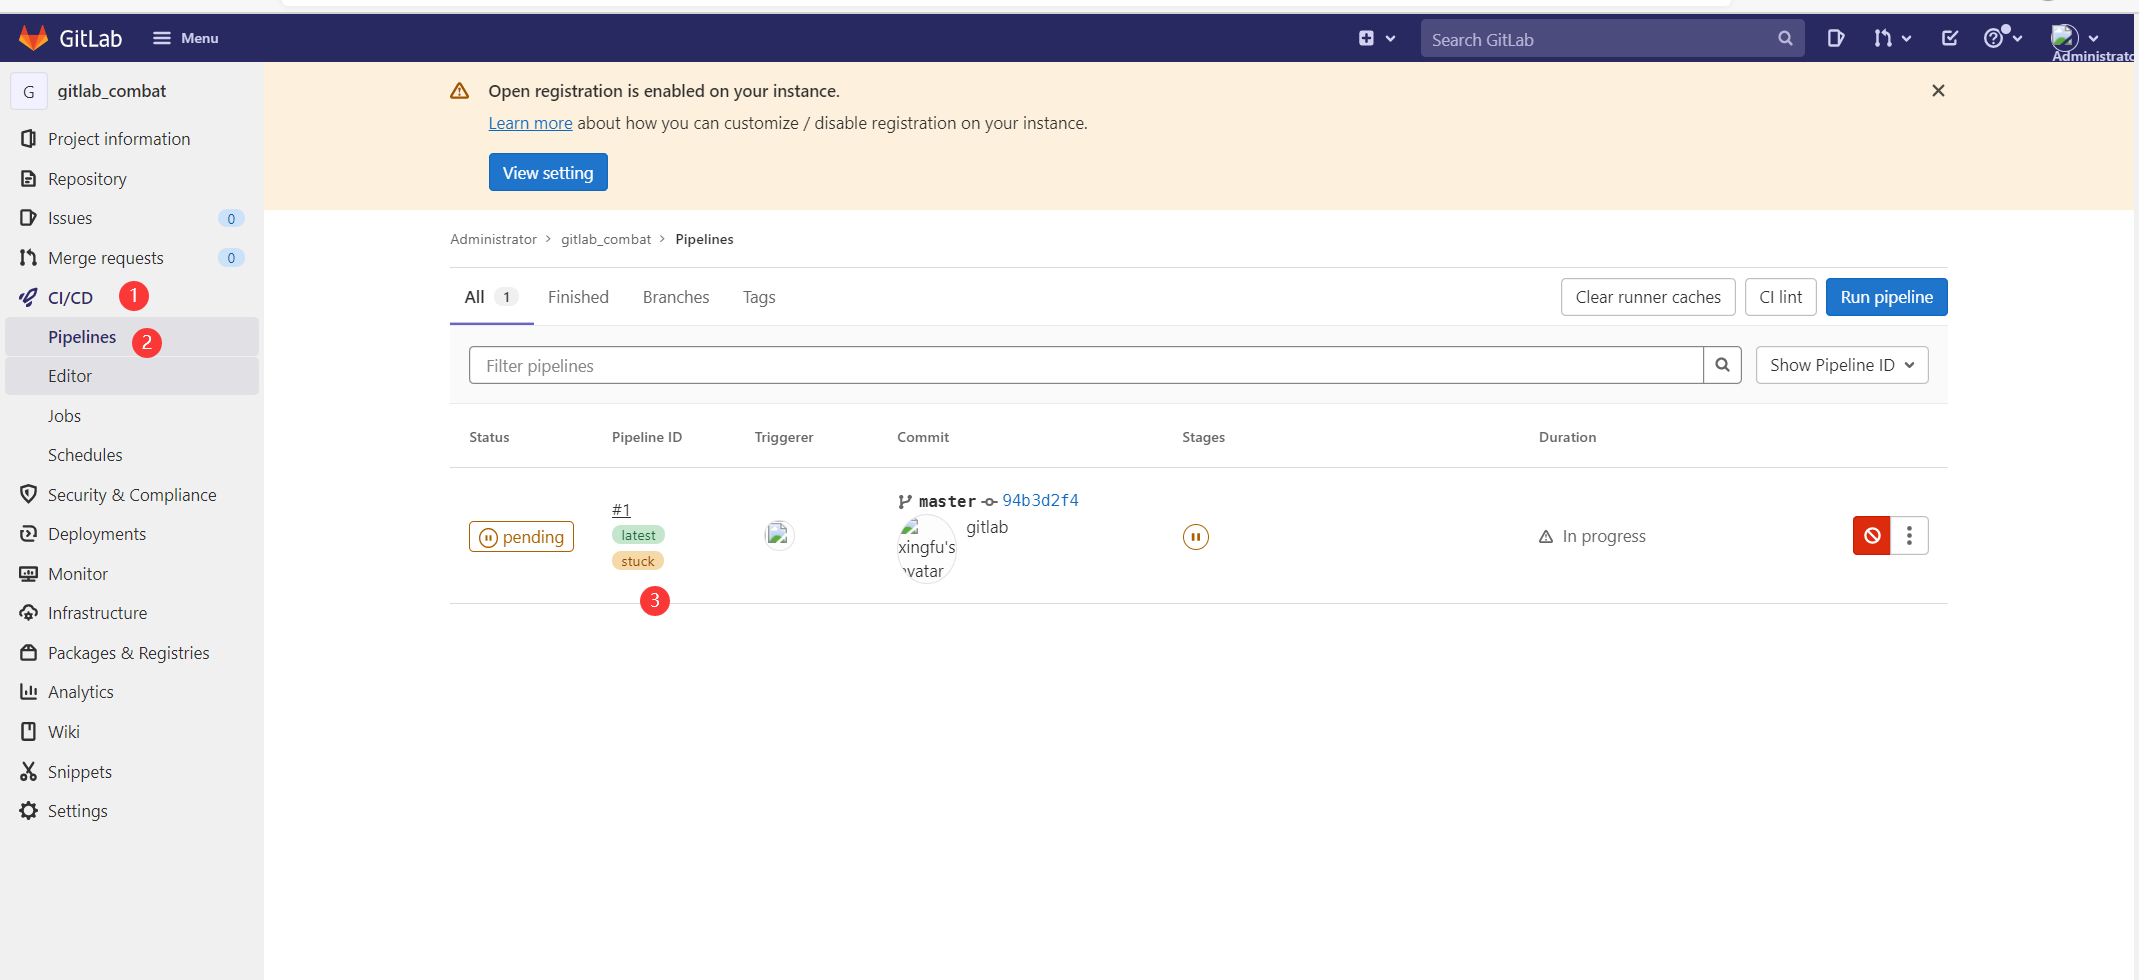
原因,刚才注册的时候,配置了tag
解决:脚本上增加tag
stages:
  - build
  - deploy
  - test
job1:
  stage: build
  script: echo 'excute job1'
  tag:
    - gavin_win10

job2:
  stage: deploy
  script: echo 'excute job2'
  tag:
    - gavin_win10

job3:
  stage: test
  script: echo 'excute job3'
  tag:
    - gavin_win10
tags写少了s
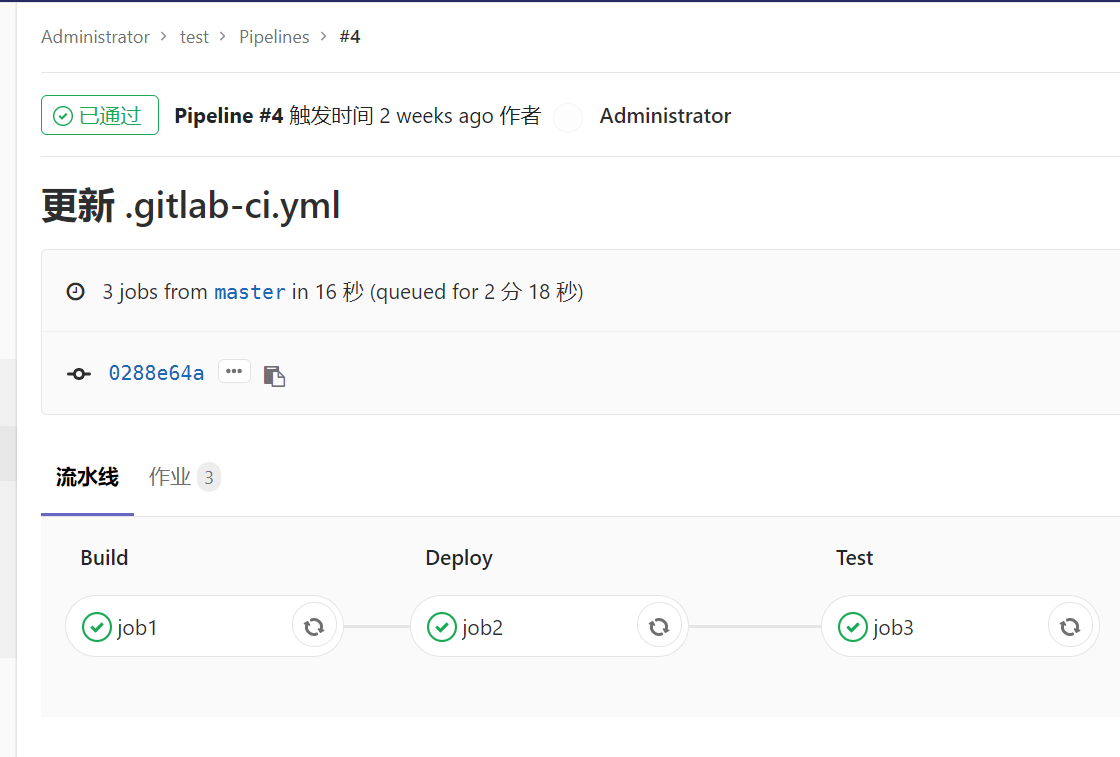
以上pipeline执行的顺序是
1.先执行所有带build的任务--job1
2.所有build的任务通过后,并行触发所有test的任务,job2,job3
3.所有test任务通过后,并行触发所有deploy任务,job4
为了测试规则2,可以把job3故意设置失败
测试又报错了:百度一周,终于解决了(百度可以提供参考思路,但不一定适合自己)
Getting source from Git repository
00:04
Fetching changes with git depth set to 50...
Reinitialized existing Git repository in D:/soft/gitlab-runnerilds/qFsZsHNm/0/root/gitlab_combat/.git/
fatal: unable to access 'http://gitlab-ci-token:【MASKED】@192.168.222.128/root/gitlab_combat.git/': Failed to connect to 192.168.222.128 port 80: Connection refused
ERROR: Job failed: exit status 1
解决:创建容器的时候,映射的端口9001:80 ,不支持这样,删除容器,重新创建,改成宿主机和容器一样的端口 9001:9001
启动gitlab容器
docker run -di --publish 443:443 --publish 9001:9001 --publish 8022:22 --hostname 192.168.222.128:9001 --name gitlab
-e 'GITLAB_PORT=9001'
-e 'GITLAB_SSH_PORT=8022'
--restart always -v
/srv/gitlab/config:/etc/gitlab -v
/srv/gitlab/logs:/var/log/gitlab -v
/srv/gitlab/data:/var/opt/gitlab -v
/etc/localtime:/etc/localtime:ro --privileged=true twang2218/gitlab-ce-zh
// 修改如下语句
external_url 'http://192.168.222.128:9001'
//https需要下面这句--nginx根据需要来设置,本人不设置
nginx['redirect_http_to_https_port'] = 82
nginx['listen_port'] = 82
//配置8022端口
gitlab_rails['gitlab_shell_ssh_port'] = 8022
重启容器
docker restart gitlab
重复上面的操作,重新跑流水线,终于成功了
参考网站:
http://www.3qphp.com/linux/centos/2486.html
https://www.pianshen.com/article/44401354203/
https://blog.csdn.net/shan165310175/article/details/92797199
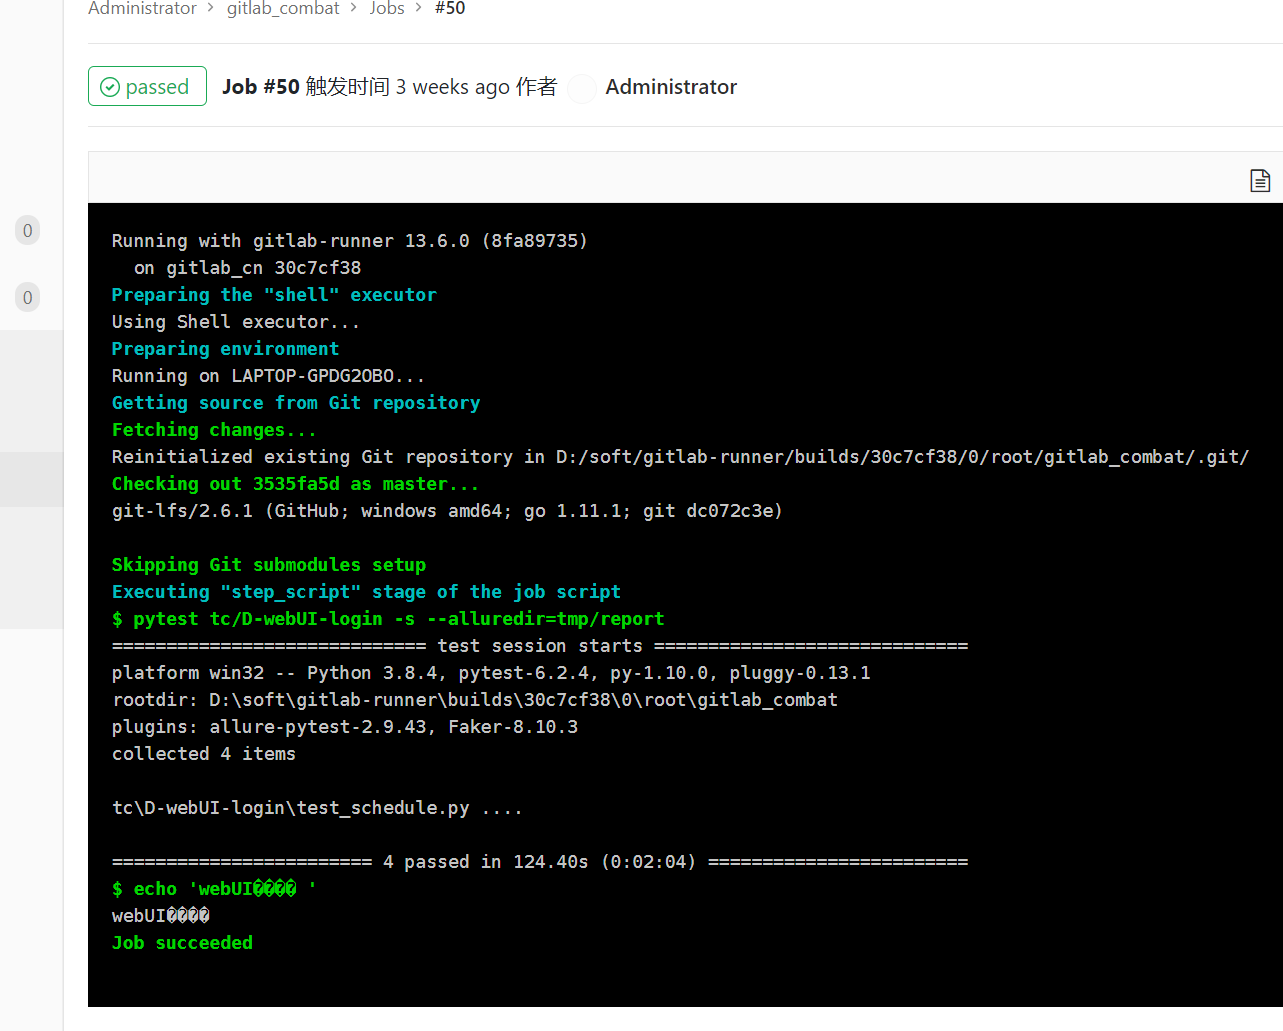
gitlab ci流水线执行自动化
stages:
    - webAPI测试
    - webUI测试
    - allure
    - 邮件
webAPI测试:
    stage: webAPI测试
    script:
        - pytest tc/D-admin-login -s --alluredir=tmp/report --clean-alluredir
        - echo 'webAPI测试 '
    tags:
        - gavin_win10
webUI测试:
    stage: webUI测试
    script:
        - pytest tc/D-webUI-login -s --alluredir=tmp/report
        - echo 'webUI测试 '
    tags:
        - gavin_win10
    #允许本次构建失败,不影响后续stage允许
    allow_failure: true
allure:
    stage: allure
    #暂不演示-gitlab没有内置的allure插件
    script: echo 'allure'
    tags:
        - gavin_win10


邮件:
    stage: 邮件
    script:
        - echo $CI_PROJECT_NAME
    tags:
        - gavin_win10
执行UI自动化,报错
raise exception_class(message, screen, stacktrace)
E selenium.common.exceptions.WebDriverException: Message: unknown error: cannot find Chrome binary
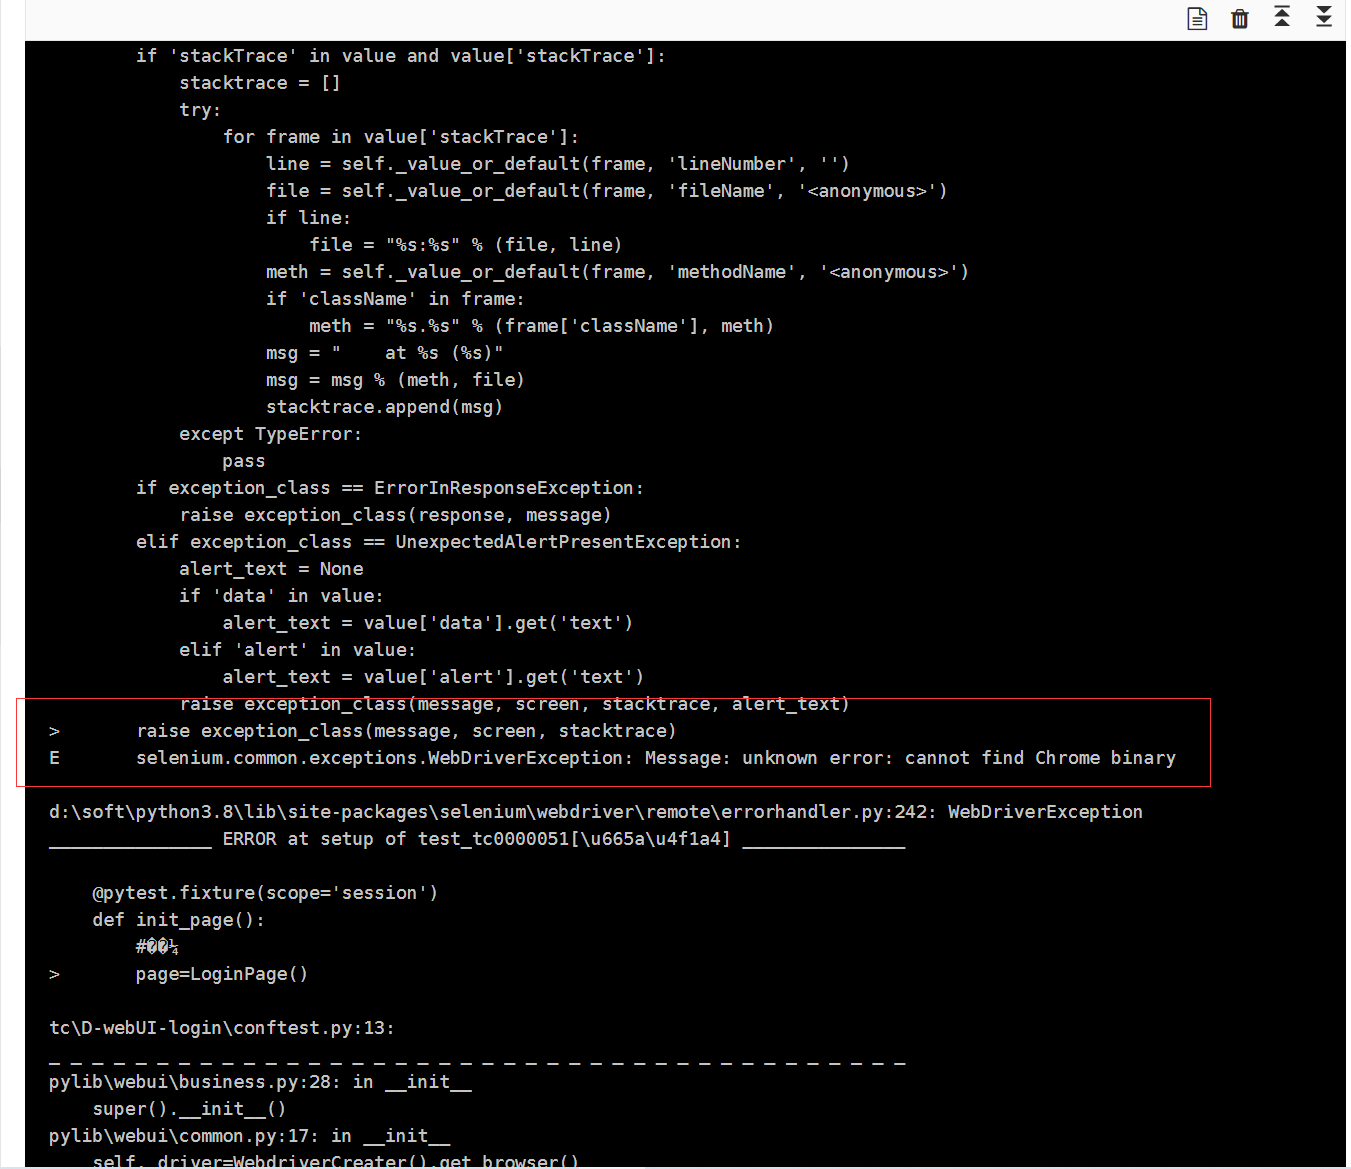
原因找不到浏览器路径
解决;百度查找到资料添加浏览器安装路径到path变量,不起作用
最终解决方法是要改代码;
from selenium import webdriver
from selenium.webdriver.chrome.options import Options
options = Options()
options.binary_location = "C:/Program Files (x86)/Google/Chrome/Application/chrome.exe"
driver = webdriver.Chrome(chrome_options=options, executable_path="C:/Utility/BrowserDrivers/chromedriver.exe", )
driver.get('http://www.baidu.com')
执行成功