1.创建了两个项目 :
(1).spring_cloud_rabbitmq_send 消息发送者
(2).spring_cloud_rabbitmq_receive 消息接受者
2. 添加rabbitmq依赖
<dependency>
    <groupId>org.springframework.boot</groupId>
    <artifactId>spring-boot-starter-amqp</artifactId>
</dependency>
3.编写具体的消息发送者
(1)配置application.yml
spring:
  application:
    name: rabbitmq-send
  rabbitmq:
    host: localhost
    port: 5672
    username: guest
    password: guest
#不分配端口,默认使用8080
(2)创建rabbitmq配置类,添加一个名为hello的队列
 1 /**
 2  * @author liuboren
 3  * @Title:Rabbit配置类
 4  * @Description:
 5  * @date 2018/6/27 14:57
 6  */
 7 @Configuration
 8 public class RabbitConfig {
 9     public final static String QUEUE_NAME = "hello";
10
11     @Bean
12     public Queue helloQueue(){
13       return new Queue(QUEUE_NAME);
14     }
15
16 }
(3)编写具体的发送组件
 1 /**
 2  * @author liuboren
 3  * @Title:消息发送者
 4  * @Description:
 5  * @date 2018/6/27 14:40
 6  */
 7 @Component
 8 public class Sender {
 9
10     //通过注入的这个类来传递消息
11     @Autowired
12     private AmqpTemplate rabbitTemplate;
13
14     public void send(){
15         String context = "hello"+ new Date();
16         System.out.println("Sender :"+ context);
17
18         //hello为创建的队列名,context为发送的消息
19         this.rabbitTemplate.convertAndSend("hello",context);
20     }
21
22 }
(4)创建一个访问接口,用以发送消息
/**
 * @author liuboren
 * @Title:发送消息的接口
 * @Description:
 * @date 2018/6/27 15:36
 */
@RestController
public class SendController {

    @Resource
    private Sender sender;

    @GetMapping("send")
    public String send(){
        sender.send();
        return "消息已发送..";
    }
}
4. 编写具体的消息接受者
(1)application.yml
spring:
  application:
    name: rabbitmq-receive
  rabbitmq:
    host: localhost
    port: 5672
    username: guest
    password: guest
server:
  port: 8081
(2)编写消息接受者组件
 1 /**
 2  * @author liuboren
 3  * @Title:消息接受者
 4  * @Description:
 5  * @date 2018/6/27 14:54
 6  */
 7 @Component
 8 //监听hello队列
 9 @RabbitListener(queues = "hello")
10 public class Receive {
11
12     //处理接受到的消息
13     @RabbitHandler
14     public void process(String hello){
15         System.out.println("Receiver:"+hello);
16     }
17 }
5. 测试
(1)启动消息发送者,多次访问http://localhost:8080/send
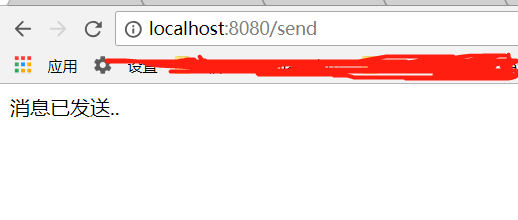
控制台输出:
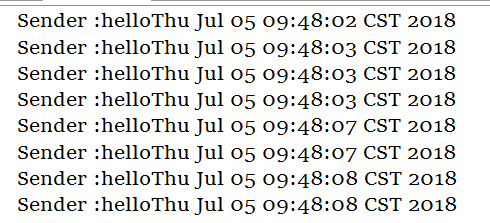
注意这时候我们还没有启动消息接受者,所有发送的消息都在消息队列里面
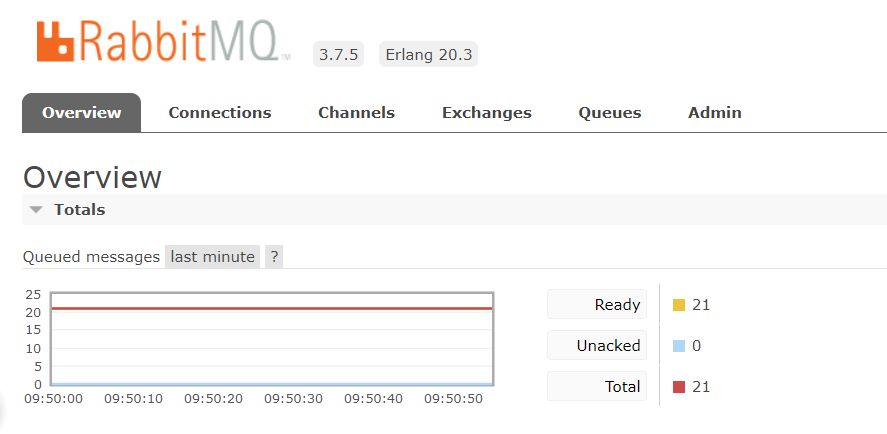
可以访问 http://localhost:15672/ 查看rabbitmq的管理页面
我们可以看到消息队列里面有21条消息
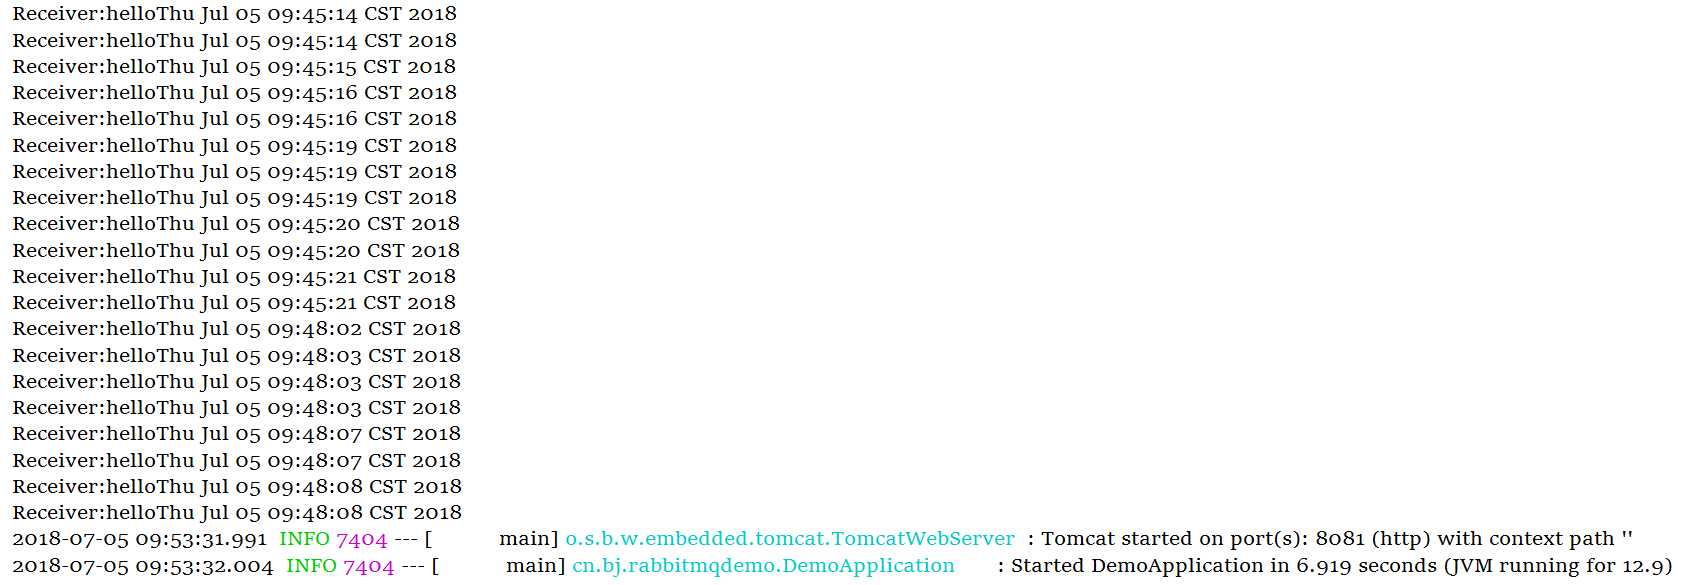
(2)我们启动消息接受者应用
可以看到应用启动好以后,接收到了消息
我们再次访问http://localhost:15672
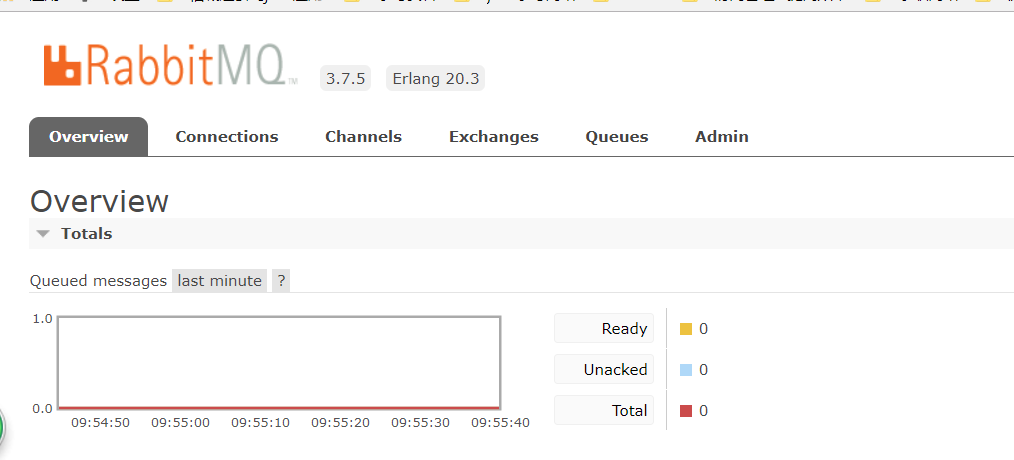
发现队列此时已经没有消息.
这样一个简单的RabbitMQ应用就完成了.
Github地址:https://github.com/liuboren0617/rabbit_demo