0x01 QT安装
下载网址:http://download.qt.io/archive/qt/
下载对象:qt-opensource-linux-x64-5.14.2.run
将qt放到Ubuntu主目录下

在此处打开终端

获取读写权限
sudo chmod -R 777 qt-opensource-linux-x64-5.14.2.run

把qt安装到根目录/opt下
sudo ./qt-opensource-linux-x64-5.14.2.run

回车之后会跳出安装步骤如下:

创建一个邮箱账户,这里得注意密码是大小写数字符号混合使用才行。


选择安装目录

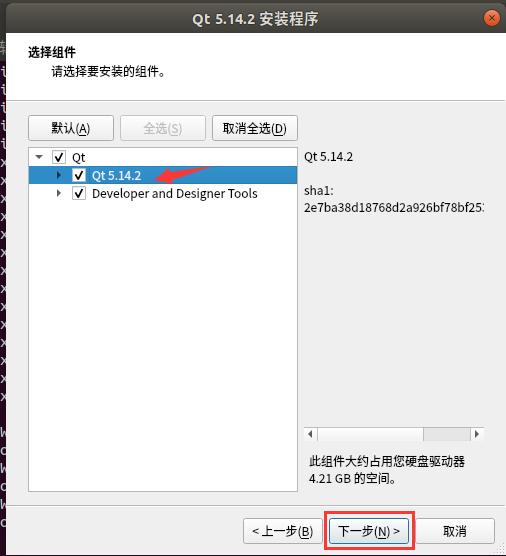
勾选QT


配置QT环境
Qt 安装完成后,先别打开,因为还需要安装其他工具以及库文件。
打开终端,安装 linux 下编程的编译器
sudo apt-get install gcc g++

再输入以下命令,不然编译时会出现错误“cannot find -lgl”
sudo apt-get install libqt4-dev

安装GCC,这是一个编译工具,它可以使得我们的程序知道头文件和库函数放在哪个位置;
sudo apt-get install build-essential

在终端进入cd /opt/Qt5.14.2/Tools/QtCreator/bin/下,然后使用命令“./qtcreator”打开 Qt


0x02 libpcap安装
下载地址:http://www.tcpdump.org/#latest-release
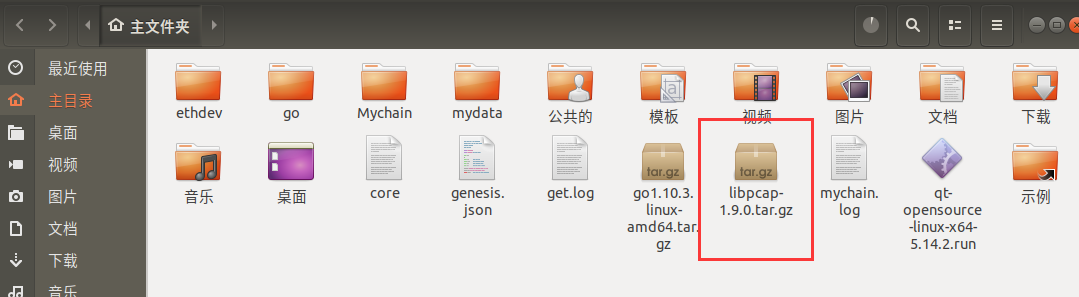
将下载的libpcap压缩包放在主目录下
在此目录下打开终端
解压到当前目录下
sudo tar -zxvf libpcap-1.9.0.tar.gz

此时我们进入主目录可以看到已经成功解压
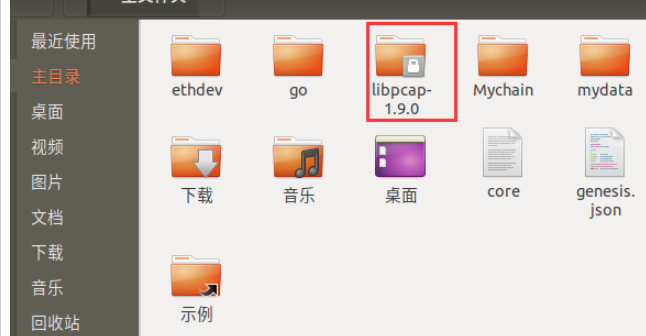
我们看到文件上面 有个锁,说明没有给权限。
给这个文件读写权限
sudo chmod -R 777 libpcap-1.9.0

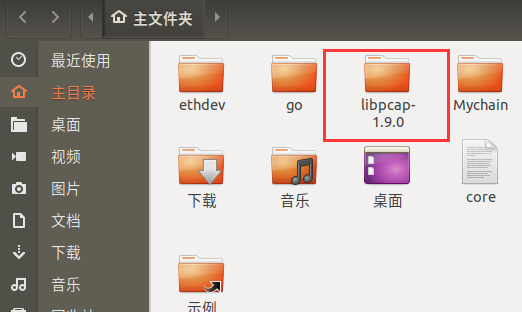
此时我们再看就没有锁了。
接下来在libpcap-1.9.0文件夹下输入 sudo ./configure会报错。
报错显示

所以我们在安装libpcap之前需要安装几个依赖:
安装flex:
sudo apt-get install flex

安装bison:
sudo apt-get install bison

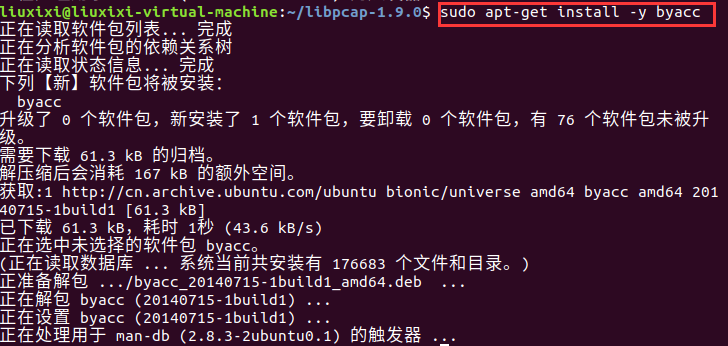
安装byacc:
sudo apt-get install -y byacc
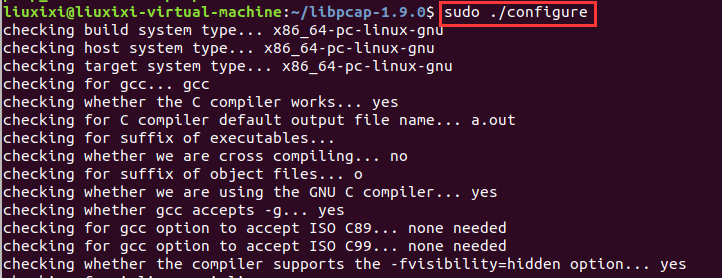
此时安装libpcap:
sudo ./configure

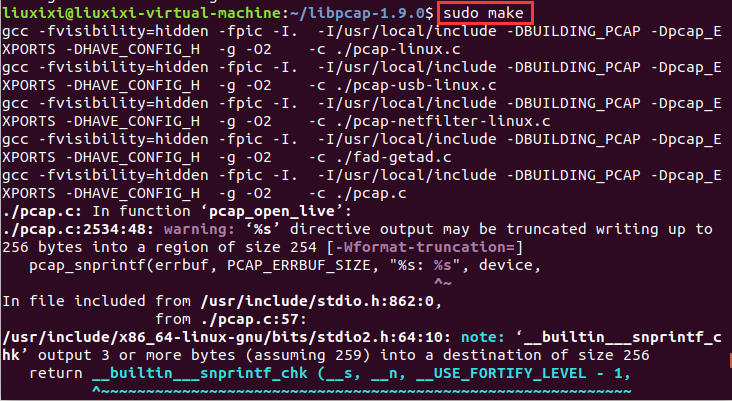
sudo make
sudo make install

到这,我们的libpcap库就安装好了。