Method #1 » 用yum源安装:
[root@localhost ~]# sudo yum install git
查看安装的git的版本号:
[root@localhost ~]# git --version
git version 1.8.3.1
但yum源中安装的git版本是1.8.3.1,太老了。
Method #2 » 下载git源码,编译安装:
1.更新安装源:
[root@localhost ~]# yum update
2.安装git相关的依赖包:
[root@localhost ~]# yum install curl-devel expat-devel gettext-devel openssl-devel zlib-devel gcc perl-ExtUtils-MakeMaker
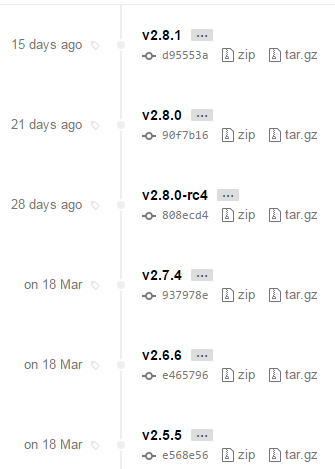
3.到git官网查看最新的版本为2.8.1:
或是GitHub上Git版本的发布页面
4.下载git源码并解压:
[root@localhost ~]# wget https://github.com/git/git/archive/v2.8.1.zip
[root@localhost ~]# unzip v2.8.1.zip
[root@localhost ~]# cd git-2.8.1
5.编译安装到“/usr/local/git”目录下:
[root@localhost ~]#make prefix=/usr/local/git all
[root@localhost ~]#make prefix=/usr/local/git install
此时,使用git --version 查看git版本,发现仍然是1.8.3.1版本。这是因为它默认使用了"/usr/bin"下的git。
[root@localhost ~]# git --version
git version 1.8.3.1
接着查看git所在的路径:
[root@localhost git-2.8.1]# whereis git
git: /usr/bin/git /usr/share/man/man1/git.1.gz
6.设置环境变量:
把编译安装的git路径放到环境变量里,让它替换"/usr/bin"下的git。为此我们可以修改“/etc/profile”文件(或者/etc/bashrc文件),在文件的最后一行(即77行)添加“export PATH=/usr/local/git/bin:$PATH”。
[root@localhost ~]# vim /etc/profile
保存修改:
[root@localhost ~]# source /etc/profile
再次查看git的版本号是2.8.1:
[root@localhost ~]# git --version
git version 2.8.1
以上就完成了CentOS上的git安装了。
安装完后,别忘了清理cache:
[root@localhost ~]# yum clean all
后续
Git的版本更新:
通过克隆的Git库,您可以更新通过“git pull”命令来更新到最新版本的Git。
$ cd /usr/local/src/
$ git clone git://git.kernel.org/pub/scm/git/git.git
$ cd git
$ make prefix=/usr/local all
$ make prefix=/usr/local install
$ git --version
--------------------------------------------------------------------------------------------------------------------------
P.S. Git设置:
Git安装成功后,需要使用"git config"命令来全局设置提交的用户名及邮箱:
[root@localhost ~]#git config --global user.name "Your Name"
[root@localhost ~]#git config --global user.email "you@example.com"
详细配置,参照Git官网。