linux-命令权限
1) 新建用户natasha,uid为1000,gid为555,备注信息为“master”
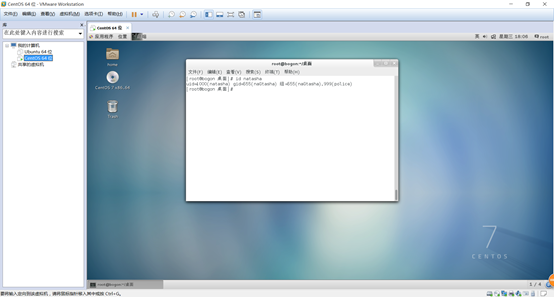
2) 修改natasha用户的家目录为/Natasha
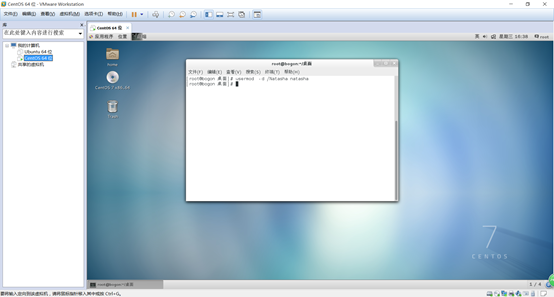
3) 查看用户信息配置文件的最后一行

4) 为natasha用户设置密码“123”

5) 查看用户密码配置文件的最后一行
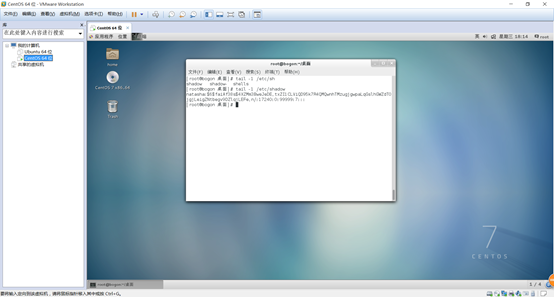
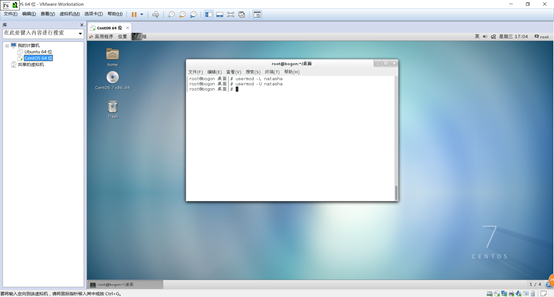
6) 将natasha用户账户锁定
将natasha用户账户解锁
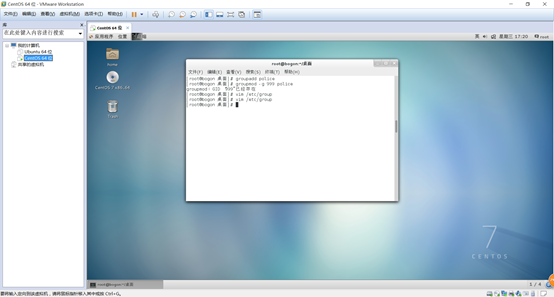
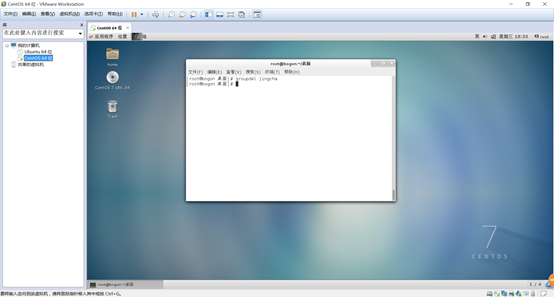
7) 新建组police,gid为999
查看组配置文件的最后一行
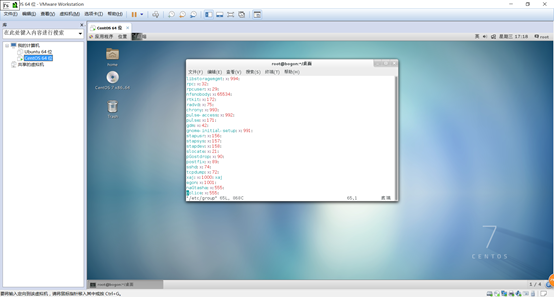
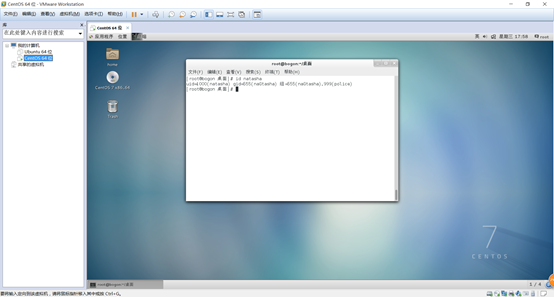
8) 将natasha用户加入police组
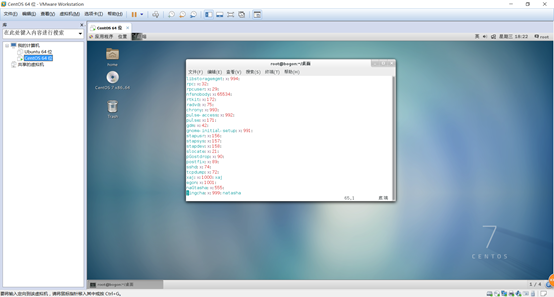
9) 修改police组的组名为jingcha
10) 删除natasha用户,连家目录和邮箱一起删除
userdel –r natasha
11) 删除jingcha组
1) 在用户的主目录下创建目录test,进入test创建空文件file1
[root@bogon ~]# mkdir test
[root@ bogon ~]# cd test/
[root@ bogon test]# touch file1
2) 以长格式形式显示文件信息,注意文件的权限和所属用户和组
[root@ bogon test]# ls -l
total 0
-rw-r--r-- 1 root root 0 Mar 15 16:24 file1
3) 为文件file1设置权限,使其他用户可以对此文件进行写操作。
[root@ bogon test]# chmod 666 file1
4) 查看设置结果,
[root@ bogon test]# ls -l
-rw-rw-rw- 1 root root 0 Mar 15 16:24 file1
5) 取消同组用户对文件file1的读取权限,并查看设置结果。
[root@ bogon test]# chmod g-w file1
[root@ bogon test]# ls -l
-rw-r--rw- 1 root root 0 Mar 15 16:24 file1
6) 用数字表示法为文件file设置权限,所有者可读、可写、可执行,所属组用户和其他用户只具有读和执行的权限。设置完成后查看设置结果。
[root@ bogon test]# chmod 755 file1
[root@ bogon test]# ls -l
-rwxr-xr-x 1 root root 0 Mar 15 16:24 file1
7) 用数字形式更改文件file1的权限,使所有者只能读取此文件。其他任何用户都没有权限。查看设置结果。
[root@ bogon test]# chmod 400 file1
[root@ bogon test]# ls -l
-r-------- 1 root root 0 Mar 15 16:24 file1
8) 回到上层目录,查看test的权限
[root@ bogon test]# cd ..
[root@ bogon ~]# ls -ld test
drwxr-xr-x 2 root root 4096 Mar 15 16:24 test
9) 为其他用户添加对此目录的写权限
[root@ bogon ~]# chmod -R g+w test
[root@ bogon ~]# ls -ld test
drwxrwxr-x 2 root root 4096 Mar 15 16:24 test
1)以操作文件的方式,新建一个用户alex
tail -1 /etc/passwd
alex:x:1010:1010::/home/alex:/bin/bash
tail -1 /etc/shadow
alex:!!:17240:0:99999:7:::
tail -1 /etc/group
alex:x:1010:
tail -1 /etc/gshadow
alex:!::
mkdir /home/alex
cp -r /etc/skel/.[!.]* /home/alex/
chown -R alex.alex /home/alex/
touch /var/spool/mail/alex
chown -R alex.mail /var/spool/mail/alex
1) 新建目录/test/dir,属主为tom,数组为group1,/test目录的权限为777
mkdir -p /test/dir
useradd tom
groupadd group1
chown tom.group1 /test/dir
chmod 777 /test/
2) 新建用户jack,切换到jack用户下,验证jack用户对dir目录的rwx权限(开启另外一个终端,依次修改dir目录的others权限)
useradd jack
[root@bogon test]#chmod o=rw /test/dir
[root@bogon test]# ls –ld /test/dir
Drwxr-xrw-. 2 tom group1 6 3月 15 18:06 /test/dir
su - jack
![]()
3)将jack加入group1组,验证jack用户对dir目录的rwx权限(开启另外一个终端,依次修改dir目录的group权限

4)切换到tom用户,验证tom用户对dir目录的rwx权限(开启另外一个终端,依次修改dir目录的user权限)
5)在dir目录内新建文件tom.txt,属主为tom,属组为group1,/test目录的权限为777
[root@bogon dir]# chown tom.group1 tom.txt
[root@bogo dir]# chmod 777 tom.txt
[root@bogo dir]# ls -l tom.txt
-rwxrwxrwx 1 tom group1 11 Mar 15 17:27 tom.txt
6)新建用户rose,切换到rose用户下,验证rose用户对tom.txt的rwx权限(开启另外一个终端,依次修改tom.txt的others权限来配合验证过程)
(1)rwx权限
[rose@bogo dir]$ ls -l tom.txt
-rwxrwxrwx 1 tom group1 11 Mar 15 17:27 tom.txt
[rose@bogo dir]$ cat tom.txt
echo "tom"
[rose@bogo dir]$ vim tom.txt
(2)rw权限
[root@bogo dir]# chmod 776 tom.txt
[root@bogo dir]# ls -l tom.txt
-rwxrwxrw- 1 tom group1 12 Mar 15 17:31 tom.txt
7)将rose加入group1组,在rose用户下,验证rose用户对tom.txt的rwx权限(开启另外一个终端,依次修改tom.txt的group1权限来配合验证过程)
8)切换到tom用户,验证tom用户对tom.txt的rwx权限(开启另外一个终端,依次修改tom.txt的user权限来配合验证过程)
9。linux 下查看当前用户
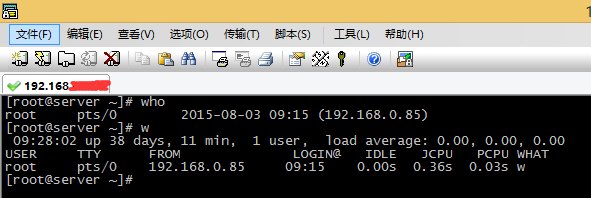
使用who命令可以查看当前登录用户,使用w命令可以看到所有登录用户信息。
1、命令who
显示当前登录用户,登录时间和登录IP地址。参考下图

2、命令w
按照标题显示:当前时间、机器运行时间、登录用户数量、系统负载信息。
TYPE=Ethernet
BOOTPROTO=static
DEVICE=eth0
IPADDR=
NETMASK=
GATEWAY=
ONBOOT=yes
11.Centos修改root密码
#Linux:
#建文件:
    # touch  /tep/a.txt
#动态监测文件变化:
    #tail -f /tep/a.txt