入门案例
步骤1:创建类
@Controller 标注为一个控制器
@RequestMapping url赋值
通配符
/*xx 已xx结尾的url
/xx* 已xx开头的url
/**/xx xx前可有0到N个目录
/*/xx xx前必须有1个目录
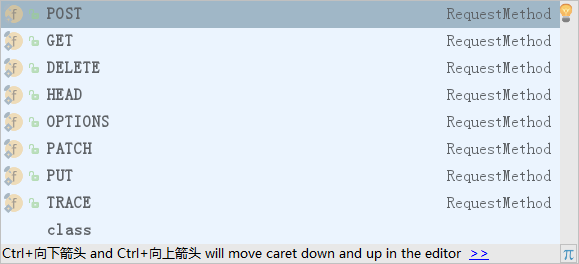
请求:如果设置请求则只能当前请求可以访问
//使用注解式开发
@Controller   //用于标注为一个控制器
@RequestMapping("/Test")//命名空间   例:http://location:8080/Test/xx
public class FirstController{

    //通配符使用*代表0个到N个
    @RequestMapping("/*some")//URL
    public String doSome(){
        return "doFirst";
    }

    //请求设置
    @RequestMapping(value = "/one",method = RequestMethod.GET)//URL
    public String doOne(){
        return "doFirst";
    }

    @RequestMapping(value = "/one",method = RequestMethod.POST)//URL
    public String doOne(String name,String pwd){
        System.out.println(name);
        return "doFirst";
    }


    //自定义两个方法
    @RequestMapping("/first")//URL
    public String doFirst(){
        return "doFirst";
    }
    @RequestMapping("/second")//URL
    public String doSecond(){
        return "doSecond";
    }

}
步骤2:配置SpringMVC.xml文件
 <!--方式三:参数方法名解析器-->
   <bean id="methodNameResolver" class="org.springframework.web.servlet.view.InternalResourceViewResolver">
       <property name="prefix" value="/"/>
       <property name="suffix" value=".jsp"/>
   </bean>

    <!--扫描包下所有的被标注的类-->
    <context:component-scan base-package="cn.happy.day06Annotation"/>
配置完成!