《Spring Security实现OAuth2.0授权服务 - 基础版》和《Spring Security实现OAuth2.0授权服务 - 进阶版》两篇文章中介绍如何搭建OAuth2.0授权服务器和资源服务器。
本文将继续优化,将授权服务器和资源服务器分离,部署在不同的服务器上面。
一、简要说明
Spring Security OAuth2.0既可以把授权服务器(AuthorizationServer)和资源服务器(ResourceServer)配置在一个应用中,也可以分开配置。
授权服务器负责用户登录、授权、token验证等。
资源服务器负责提供受保护资源,只是需要到授权服务器进行token验证。
在此部分,将介绍以下内容:
- 如何将AuthorizationServer和ResourceServer分开配置,各司其职。
- 使用postman替换curl命令作为接口调用的工具。
- 依赖、实体类、工具类、DAO、Service、授权页、登录页等内容与上一部分没有区别,不再赘述,只记录需要修改的内容。
二、AuthorizationServer配置
在上一部分的代码(Spring Security实现OAuth2.0进阶)中抽取以下内容:
- 实体类。
- 登录页和授权页。
- DAO和Service层。
- Mybatis配置、Security配置和AuthorizationServerConfigurer配置。
需要修改一部分代码。
1、修改AuthorizationServerConfigurer配置
重写configure(AuthorizationServerSecurityConfigurer)方法,配置前来验证token的client需要拥有ROLE_TRUSTED_CLIENT角色。
 1 @Configuration
 2 public class Oauth2AuthorizationServerConfiguration extends
 3         AuthorizationServerConfigurerAdapter {
 4
 5     @Autowired
 6     private UserDetailsService userDetailsService;
 7     @Autowired
 8     private DataSource dataSource;
 9
10     @Override
11     public void configure(AuthorizationServerSecurityConfigurer security)
12             throws Exception {
13         // 配置前来验证token的client需要拥有的角色
14         security.checkTokenAccess("hasAuthority('ROLE_TRUSTED_CLIENT')");
15     }
16
17     @Override
18     public void configure(ClientDetailsServiceConfigurer clients)
19             throws Exception {
20         // 不变
21     }
22
23     @Override
24     public void configure(AuthorizationServerEndpointsConfigurer endpoints)
25             throws Exception {
26         // 不变
27     }
28 }
2、修改启动类
启动类删除@EnableResourceServer注解。
 1 @SpringBootApplication
 2 @EnableAuthorizationServer
 3 @MapperScan("org.net5ijy.oauth2.repository")
 4 public class Oauth2AuthorizationServer {
 5
 6     public static void main(String[] args) {
 7
 8         // args = new String[] { "--debug" };
 9
10         SpringApplication.run(Oauth2AuthorizationServer.class, args);
11     }
12 }
三、ResourceServer配置
在上一部分的代码(Spring Security实现OAuth2.0进阶)中抽取以下内容:
- 响应工具类
- 受保护资源controller
1、配置Spring Security
 1 @EnableWebSecurity
 2 public class SecurityConfiguration extends WebSecurityConfigurerAdapter {
 3
 4     @Override
 5     protected void configure(HttpSecurity http) throws Exception {
 6
 7         http.authorizeRequests().antMatchers("/order/**").authenticated();
 8
 9         // 禁用CSRF
10         http.csrf().disable();
11     }
12 }
2、配置ResourceServerConfigurer
需要配置一个受信任的client到授权服务器验证token令牌。
 1 @Configuration
 2 public class Oauth2ResourceServerConfiguration extends ResourceServerConfigurerAdapter {
 3
 4     private static final String URL = "http://localhost:7002/oauth/check_token";
 5
 6     @Override
 7     public void configure(ResourceServerSecurityConfigurer resources)
 8             throws Exception {
 9
10         RemoteTokenServices tokenService = new RemoteTokenServices();
11         tokenService.setCheckTokenEndpointUrl(URL);
12         tokenService.setClientId("net5ijy");
13         tokenService.setClientSecret("12345678");
14
15         resources.tokenServices(tokenService);
16     }
17 }
3、修改启动类
启动类删除@EnableAuthorizationServer注解。
1 @SpringBootApplication
2 @EnableResourceServer
3 public class Oauth2ResourceServer {
4
5     public static void main(String[] args) {
6         SpringApplication.run(Oauth2ResourceServer.class, args);
7     }
8 }
四、测试授权码模式
首先启动授权服务器,再启动资源服务器。
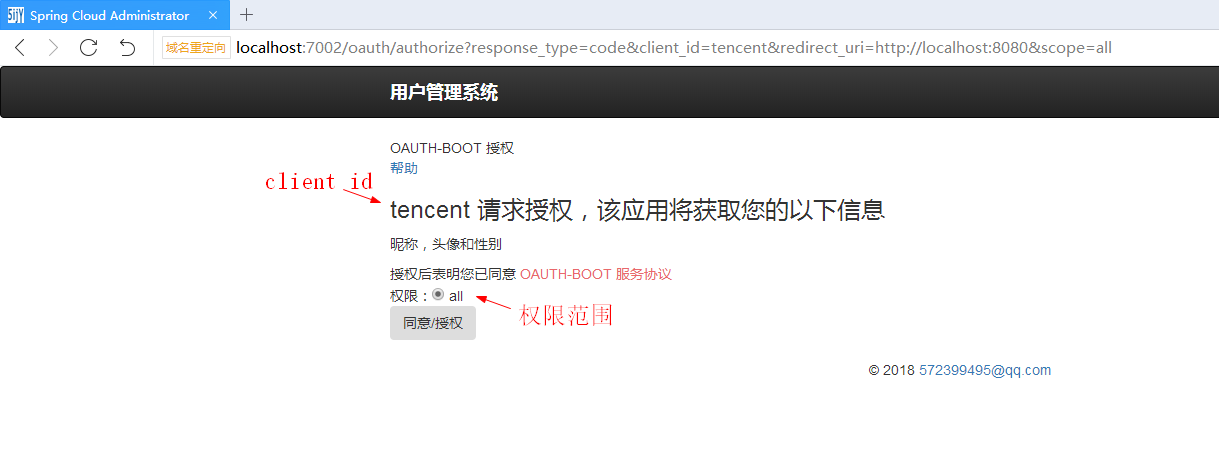
1、获取authorization_code授权码
使用浏览器访问:
http://localhost:7002/oauth/authorize?response_type=code&client_id=tencent&redirect_uri=http://localhost:8080&scope=all
地址
http://localhost:7002/oauth/authorize
参数
|
response_type |
code |
|
client_id |
根据实际的client-id填写,此处写tencent |
|
redirect_uri |
生成code后的回调地址,http://localhost:8080 |
|
scope |
权限范围 |
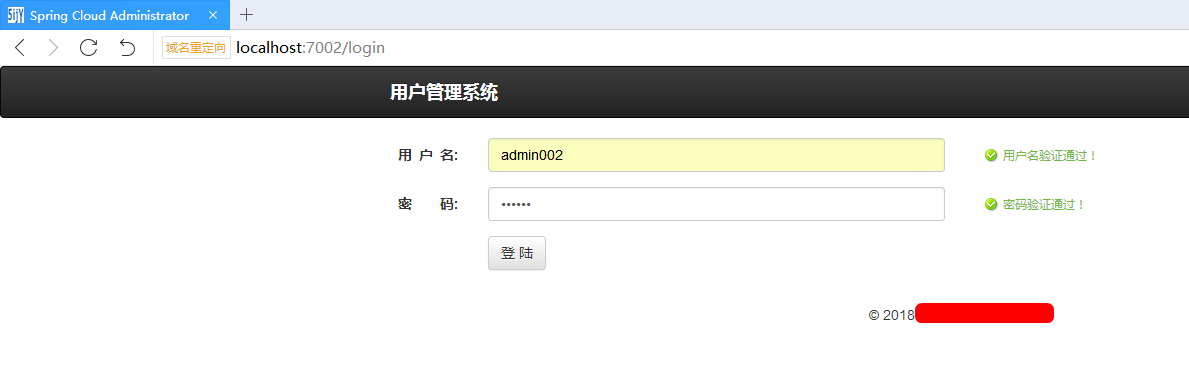
登录,admin002和123456
允许授权
看到浏览器重定向到了http://localhost:8080并携带了code参数,这个code就是授权服务器生成的授权码

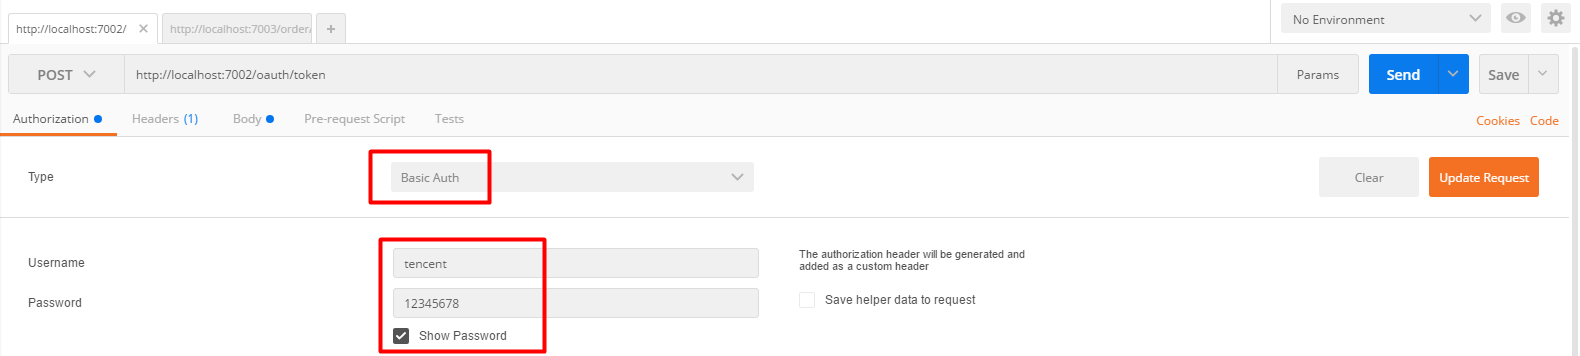
2、获取token令牌
地址
http://localhost:7002/oauth/token
参数
|
grant_type |
授权码模式,写authorization_code |
|
scope |
权限范围 |
|
redirect_uri |
回调地址,http://localhost:8080需要urlencode |
|
code |
就是上一步生成的授权码 |
使用postman获取token令牌。
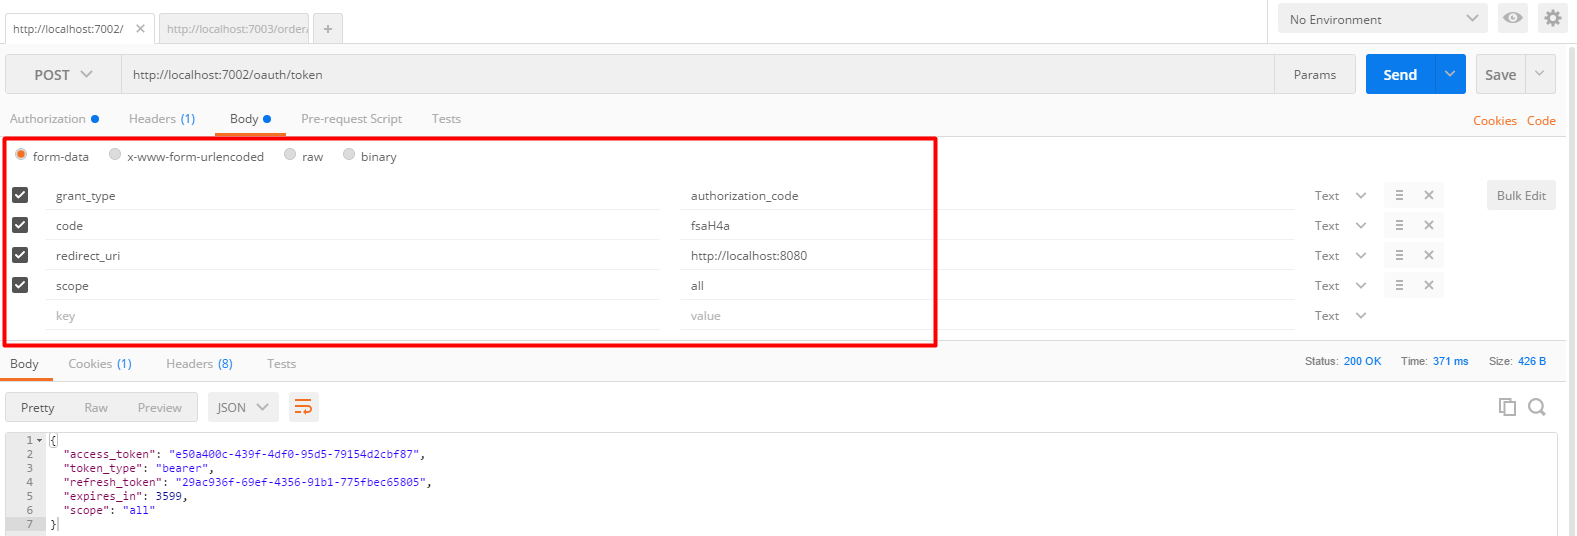
返回值
1 {
2     "access_token": "e50a400c-439f-4df0-95d5-79154d2cbf87",
3     "token_type": "bearer",
4     "refresh_token": "29ac936f-69ef-4356-91b1-775fbec65805",
5     "expires_in": 3599,
6     "scope": "all"
7 }
这样就获取到了token令牌,该token的访问权限范围是all权限,在1小时后失效。
3、使用token访问资源
http://localhost:7003/order/demo?access_token=e50a400c-439f-4df0-95d5-79154d2cbf87

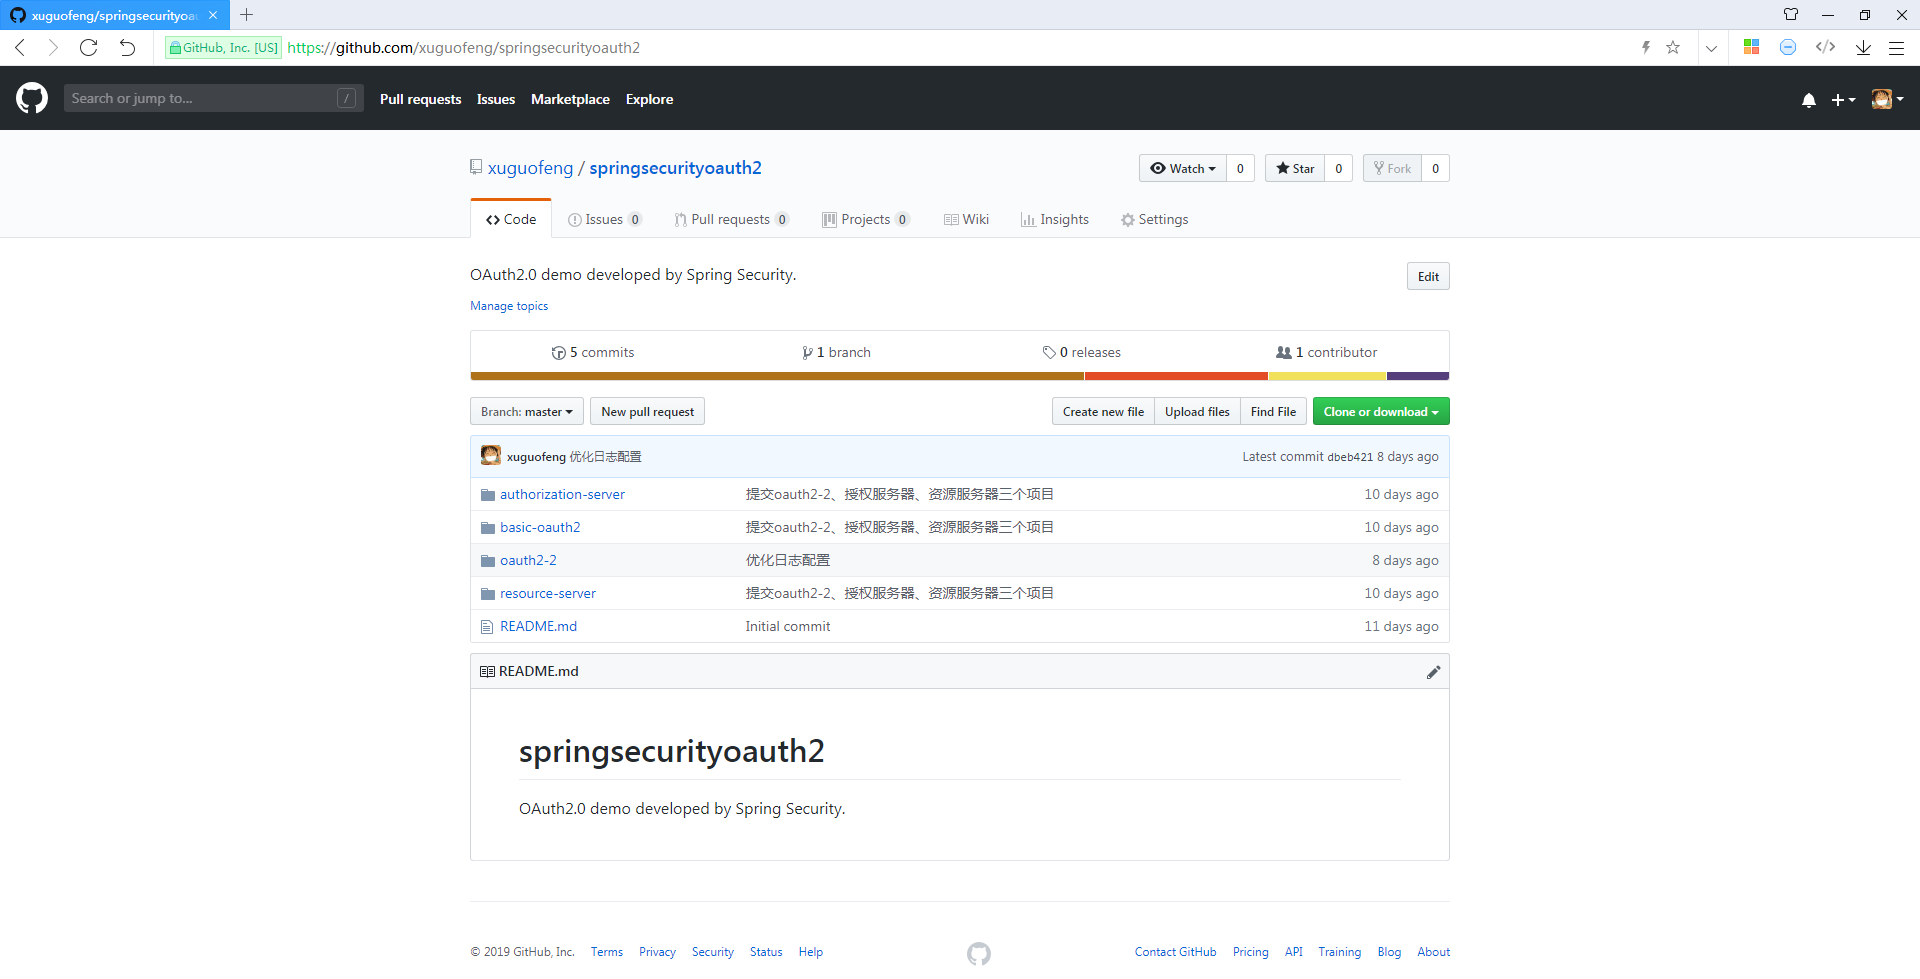
五、Github源码下载
https://github.com/xuguofeng/springsecurityoauth2