zoukankan      html  css  js  c++  java
  • 趣味测试类微信小程序

    先说说项目需求吧,

    l  点击【再测一次】,重新开始测试流程,主持人回复第一个题目,流程同上;答完全部题目后,底部不显示【立即开始分析】按钮,而是直接展示结果,且上一次测试内容不清空;如退出再进来,则清空全部历史记录。

    图片说明:

    l 图片上面显示微信头像和昵称

    l 名称:左右脑人才鉴定,下面显示2019权威测试标记;

    l 分数、简述文案与详述文案

    l 二维码:H5聚合页的二维码

    l 二维码文案为:长按识别二维码|快来领取你的左右脑成绩单

    l 点击【点击保存结果】,将图片保存到手机相册,且按钮隐藏,显示为文字:图片已保存到相册,可分享至朋友圈。

    l 点击【查看大图】,将图片发送给朋友。

    至于分数就是每一题左脑得分xx分,右脑得分XX分 ,最后左脑总分XX分,右脑总分XX分,根据分数得出左脑优势详述右脑分数,详述。

    拿到这个小程序的时候,我觉得没什么内容应该能很快搞定,初始预期想的是用户信息这一块服务端返回字段给我即可,数据结果这一段我可以在前端自己处理。

    我当时想的唯一的难点就是最后html生成图片这部分,因为之前在移动端其实做过这个需求,使用的是html2canvas,里面的坑多兼容性不好,所以心里有阴影。

    最后做了才知道困住我的不是这一步,而是在不能操作dom的情况下,如何实现无线循环的再测一次。

    那就从头梳理一下这个小程序吧:

    1.用户信息授权

    这个是直接使用微信的getUserInfo

    <a class="supend" wx:if="{{!hasUserInfo && canIUse && item==2}}"><button open-type="getUserInfo" bindgetuserinfo="getUserInfo" class="supend-bth"> 立即分析结果 </button></a>
    <view wx:if="{{hasUserInfo}}">
      <image bindtap="bindViewTap" class="userinfo-avatar" src="{{userInfo.avatarUrl}}" mode="cover"></image>
      <text class="userinfo-nickname">{{userInfo.nickName}}</text>
    </view>
    这个微信规定必须使用button按钮授权,
    对应js
    getUserInfo: function(e) {
      var _this = this;
      console.log(e)
      if (!e.detail.userInfo){
        return false;
      }
      app.globalData.userInfo = e.detail.userInfo
      console.log(e.detail.userInfo)
      _this.setData({
        userInfo: e.detail.userInfo,
        hasUserInfo: true
      })
      console.log("已有用户信息");
      _this.resultShow();
    },
    if (app.globalData.userInfo) {
      this.setData({
        userInfo: app.globalData.userInfo,
        hasUserInfo: true
      })
    } else if (this.data.canIUse) {
      // 由于 getUserInfo 是网络请求,可能会在 Page.onLoad 之后才返回
      // 所以此处加入 callback 以防止这种情况
      app.userInfoReadyCallback = res => {
        this.setData({
        userInfo: res.userInfo,
        hasUserInfo: true
        })
      }
      console.log("支持button标签获取信息");
      } else {
      // 在没有 open-type=getUserInfo 版本的兼容处理
      wx.getUserInfo({
        success: res => {
          app.globalData.userInfo = res.userInfo
          this.setData({
          userInfo: res.userInfo,
          hasUserInfo: true
        })
      },
      fail:function(){
        return false;
      }
    })
      console.log("不支持button标签的兼容写法");
    }
    这样直接可以获取到用户的昵称和头像,没有进行服务端交互。
     
    2.计算结果分数
    直接将结果存成一个对象,最后找出每个答案对应的值相加,返回总结果
    optRst: function (ansArr) {
    var rst = {
     "0": {
        '0': [xx, xx],
        '1': [xx, xx],
        '2': [xx, xx],
        '3': [xx, xx],
        '4': [xx, xx]
      },
      "1": {
        '0': [xx, xx],
        '1': [xx, xx]
       },
      "2": {
        '0': [xx, xx],
        '1': [xx, xx]
        },
      "3": {
        '0': [xx, xx],
        '1': [xx, xx],
        '2': [xx, xx]
        },
       "4": {
        '0': [xx, xx],
        '1': [xx, xx]
        }
     };
    for (var i = 0; i < ansArr.length; i++) {
      var j =ansArr[i];
      this.globalData.leftScore = this.globalData.leftScore + rst[i][j][0]
      this.globalData.rightScore = this.globalData.rightScore + rst[i][j][1]
    }
    }
    将计算得来的总数据存放在全局data里即可
    3.绘制生成图片
    想要绘制用户的微信头像怎么办?
    将微信的域名配置到自己公众平台的服务器域名下(https://wx.qlogo.cn)
    先将微信头像下载下来
    wx.downloadFile({
      url: _this.data.avatarUrl,
      success: function (res) {
        //console.log(res.tempFilePath);
        _this.setData({
          avatarUrl: res.tempFilePath,
        })
        //绘图方法
        //that.drawImage();
      },
      fail: function (res) {
        //console.log("绘图失败")
        _this.setData({ nonet: false })
      }
    })
    然后获取图片
    let promise1 = new Promise(function (resolve, reject) {
      wx.getImageInfo({
      src: '../../images/result-pic.png',
      success: function (res) {
        //console.log('背景图获取成功')
        resolve(res);
      }
      })
    });
    let promise2 = new Promise(function (resolve, reject) {
      wx.getImageInfo({
        src: app.globalData.userInfo.avatarUrl,//服务器返回的图片地址
        success: function (res) {
          //console.log('头像获取成功')
          resolve(res);
         }
      })
    });
    获取图片成功后去绘制图片
    Promise.all([
      //promise1, promise2
      promise2, promise3, promise4
    ]).then(res => {
      //console.log("进入promise")
      const ctx = wx.createCanvasContext('shareImg')
      ctx.drawImage('../../' + res[0].path, 0, 0, 545, 771)
      ctx.drawImage('../../' + res[2].path, 14, 658, 90, 90)
      //ctx.drawImage(_this.data.avatarUrl, 0, 0, 70, 70)
      //主要就是计算好各个图文的位置
      //绘制圆角头像
      ctx.save(); // 先保存状态 已便于画完圆再用
      ctx.beginPath(); //开始绘制
      ctx.arc(272, 257, 50, 0, Math.PI * 2, false);
      ctx.clip();//画了圆 再剪切 原始画布中剪切任意形状和尺寸。一旦剪切了某个区域,则所有之后的绘图都会被限制在被剪切的区域内
      ctx.drawImage(res[1].path, 220, 208, 100, 100); // 推进去图片
      ctx.restore(); //恢复之前保存的绘图上下文 恢复之前保存的绘图上下午即状态 可以继续绘制
      //console.log("头像绘制成功")
      //ctx.draw();
      //绘制名字
      ctx.setTextAlign('left')
      ctx.setFillStyle('#ffffff')
      ctx.font = 'normal bold 32px sans-serif';
      ctx.fillText(app.globalData.userInfo.nickName, (540 - ctx.measureText(app.globalData.userInfo.nickName).width) / 2, 118)
      //ctx.fillText('可爱的小公举', (540 - ctx.measureText('可爱的小工具').width) / 2, 118)
      var chr = _this.data.leftDesc.split("");//将一个字符串分割成字符串数组
      var temp = "";
      var row = [];
      ctx.setFillStyle('#211f18')
      ctx.setTextAlign('left')
      ctx.font = 'normal normal 20px sans-serif';
      for (var a = 0; a < chr.length; a++) {
        if (ctx.measureText(temp).width < 220) {
          temp += chr[a];
        }
        else {
          a--; //这里添加了a-- 是为了防止字符丢失,效果图中有对比
          row.push(temp);
          temp = "";
        }
      }
      row.push(temp);
      ctx.draw(true,setTimeout(() => {//在draw回调里调用该方法才能保证图片导出成功。
        wx.canvasToTempFilePath({
          x: 0,
          y: 0,
           'xxx',
          height: 'xxx',
          destWidth: 'xxx',
          destHeight: 'xxx',
          canvasId: 'shareImg',
          success: function (res) {
            _this.setData({
              prurl: res.tempFilePath,
              hidden: false
          })
          wx.hideLoading()
         },
        fail: function (res) {
          //console.log("最后绘制失败");
        }
       })
      }, 200))
    })
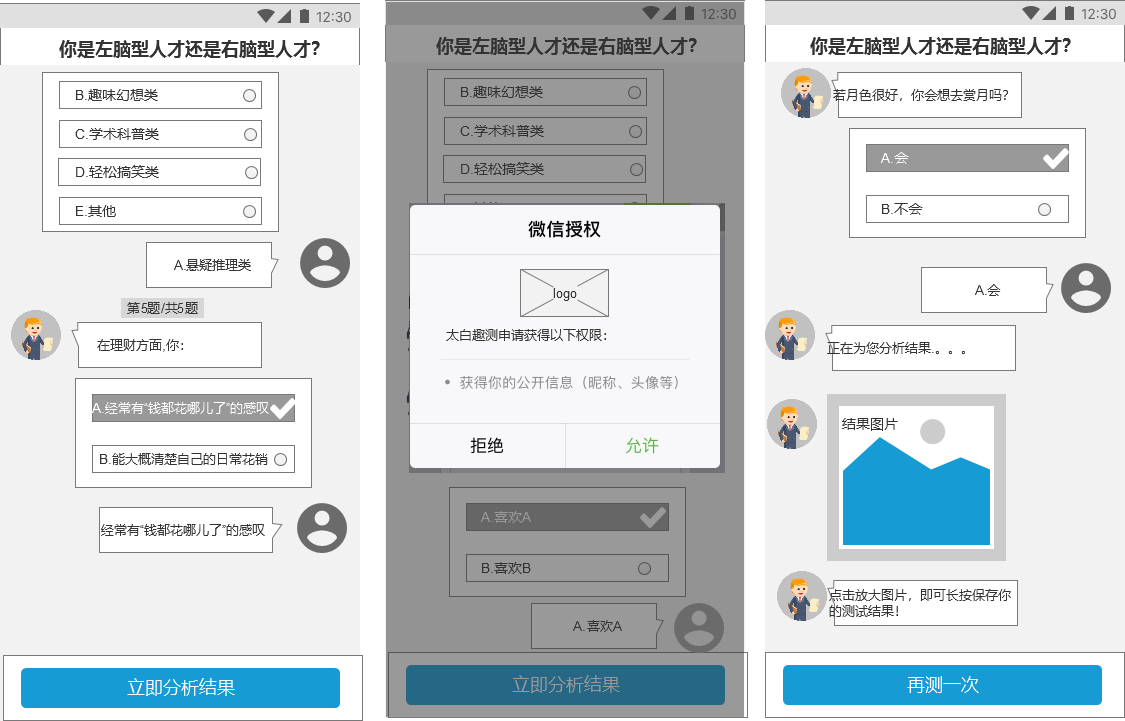
    4.保存图片到相册(获取用户保存到相册授权)
    wx.getSetting({
      success(res) {
        if (!res.authSetting['scope.writePhotosAlbum']) {
          wx.authorize({
            scope: 'scope.writePhotosAlbum',
            success() {
              //console.log('用户已经同意小程序使用保存到相册功能')
              // 用户已经同意小程序使用保存到相册功能,后续调用 wx.startRecord 接口不会弹窗询问
              //wx.startWritePhotosAlbum()
            },
            fail(){
             //console.log('用户不同意小程序使用保存到相册功能')
              wx.showModal({
                title: '警告',
                content: '你点击了拒绝授权将无法保存图片,点击确定重新获取授权。',
                showCancel: false,
                confirmText: '返回授权',
                success: function (res) {
                  if (res.confirm) {
                    wx.openSetting({
                      success: (res) => {
                        if (res.authSetting["scope.writePhotosAlbum"]) {
                          wx.authorize({
                              scope: 'scope.writePhotosAlbum',
                              success() {
                                //console.log('用户已经同意小程序使用保存到相册功能')
                                // 用户已经同意小程序使用保存到相册功能,后续调用 wx.startRecord 接口不会弹窗询问
                                //wx.startWritePhotosAlbum()
                             },
                           })
                           }
                         }
                      })
                    }
                     }
                 })
               }
              })
          }else{
            //console.log('用户之前同意过小程序使用保存到相册功能')
             wx.saveImageToPhotosAlbum({
               filePath: that.data.prurl,
               success(res) {
                  wx.showToast({
                     title: '已保存到相册',
                     icon: '',
                     duration: 1000,
                     mask: true
                    })
                 }
             })
           }
        }
    })
    5.长按分享图片
    sharepic:function(e){
      var current = e.target.dataset.src;
      wx.previewImage({
        current: current,
        urls: [current]
      })
    }
    6.//获取页面的高度,从而实现滚动
    pageScrollToBottom: function () {
      var _this = this;
      wx.createSelectorQuery().select('#wrap').boundingClientRect(function (rect) {
      // 使页面滚动到底部
        _this.setData({
          scrollTop: rect.height
        })
      }).exec()
    },
    刚开始我是直接在里面设置wx.pageScrollTo来实现,每次将页面滑到最底部,后来发现这种情况页面抖动十分厉害,故只用上述方法获取高度,
    然后使用

    <scroll-view scroll-y class="container" enable-back-to-top="true" style="height: {{windowHeight}}rpx;" bindscroll="touchclose" scroll-with-animation="true" scroll-top="{{scrollTop}}">
    <!-- 内容 -->
    <view>-----略------</view>
    </scroll-view>

    设置scrollTop的值即可
    7.最后说说基于存在再测一次页面实现的整体结构
    因为页面可以无限次循环,每次又是从第一次循环,所以这边根据数据渲染得出,
    当第一题有答案时显示第二题,当第二题显示时出现第三题,依次执行,五题执行完又可以实现再测一次从第一次实现
    我想到了用wx:for,用wx:for一下循环五项,判断是否展示的条件不变,用二维数组保存,刚开始测试的第一组存放在arr[0]一维数组索引为0的
    第一个二维数组里,每点击再测一次,数组的length加一,添加到下一个arr[1]数组里,这样即可实现无限循环。
    如果有用到上述api出现问题的,可以共同探讨下原因,最后说一下,小程序官方api内容还是很全的,大家可以尝试各种项目。
     
     
  • 相关阅读:
    Cobar-Client 实现策略总结
    xsltproc docbook 转 html
    一个使用高并发高线程数 Server 使用异步数据库客户端造成的超时问题
    Hessian 初探
    关于 tomcat nio connector, servlet 3.0 async, spring mvc async 的关系
    Two-Phase Commit (两阶段提交)
    HashedWheelTimer 原理
    Photoshop 使用曲线
    Photoshop 使用可选颜色
    MySQL Batch 与 Transaction
  • 原文地址:https://www.cnblogs.com/xuniannian/p/10145210.html
Copyright © 2011-2022 走看看