前言
在小程序上应用uniapp 然后引入ts ,你说香不香,哈哈哈
好了 先来一发教程:
官网下载 软件 https://uniapp.dcloud.io/
我创建的TS项目是,用cli 命令行创建的
全局安装vue-cli
npm install -g @vue/cli
创建uni-app
使用正式版(对应HBuilderX最新正式版)
vue create -p dcloudio/uni-preset-vue my-ts
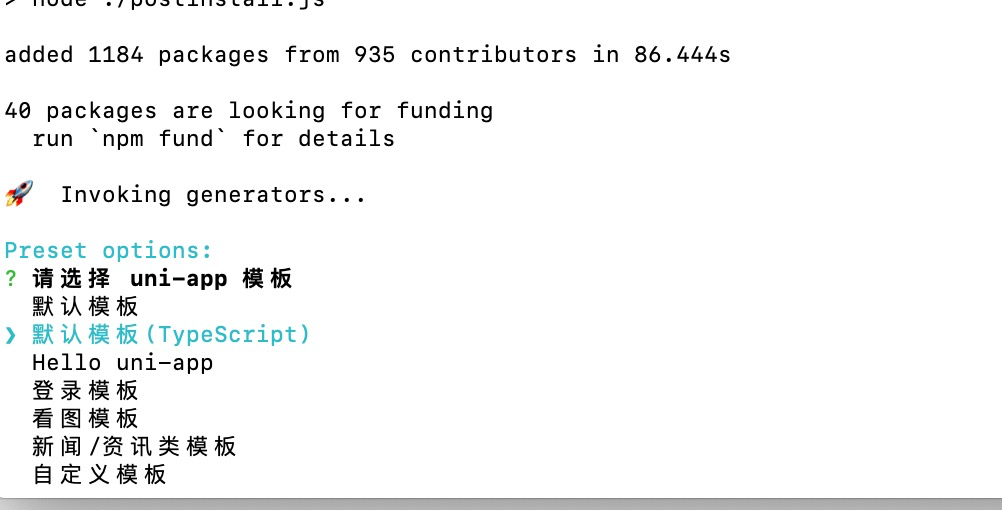
选中 默认模板 (typeScript ) 然后 回车等待
然后在用编辑器打开
你会发现 目录是这样的:
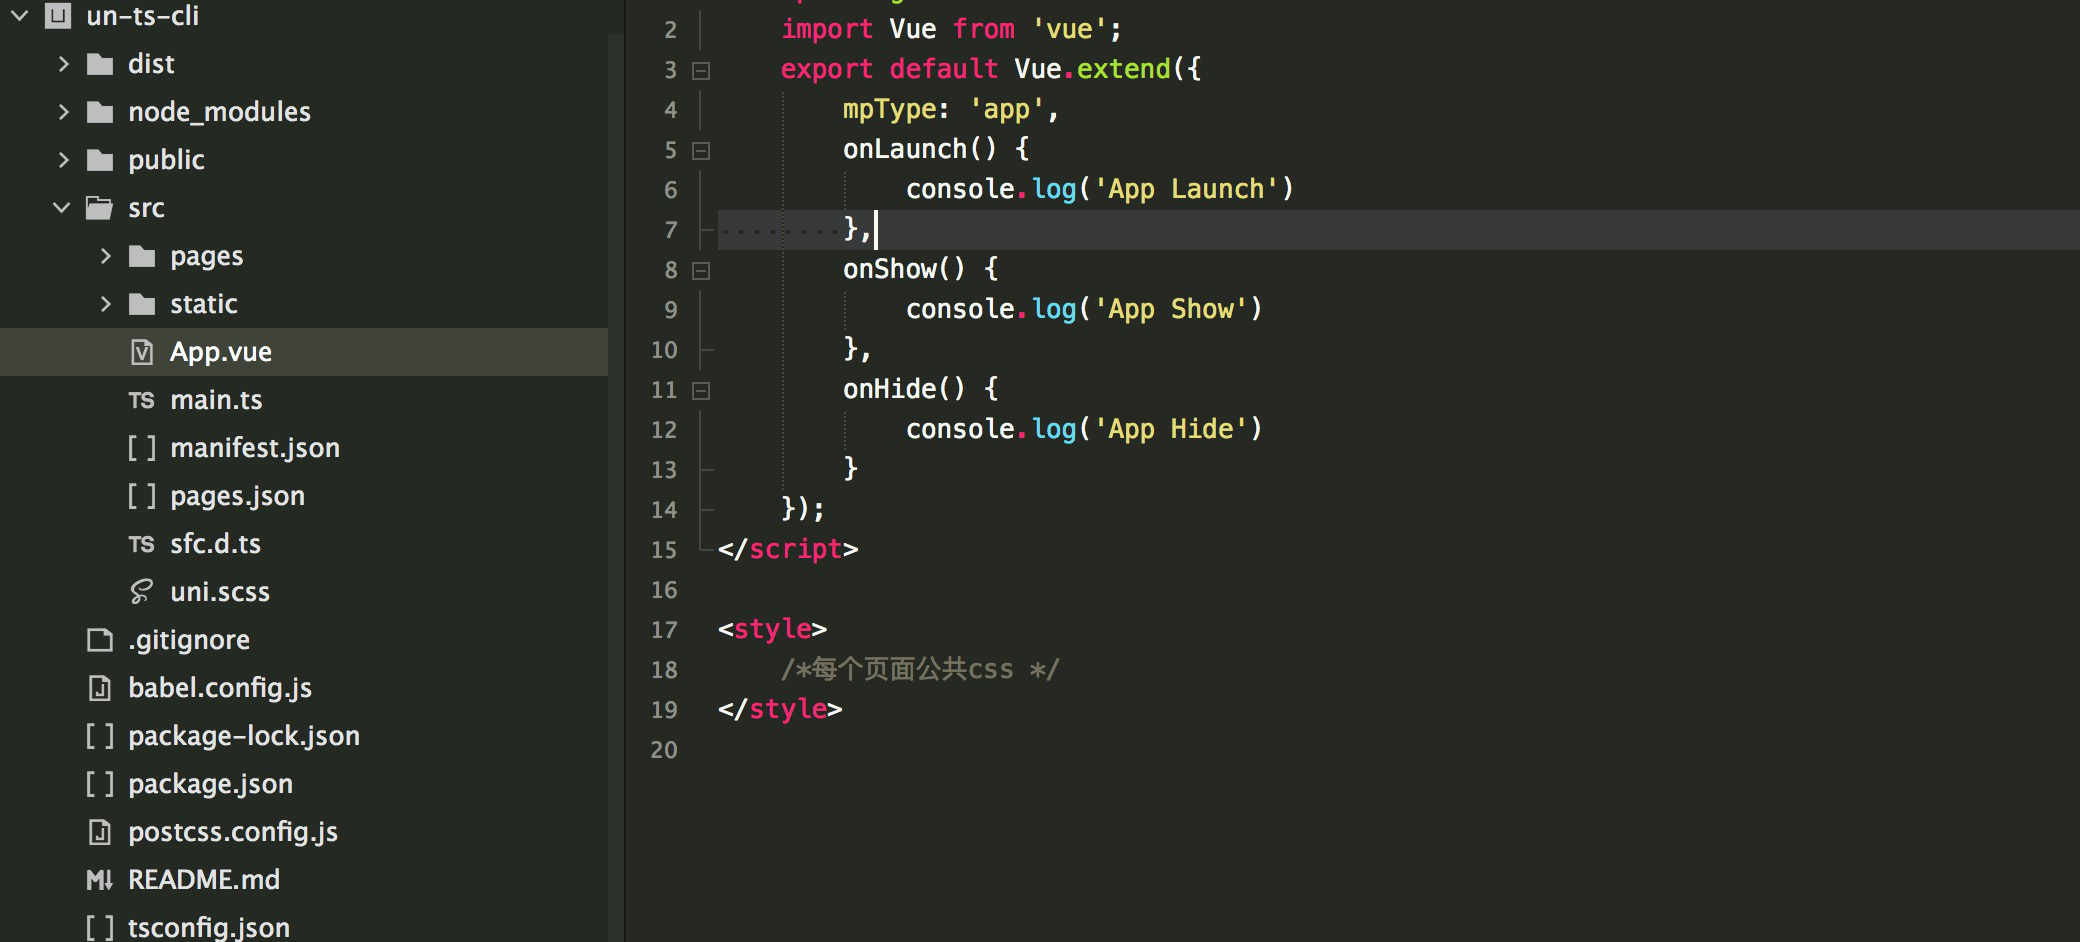
小程序 page 里面就可以页面啦
在新项目的vue文件中使用内联ts
<script lang="ts">
按需引入vue装饰器
import { Component,Vue ,Watch} from "vue-property-decorator";
不管干啥先把下面这句话加上。
@Component({}) //必须
常见装饰器的使用
export default class Idnex extends Vue{
private title:String = 'myTitle'; //响应式属性
private num:Number = 123; //对标之前的data函数返回的对象
get age():Number{ //计算属性
return this.num;
}
onLoad(){
this.printTitle();
let a:string = '123';
}
@Watch('title') //watch,此处是监听title的变化
titleChange(newVal:Number,oldVal:Number){
console.log(newVal,oldVal);
}
printTitle():void{ //methods
console.log('hahahhhaha')
}

}
简单的Demo页面
<template>
    <view class="content" @click.self="printTitle">
        <image class="logo" src="/static/logo.png" @click.stop="title = 'ggg'"></image>
        <view class="text-area">
            <text class="title">{{title}}</text>
            <view>{{age}}</view>
        </view>
    </view>
</template>

<script lang="ts">
    import { Component,Vue ,Watch} from "vue-property-decorator";
    @Component({})
    export default class Idnex extends Vue{
        private title:String  = 'myTitle'; //响应式属性
        private num:Number = 123;           //对标之前的data函数返回的对象
        get age():Number{                   //计算属性
            return this.num;
        }
        onLoad(){
            this.printTitle();
            let a:string = '123';
        }
        @Watch('title')                    //watch,此处是监听title的变化
        titleChange(newVal:Number,oldVal:Number){
            console.log(newVal,oldVal);
        }
        printTitle():void{                //methods
            console.log('hahahhhaha')
        }

    }
</script>

<style>
    .content {
        display: flex;
        flex-direction: column;
        align-items: center;
        justify-content: center;
    }

    .logo {
        height: 200rpx;
         200rpx;
        margin-top: 200rpx;
        margin-left: auto;
        margin-right: auto;
        margin-bottom: 50rpx;
    }

    .text-area {
        display: flex;
        justify-content: center;
    }

    .title {
        font-size: 36rpx;
        color: #8f8f94;
    }
</style>
其实我的index 页面是这样 的


<template>
<view class="content">
  <image class="logo" :src="'../../static/logo.png'"></image>
  <view>
    <view v-for="(title, key) in titles" :key="key" class="title">{{title}}</view>
  </view>
</view>
</template>

<script lang="ts">
import { Vue, Component } from 'vue-property-decorator'

@Component
export default class Home extends Vue {
  titles: string[] = ['title1', 'title2'];
  onLoad() {
    console.log(this.titles)
  }
}
</script>

<style>
.content {
  text-align: center;
  height: 400upx;
}
.logo{
    height: 200upx;
     200upx;
    margin-top: 200upx;
}
.title {
  font-size: 36upx;
  color: #8f8f94;
}
</style>
然后 运行 开发 小程序 你在小程序上就可以看到了
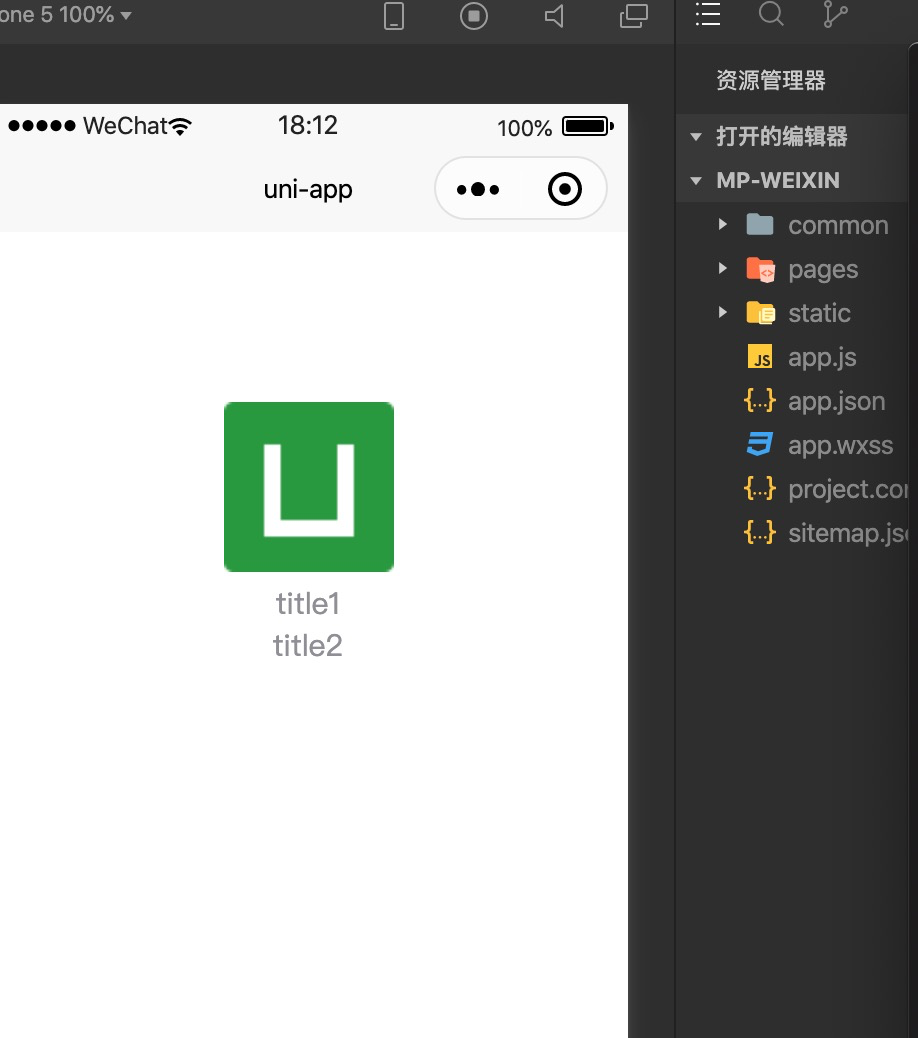
是不是很 开心 哈哈
引入vant
-
项目根目录下新建
wxcomponents目录 ,此目录应该与components目录同级。 -
直接通过
git下载vant-weapp最新源代码,并将dist目录拷贝到新建的wxcomponents目录下,并重命名dist@vant/weapp。
在你的 pages.json 文件下写
 "globalStyle": {
    "backgroundColor": "light",
    "navigationBarBackgroundColor": "#fd4d67",
    "navigationBarTitleText": "WeChat",
    "navigationBarTextStyle": "white",
    "usingComponents": {
      "van-button": "wxcomponents/@vant/weapp/button/index",
      "van-datetime-picker": "wxcomponents/@vant/weapp/datetime-picker/index",
      "van-area": "wxcomponents/@vant/weapp/area/index",
      "van-checkbox": "wxcomponents/@vant/weapp/checkbox/index",
      "van-checkbox-group": "wxcomponents/@vant/weapp/checkbox-group/index",
      "van-picker": "wxcomponents/@vant/weapp/picker/index",
      "van-cell": "wxcomponents/@vant/weapp/cell/index",
      "van-cell-group": "wxcomponents/@vant/weapp/cell-group/index",
      "van-popup": "wxcomponents/@vant/weapp/popup/index",
      "van-tabs": "wxcomponents/@vant/weapp/tabs/index",
      "van-tab": "wxcomponents/@vant/weapp/tab/index",
      "van-radio": "wxcomponents/@vant/weapp/radio/index",
      "van-radio-group": "wxcomponents/@vant/weapp/radio-group/index",
      "van-tag": "wxcomponents/@vant/weapp/tag/index",
      "van-field": "wxcomponents/@vant/weapp/field/index",
      "van-toast": "wxcomponents/@vant/weapp/toast/index",
      "van-switch": "wxcomponents/@vant/weapp/switch/index",
      "van-divider": "wxcomponents/@vant/weapp/divider/index",
      "van-action-sheet": "wxcomponents/@vant/weapp/action-sheet/index",
      "van-dialog": "wxcomponents/@vant/weapp/dialog/index",
      "van-swipe-cell": "wxcomponents/@vant/weapp/swipe-cell/index",
      "van-index-bar": "wxcomponents/@vant/weapp/index-bar/index",
      "van-index-anchor": "wxcomponents/@vant/weapp/index-anchor/index",
      "van-loading": "wxcomponents/@vant/weapp/loading/index"
    }
3. 页面中使用引入的UI组件
在App.Vue文件中style部分引入UI组件库
<script lang="ts">
    export default {
        onLaunch: function() {
            console.log('App Launch')
        },
        onShow: function() {
            console.log('App Show')
        },
        onHide: function() {
            console.log('App Hide')
        }
    }
</script>

<style>
    @import "/wxcomponents/@vant/weapp/common/index.wxss";
    /*每个页面公共css */
</style>
然后就可以愉快的开始 用ts 和 vant啦
BOOM shaka laka la 哈哈, 开始你的uniapp TS 之旅吧
面对疾风吧