本文为Angular5的学习笔记,IDE使用Visual Studio Code,内容是关于数据绑定,包括Property Binding、Class Binding、Style Binding。
在Angular里,有两种绑定,一种是数据绑定(Data Binding),另一种是事件绑定(Event Binding)。

数据流从类到视图则是数据绑定,即在类中改变变量的值,UI视图会跟着改变;反之,事件绑定是随着触发UI视图,类中也会产生相应的变化,比如鼠标点击、键盘点击触发事件。双向绑定则是数据绑定+事件绑定的结合。下面讲一一介绍数据绑定、事件绑定和双向绑定。
一、数据绑定 Data Binding
打开使用Angular CLI命令创建一个组件,命名为test
ng g c test
文件根目录如下:

app.component.x 系列为页面的根模块,可由多个components组成,上述的test就是其中之一,每一个component中包括属于自己.html, .css,.ts文件,在根结构中可以引用各个component。
app.component.ts 里可以定义元数据,比如@Component,其里面的templateUrl、styleUrls会告诉 Angular 从哪里获取你为组件指定html和css文件。
方法一:
app.component.ts
import { Component } from '@angular/core';

@Component({
  selector: 'app-root',
  templateUrl: './app.component.html',
  styleUrls: ['./app.component.css']
})
export class AppComponent {
  title = 'app';
}
方法二:可以使用在元数据里的template和styles直接定义html和css,如下方式
app.component.ts
    <h2>
      Welcome {{name}}
    </h2>
  `
 ,
  styles: [`
    .text-success {
      color : green;
    }
    .text-danger {
      color : red;
    }
    .text-special {
      font-style : italic;
    }
  `]
若使用方法一,则可以在其对应的html中,引用其他模块,比如test模块,以标签<app-test></app-test> 的方式嵌入。
app.component.html
<!--The content below is only a placeholder and can be replaced.-->
<div style="text-align:center">
  <h1>
    From AppComponent!
  </h1>
  <app-test></app-test>
</div>
1. Property Binding
Property Binding是对html中标签属性进行绑定,下面在test模块下进行一系列绑定操作,在此模块使用上述方法二对进行模块开发,代码皆在test.component.ts下编写。
import { Component, OnInit } from '@angular/core';

@Component({
  selector: 'app-test',
  template: `
    <h2>
      Welcome {{name}}
    </h2>
    <input id = {{myId}} type = "text" value = "Vishwas">
    <input [id] = "myId" type = "text" value = "Wish">
  `
 ,
  styles: [`
    .text-success {
      color : green;
    }
    .text-danger {
      color : red;
    }
    .text-special {
      font-style : italic;
    }
  `]
})
export class TestComponent implements OnInit {
 public name = "Dan"

  public myId = "testId"

  constructor() { }

  ngOnInit() {
  }

}
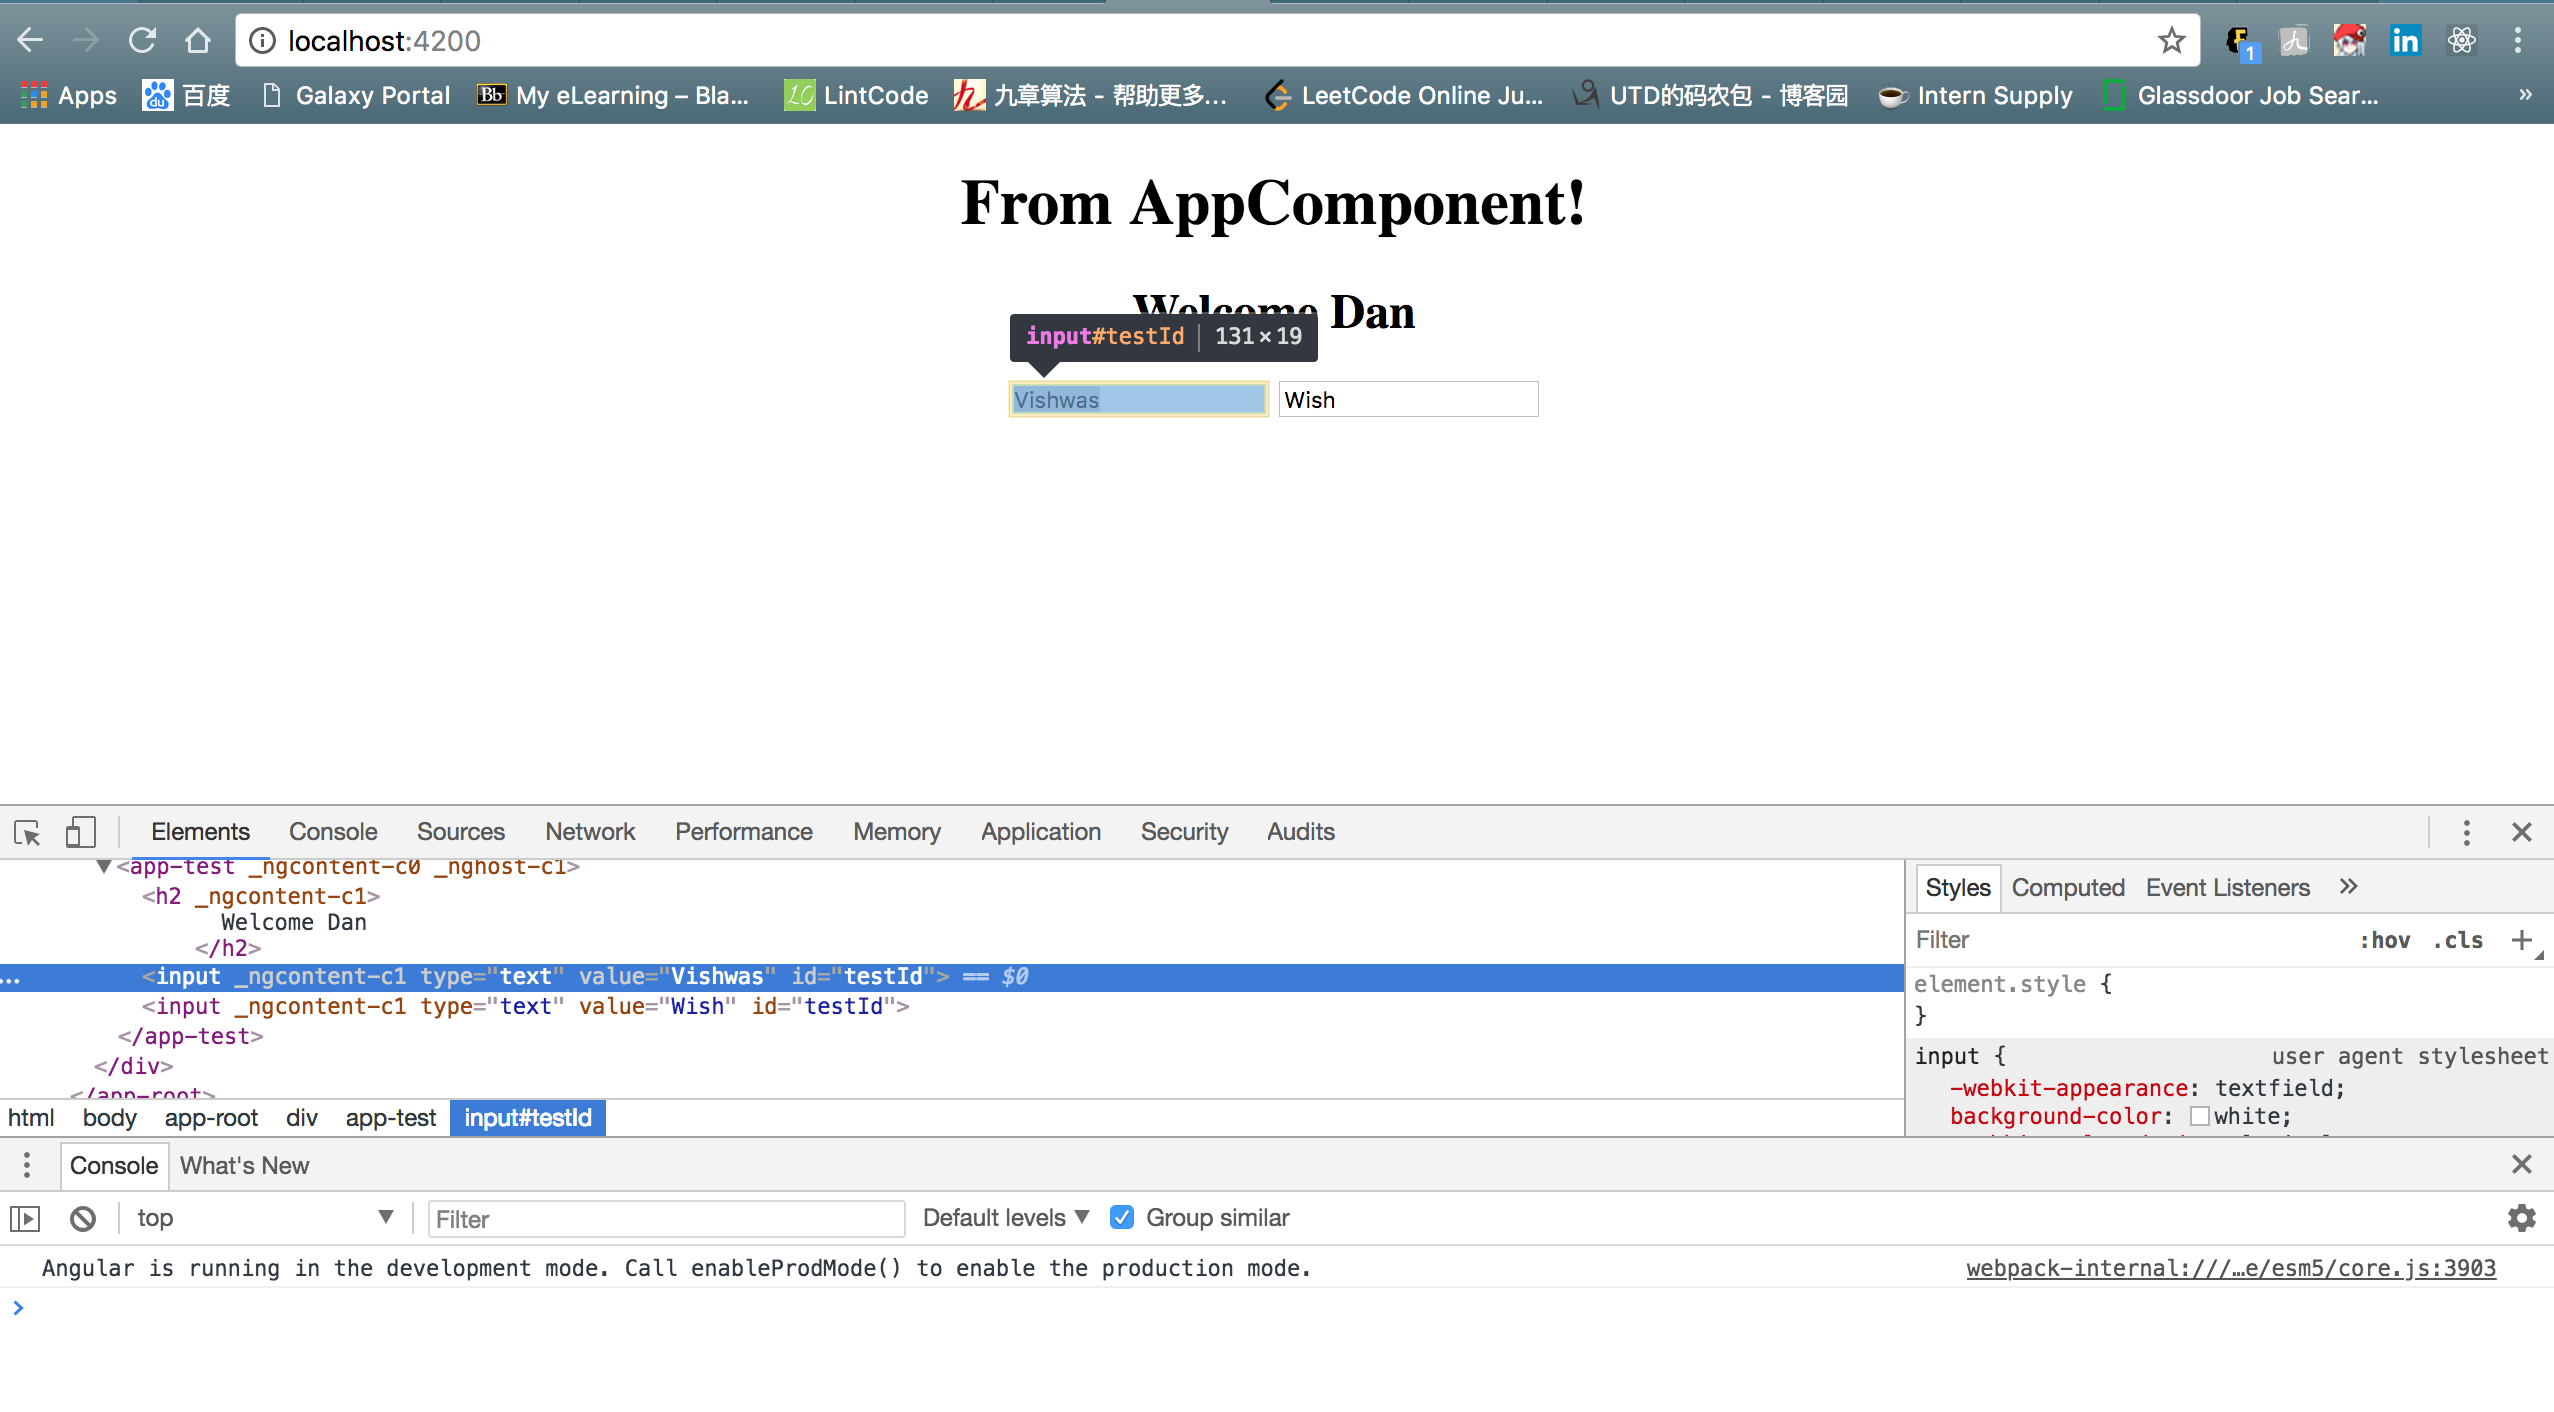
[id] = "myId" 是把在TestComponent里声明的myId的值赋给html的相应标签中id属性,即id = "testId",并绑定该属性。
在命令行内CLI输入 ng serve,开启http://localhost:4200/服务,在浏览器下访问http://localhost:4200/,并对控件进行监测(inspect),效果如下,显示为 id = "testId",说明绑定成功!
2. Class Binding
Class Binding是对 css 中的class类进行绑定,方法和Property Binding相似。
import { Component, OnInit } from '@angular/core';

@Component({
  selector: 'app-test',
  template: `
    <h2>
      Welcome {{name}}
    </h2>

    <input id = {{myId}} type = "text" value = "Vishwas">
    <input [id] = "myId" type = "text" value = "Wish">

    <h2 class="text-success">
      Convolution
    </h2>
    <h2 [class]="successClass">
      Convolution
    </h2>
    <h2 [class.text-danger] = "hasError">
      Convolution
    </h2>

    <h2 [ngClass]="messageClasses">
      Convolution
    </h2>
    `
 ,
  styles: [`
    .text-success {
      color : green;
    }
    .text-danger {
      color : red;
    }
    .text-special {
      font-style : italic;
    }
  `]
})
export class TestComponent implements OnInit {

  public name = "Dan";
  public myId = "testId"

  public isDisabled = false;
  public successClass = "text-success"
  public hasError = true;
  public isSpecial = true;
  public messageClasses = {
    "text-success": !this.hasError, //false
    "text-danger": this.hasError,  //true
    "text-special": this.isSpecial //true
  }
  constructor() { }

  ngOnInit() {
  }

}
[class.text-danger] = "hasError" 若hasError变量为true,则应用text-danger,显示为红色;否则,显示为默认颜色,黑色。
[ngClass]="messageClasses"> 只应用messageClasses集合中结果为true的类,如果有两个以及的变量为true,则同时应用于该标签。必须"text-danger"和"text-special"为true,显示为斜体红色。
效果图如下:

3. Style Binding
Style Binding是对 css 中的style进行绑定,方法和Class Binding相似。直接贴代码:
import { Component, OnInit } from '@angular/core';

@Component({
  selector: 'app-test',
  template: `
    <h2>
      Welcome {{name}}
    </h2>

    <h2 [style.color] = "hasError ? 'red':'green'">
      Style Binding
    </h2>

    <h2 [style.color] = "highlightColor">
      Style Binding2
    </h2>
    <h2 [ngStyle] = "titleStyles">
    Style Binding3
  </h2>

    `
 ,
  styles: []
})
export class TestComponent implements OnInit {

  public name = "Dan";
  public highlightColor = "orange"
  public titleStyles = {
    color: "blue",
    fontStyle: "italic"
  }
  constructor() { }

  ngOnInit() {
  }

}
效果图如下:

二、事件绑定和双向绑定 Event Binding & Two Ways Binding
通过点击按钮,改变类中的变量,在呈现到视图上,这个过程就是一种事件绑定。粉色代码处为事件绑定。
实时监视UI的控件,若有值的变化,变量可以接收到此变化,并重新分配该值,再自动把该值更新到视图,这就是双向绑定。蓝色代码处为双向绑定。
temp.component.ts
import { Component, OnInit } from '@angular/core';

@Component({
  selector: 'app-temp',
  template: `
    <button (click) = "onClick($event)">Greet</button>
    <button (click) = "greeting = 'inline Greet!!'">Greet2</button>
    <p>{{greeting}}</p>

    <input [(ngModel)] = "name" type="text">
    {{name}}
  `,
  styles: []
})
export class TempComponent implements OnInit {

  public name = "";
  public greeting = "";

  onClick(event){
    this.greeting = 'Greeting!!';
    //console.log(event);
    console.log(event.type);
  }

  constructor() { }

  ngOnInit() {
  }

}
Angular不能直接识别ngModel,需要通过一个单独的模块FormsModule来访问,因此我们要引用这个模块,即在app.module.ts里import FormsModule,如下代码:
app.module.ts
import { BrowserModule } from '@angular/platform-browser';
import { NgModule } from '@angular/core';
import {FormsModule} from '@angular/forms';

import { AppComponent } from './app.component';
import { TestComponent } from './test/test.component';
import { TempComponent } from './temp/temp.component';


@NgModule({
  declarations: [
    AppComponent,
    TestComponent,
    TempComponent
  ],
  imports: [
    BrowserModule,
    FormsModule
  ],
  providers: [],
  bootstrap: [AppComponent]
})
export class AppModule { }
效果图如下:

本集完结,期待下一集,撒花~