使用 packstack 工具实现一键部署 OpenStack。 通过该安装工具, 只需简单运行一条命令, 即可以快速部署 OpenStack, 省去繁琐的安装步骤, 而直接体验OpenStack 的管理及使用。
环境
CentOS7 4核8G
一:关闭防火墙并且安装RDO软件
[root@localhost ~]# systemctl stop firewalld
[root@localhost ~]# setenforce 0
[root@localhost ~]# yum -y install http://rdo.fedorapeople.org/rdo-release.rpm
- 1
- 2
- 3
二:安装一个叫packstack的部署包
[root@localhost ~]# yum -y install openstack-packstack
- 1
三:一键自动安装
注:这一步需要耐心等待很长一段时间
[root@localhost ~]# packstack --allinone
Welcome to the Packstack setup utility

The installation log file is available at: /var/tmp/packstack/20200629-193853-4vIHOw/openstack-setup.log
Packstack changed given value  to required value /root/.ssh/id_rsa.pub

Installing:
Clean Up                                             [ DONE ]
Discovering ip protocol version                      [ DONE ]
Setting up ssh keys                                  [ DONE ]
Preparing servers                                    [ DONE ]
Pre installing Puppet and discovering hosts' details [ DONE ]
Preparing pre-install entries                        [ DONE ]
Setting up CACERT                                    [ DONE ]
Preparing AMQP entries                               [ DONE ]
Preparing MariaDB entries                            [ DONE ]
Fixing Keystone LDAP config parameters to be undef if empty[ DONE ]
Preparing Keystone entries                           [ DONE ]
Preparing Glance entries                             [ DONE ]
Checking if the Cinder server has a cinder-volumes vg[ DONE ]
Preparing Cinder entries                             [ DONE ]
Preparing Nova API entries                           [ DONE ]
Creating ssh keys for Nova migration                 [ DONE ]
Gathering ssh host keys for Nova migration           [ DONE ]
Preparing Nova Compute entries                       [ DONE ]
Preparing Nova Scheduler entries                     [ DONE ]
Preparing Nova VNC Proxy entries                     [ DONE ]
Preparing OpenStack Network-related Nova entries     [ DONE ]
Preparing Nova Common entries                        [ DONE ]
Preparing Neutron API entries                        [ DONE ]
Preparing Neutron L3 entries                         [ DONE ]
Preparing Neutron L2 Agent entries                   [ DONE ]
Preparing Neutron DHCP Agent entries                 [ DONE ]
Preparing Neutron Metering Agent entries             [ DONE ]
Checking if NetworkManager is enabled and running    [ DONE ]
Preparing OpenStack Client entries                   [ DONE ]
Preparing Horizon entries                            [ DONE ]
Preparing Swift builder entries                      [ DONE ]
Preparing Swift proxy entries                        [ DONE ]
Preparing Swift storage entries                      [ DONE ]
Preparing Gnocchi entries                            [ DONE ]
Preparing Redis entries                              [ DONE ]
Preparing Ceilometer entries                         [ DONE ]
Preparing Aodh entries                               [ DONE ]
Preparing Puppet manifests                           [ DONE ]
Copying Puppet modules and manifests                 [ DONE ]
Applying 192.168.100.131_controller.pp
Testing if puppet apply is finished: 192.168.100.131_controller.pp  [ / ]
- 1
- 2
- 3
- 4
- 5
- 6
- 7
- 8
- 9
- 10
- 11
- 12
- 13
- 14
- 15
- 16
- 17
- 18
- 19
- 20
- 21
- 22
- 23
- 24
- 25
- 26
- 27
- 28
- 29
- 30
- 31
- 32
- 33
- 34
- 35
- 36
- 37
- 38
- 39
- 40
- 41
- 42
- 43
- 44
- 45
- 46
- 47
- 48
- 49
看到**** Installation completed successfully *****这句话就说明安装成功了
 **** Installation completed successfully ******

Additional information:
 * Parameter CONFIG_NEUTRON_L2_AGENT: You have chosen OVN Neutron backend. Note that this backend does not support the VPNaaS or FWaaS services. Geneve will be used as the encapsulation method for tenant networks
 * A new answerfile was created in: /root/packstack-answers-20200629-193854.txt
 * Time synchronization installation was skipped. Please note that unsynchronized time on server instances might be problem for some OpenStack components.
 * Warning: NetworkManager is active on 192.168.100.131. OpenStack networking currently does not work on systems that have the Network Manager service enabled.
 * File /root/keystonerc_admin has been created on OpenStack client host 192.168.100.131. To use the command line tools you need to source the file.
 * To access the OpenStack Dashboard browse to http://192.168.100.131/dashboard .
Please, find your login credentials stored in the keystonerc_admin in your home directory.
 * The installation log file is available at: /var/tmp/packstack/20200629-193853-4vIHOw/openstack-setup.log
 * The generated manifests are available at: /var/tmp/packstack/20200629-193853-4vIHOw/manifests
- 1
- 2
- 3
- 4
- 5
- 6
- 7
- 8
- 9
- 10
- 11
- 12
- 13
四:查看密码和一些配置
[root@localhost ~]# cat keystonerc_admin
unset OS_SERVICE_TOKEN
    export OS_USERNAME=admin
    export OS_PASSWORD='f644c94b1b6c49a0'
    export OS_REGION_NAME=RegionOne
    export OS_AUTH_URL=http://192.168.227.171:5000/v3
    export PS1='[u@h W(keystone_admin)]$ '

export OS_PROJECT_NAME=admin
export OS_USER_DOMAIN_NAME=Default
export OS_PROJECT_DOMAIN_NAME=Default
export OS_IDENTITY_API_VERSION=3
- 1
- 2
- 3
- 4
- 5
- 6
- 7
- 8
- 9
- 10
- 11
- 12
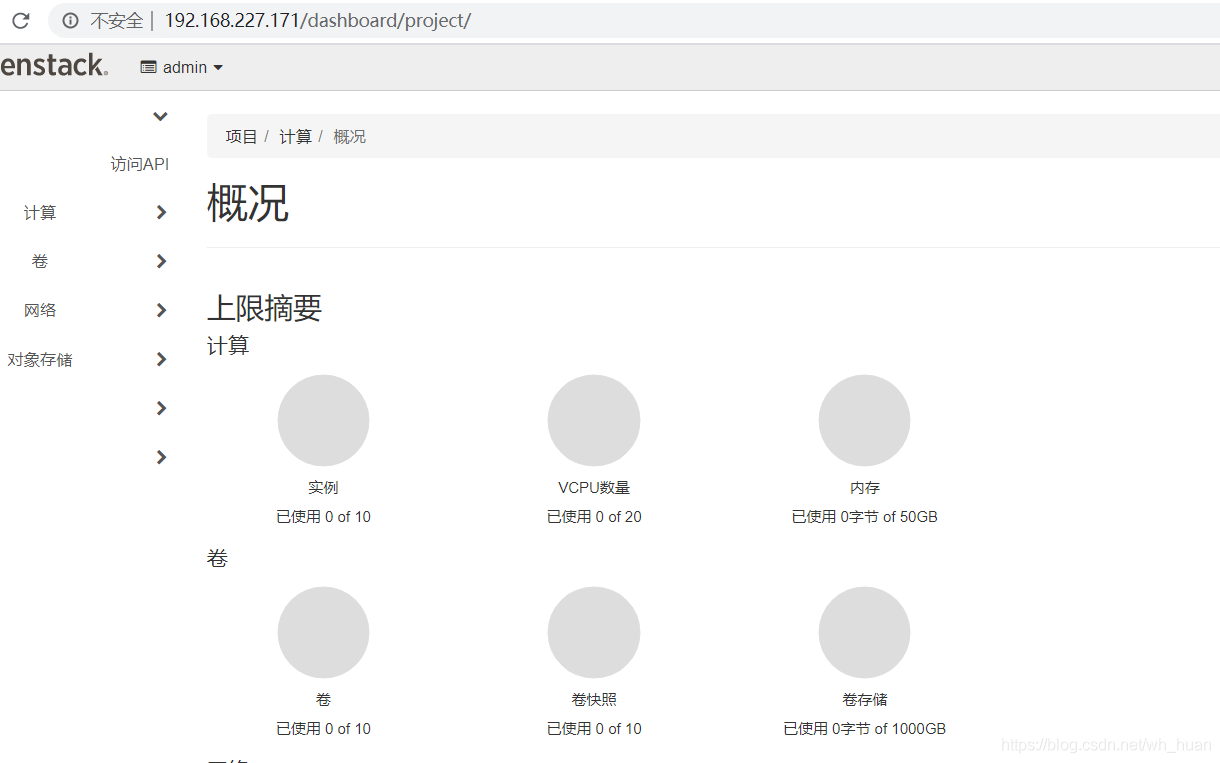
安装完毕,可以通过OpenStack的网络管理接口Horizon进行访问,地址如:http://本机id/dashboard ,用户名为admin,密码可以在/root/keystonerc_admin文件中找到。