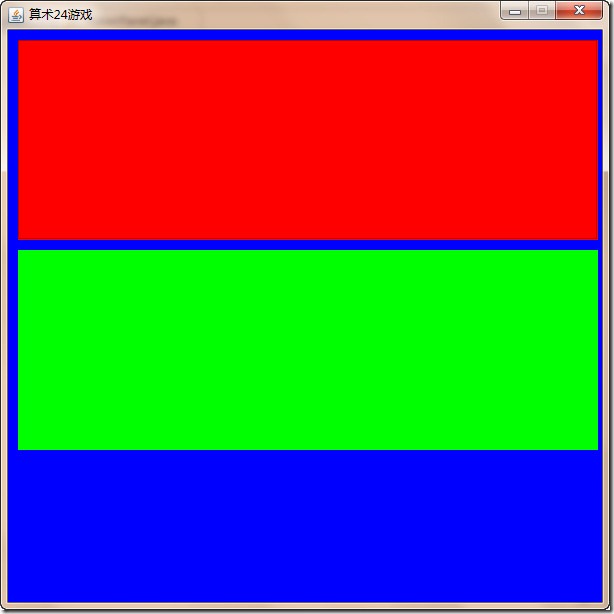
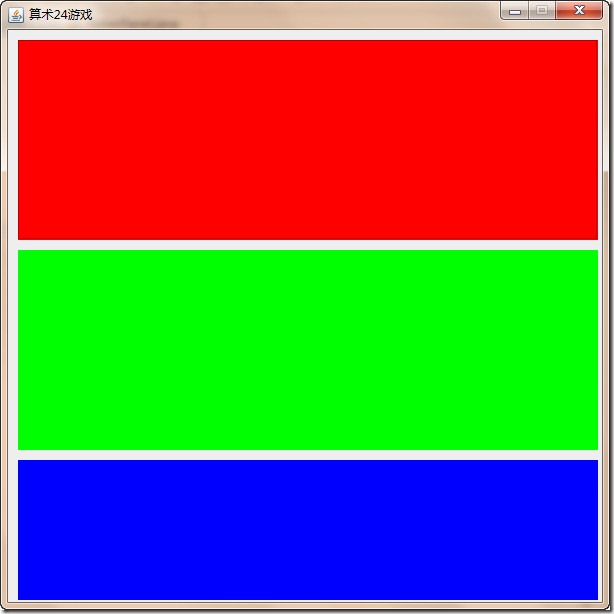
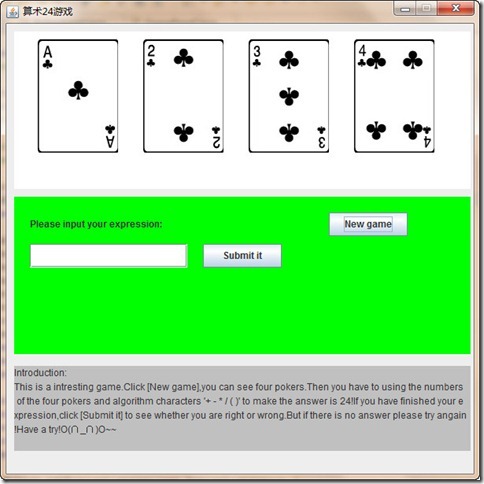
1. Frame 的默认布局方式是 BorderLayout,所以如果要使用 setBounds 方法给组件设置具体位置时最好是 将默认的布局方式去掉,设置为null
例如:
//        this.setLayout(null);

        gamePanel.setVisible(true);
        pokerPanel.setVisible(true);
        gameInfoPanel.setVisible(true);


        pokerPanel.setBounds(10, 10, 580, 200);
        pokerPanel.setBackground(Color.RED);

        gamePanel.setBounds(10, 220, 580, 200);
        gamePanel.setBackground(Color.GREEN);

        gameInfoPanel.setBounds(10, 430, 580, 140);
        gameInfoPanel.setBackground(Color.BLUE);

        add(pokerPanel);
        add(gamePanel);
        add(gameInfoPanel);
效果:无论是哪个panel最后加上去都会铺满整个frame
去掉注释后的正确效果:
2. 显示图片
第一种方法是给label放一个 图片,
实例:
package com;
import java.awt.BorderLayout;
import java.net.URL;
import javax.swing.*;

public class ShowImage extends JFrame{
    /**
     * @param args
     */
    public ShowImage() {
        JPanel panel=new JPanel(new BorderLayout());
        JPanel panel2=new JPanel(new BorderLayout());
        JPanel panel3=new JPanel(new BorderLayout());

        String urlString="D:\\MyEclipse 6.0\\新建文件夹\\Exam\\bin\\images\\winter.jpg";
        JLabel label=new JLabel(new ImageIcon(urlString));

        URL url=getClass().getResource("/images/orz2.jpg");
        JLabel label2=new JLabel(new ImageIcon(url));

        URL url2=getClass().getResource("/images/orz.jpg");
        JLabel label3=new JLabel(new ImageIcon(url2));

        panel.add(label,BorderLayout.CENTER);
        panel2.add(label2,BorderLayout.CENTER);
        panel3.add(label3,BorderLayout.CENTER);

        this.getContentPane().setLayout(new BorderLayout());
        this.getContentPane().add(panel,BorderLayout.CENTER);
        this.getContentPane().add(panel2,BorderLayout.SOUTH);
        this.getContentPane().add(panel3,BorderLayout.EAST);

        this.setSize(400, 300);
        this.setDefaultCloseOperation(JFrame.EXIT_ON_CLOSE);
        this.setTitle("显示图像");
        this.setVisible(true);
    }
    public static void main(String[] args) {
        // TODO Auto-generated method stub
      ShowImage showImage=new ShowImage();
    }

}
label1是使用绝对路径,label2和label3使用的是相对路径,相对于类文件(.class文件)的路径
另一种更好的画图方法:使用 g.drawImage
实例:
        Color color=g.getColor();//首先要重画面板,清除前面的所有内容
        g.setColor(this.getBackground());
        g.fillRect(0, 0, this.getWidth(), this.getHeight());
        g.setColor(color);

        URL url1 = getClass().getResource("images/"+a+".jpg");
        Image image1=getToolkit().getImage(url1);
        g.drawImage(image1, 20, 10, null, this);
我的实例:
        URL url1 = getClass().getResource("images/"+a+".jpg");
        Image image1=getToolkit().getImage(url1);
        g.drawImage(image1, 30, 10, null, this);

        URL url2 = getClass().getResource("images/"+b+".jpg");
        Image image2=getToolkit().getImage(url2);
        g.drawImage(image2, 164, 10, null, this);

        URL url3 = getClass().getResource("images/"+c+".jpg");
        Image image3=getToolkit().getImage(url3);
        g.drawImage(image3, 298, 10, null, this);

        URL url4 = getClass().getResource("images/"+d+".jpg");
        Image image4=getToolkit().getImage(url4);
        g.drawImage(image4, 432, 10, null, this);

        //之前使用的是label,不是很好
//        URL url1 = getClass().getResource("images/"+a+".jpg");
//        JLabel label1 = new JLabel(new ImageIcon(url1));
//        this.add(label1);
//
//        URL url2 = getClass().getResource("images/"+b+".jpg");
//        JLabel label2 = new JLabel(new ImageIcon(url2));
//        this.add(label2);
//
//        URL url3 = getClass().getResource("images/"+c+".jpg");
//        JLabel label3 = new JLabel(new ImageIcon(url3));
//        this.add(label3);
//
//        URL url4 = getClass().getResource("images/"+d+".jpg");
//        JLabel label4 = new JLabel(new ImageIcon(url4));
//        this.add(label4);
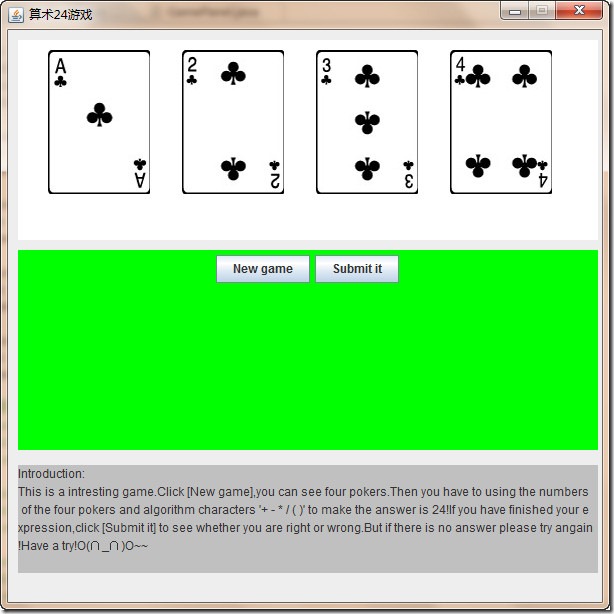
效果图:
3.setBounds和setLocation
实例:
        JButton newButton = new JButton("New game");
        newButton.setLocation(300, 20);
//        newButton.setBounds(400, 20,100,30);
        gamePanel.add(newButton);
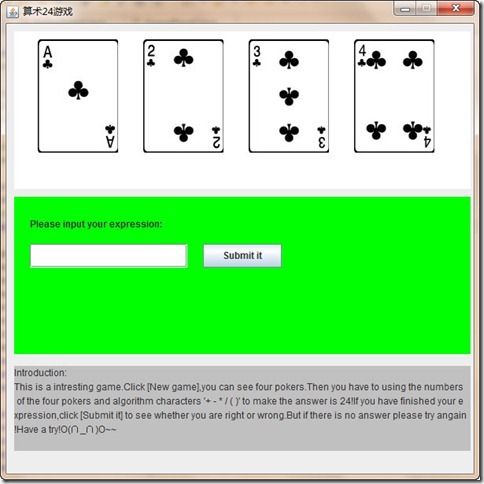
效果是:【左图:setLocation 】没有显示 【右图:setBounds 】 显示
所以说:如果要让它显示出来,要么使用setBounds或者setLocation加上setSize(两个都要写,不然就不会显示出来了)
