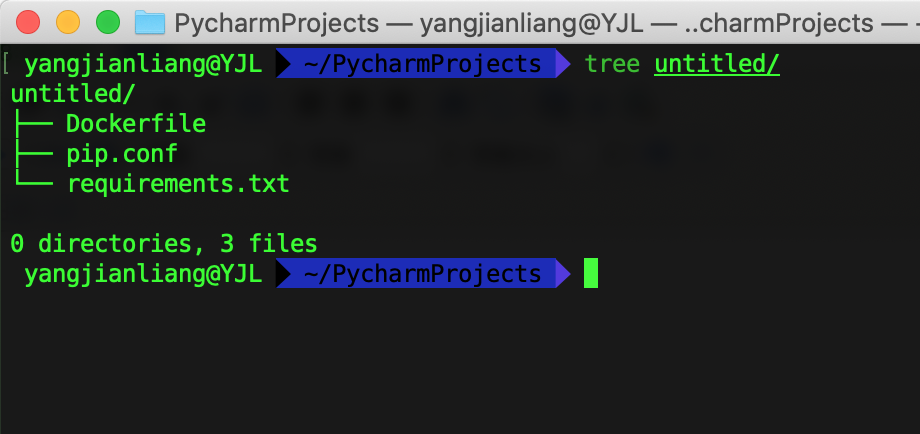
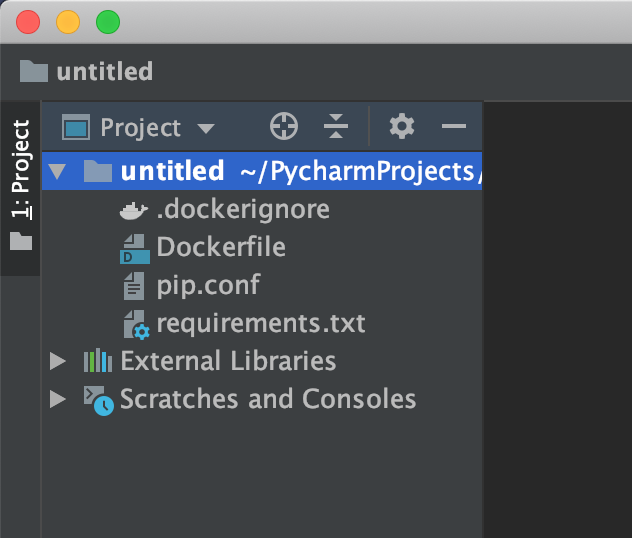
一、目录结构:


pip.conf文件:
[global]
index-url = https://mirrors.aliyun.com/pypi/simple/

[install]
trusted-host=mirrors.aliyun.com
requirements.txt文件:
requests>=2.23.0
ddt>=1.4.1
PyMySQL>=0.9.3
DBUtils>=1.3
BeautifulReport>=0.1.2
demjson>=2.2.4
loguru>=0.5.0
PyYAML>=5.3.1
ruamel.yaml>=0.16.10
pytest>=5.4.2
pytest-html>=2.1.1
allure-pytest>=2.8.16
pytest-reportlog>=0.1.1
pytest-assume>=2.2.1
pytest-rerunfailures>=9.0
pytest-sugar>=0.9.3
pytest-timeout>=1.3.4
pytest-parallel>=0.1.0
psycopg2-binary==2.8.5
Dockerfile文件:
FROM python:3.6.9
# 基础镜像

MAINTAINER yangjianliang <526861348@qq.com>
# 作者

RUN ln -fs /usr/share/zoneinfo/Asia/Shanghai /etc/localtime &&
   apt-get install -y
   tzdata
# 设置时区

COPY pip.conf /root/.pip/pip.conf
COPY requirements.txt /home/
# 复制配置文件

RUN pip install -r /home/requirements.txt
# 安装python依赖库

ENV PYTHONUNBUFFERED=1
# 设置环境变量,不缓冲,等同于python -u

ENV LANGUAGE C.UTF-8
ENV LC_ALL C.UTF-8
# 设置环境变量,选择C.UTF-8作为默认字符集,用以支持中文
二、打包镜像:
docker build -t yamlapi .
三、推送到阿里云镜像仓库
sudo docker login --username=yangjianliang2017 registry.cn-hangzhou.aliyuncs.com
登录阿里云Docker Registry
sudo docker tag [ImageId] registry.cn-hangzhou.aliyuncs.com/yangjianliang/yamlapi:[镜像版本号]
给本地镜像打tag
sudo docker push registry.cn-hangzhou.aliyuncs.com/yangjianliang/yamlapi:[镜像版本号]
推送到阿里云镜像仓库
sudo docker pull registry.cn-hangzhou.aliyuncs.com/yangjianliang/yamlapi:[镜像版本号]
从Registry中拉取镜像
四、从阿里云后台管理界面搜索镜像:
