SpringBoot+Swagger2四步整合
第一步:添加相关依赖
<parent>
    <groupId>org.springframework.boot</groupId>
    <artifactId>spring-boot-starter-parent</artifactId>
    <version>1.5.9.RELEASE</version>
</parent>

<properties>
    <swagger2.version>2.7.0</swagger2.version>
</properties>

<dependencies>
    <!--springBoot 相关依赖-->
    <dependency>
        <groupId>org.springframework.boot</groupId>
        <artifactId>spring-boot-starter-web</artifactId>
    </dependency>
    <!--swagger2 相关依赖-->
    <dependency>
        <groupId>io.springfox</groupId>
        <artifactId>springfox-swagger2</artifactId>
        <version>${swagger2.version}</version>
    </dependency>
    <dependency>
        <groupId>io.springfox</groupId>
        <artifactId>springfox-swagger-ui</artifactId>
        <version>${swagger2.version}</version>
    </dependency>

</dependencies>
创建SrpingBoot启动类
/**
 * Springboot+Swagger整合启动类
 *
 * @author Y.yang
 * @date 2019/3/12
 */
@SpringBootApplication
public class SwaggerApplication {

	public static void main(String[] args) {
		SpringApplication.run(SwaggerApplication.class, args);
	}
}
第二步:配置Swagger2
注意添加@Configuration EnableSwagger2注解
/**
 * Swagger2 接口Api文档 配置文件
 *
 * @author Y.yang
 * @date 2019/3/12
 */
@Configuration
@EnableSwagger2
public class SwaggerConfig {

    /**
     * 初始化创建Swagger Api
     */
    @Bean
	public Docket createRestApi() {
		return new Docket(DocumentationType.SWAGGER_2)
				// 详细信息定制
				.apiInfo(apiInfo())
				.select()
				// 指定当前包路径
				.apis(RequestHandlerSelectors.basePackage("com.fame.controller"))
				// 扫描所有 .apis(RequestHandlerSelectors.any())
				.paths(PathSelectors.any())
				.build();
	}

	/**
	 * 添加摘要信息
	 */
	private ApiInfo apiInfo() {
		// 用ApiInfoBuilder进行定制
		return new ApiInfoBuilder()
				.title("标题:springBoot-Swagger2整合学习")
				.description("描述:文档构建器")
				.contact(new Contact("Fame-springBoot-Swagger2", null, null))
				.version("版本号: 1.0")
				.build();
	}
}
springfox为我们提供了一个Docket(摘要的意思)类,我们需要把它做成一个Bean注入到spring中,
显然,我们需要一个配置文件,并通过一种方式(显然它会是一个注解)告诉程序,这是一个Swagger配置文件。
springfox允许我们将信息组合成一个ApiInfo的类,作为构造参数传给Docket(当然也可以不构造这个类,而直接使用null,但是你的这个API就太low了)。
第三步:创建测试实例
/**
 * Swagger接口测试
 *
 * @author Y.yang
 * @date 2019/3/12
 */
@RestController
public class UserController {

    @GetMapping("/get")
    public String get(){
        return "Hello Swagger2";
    }
}
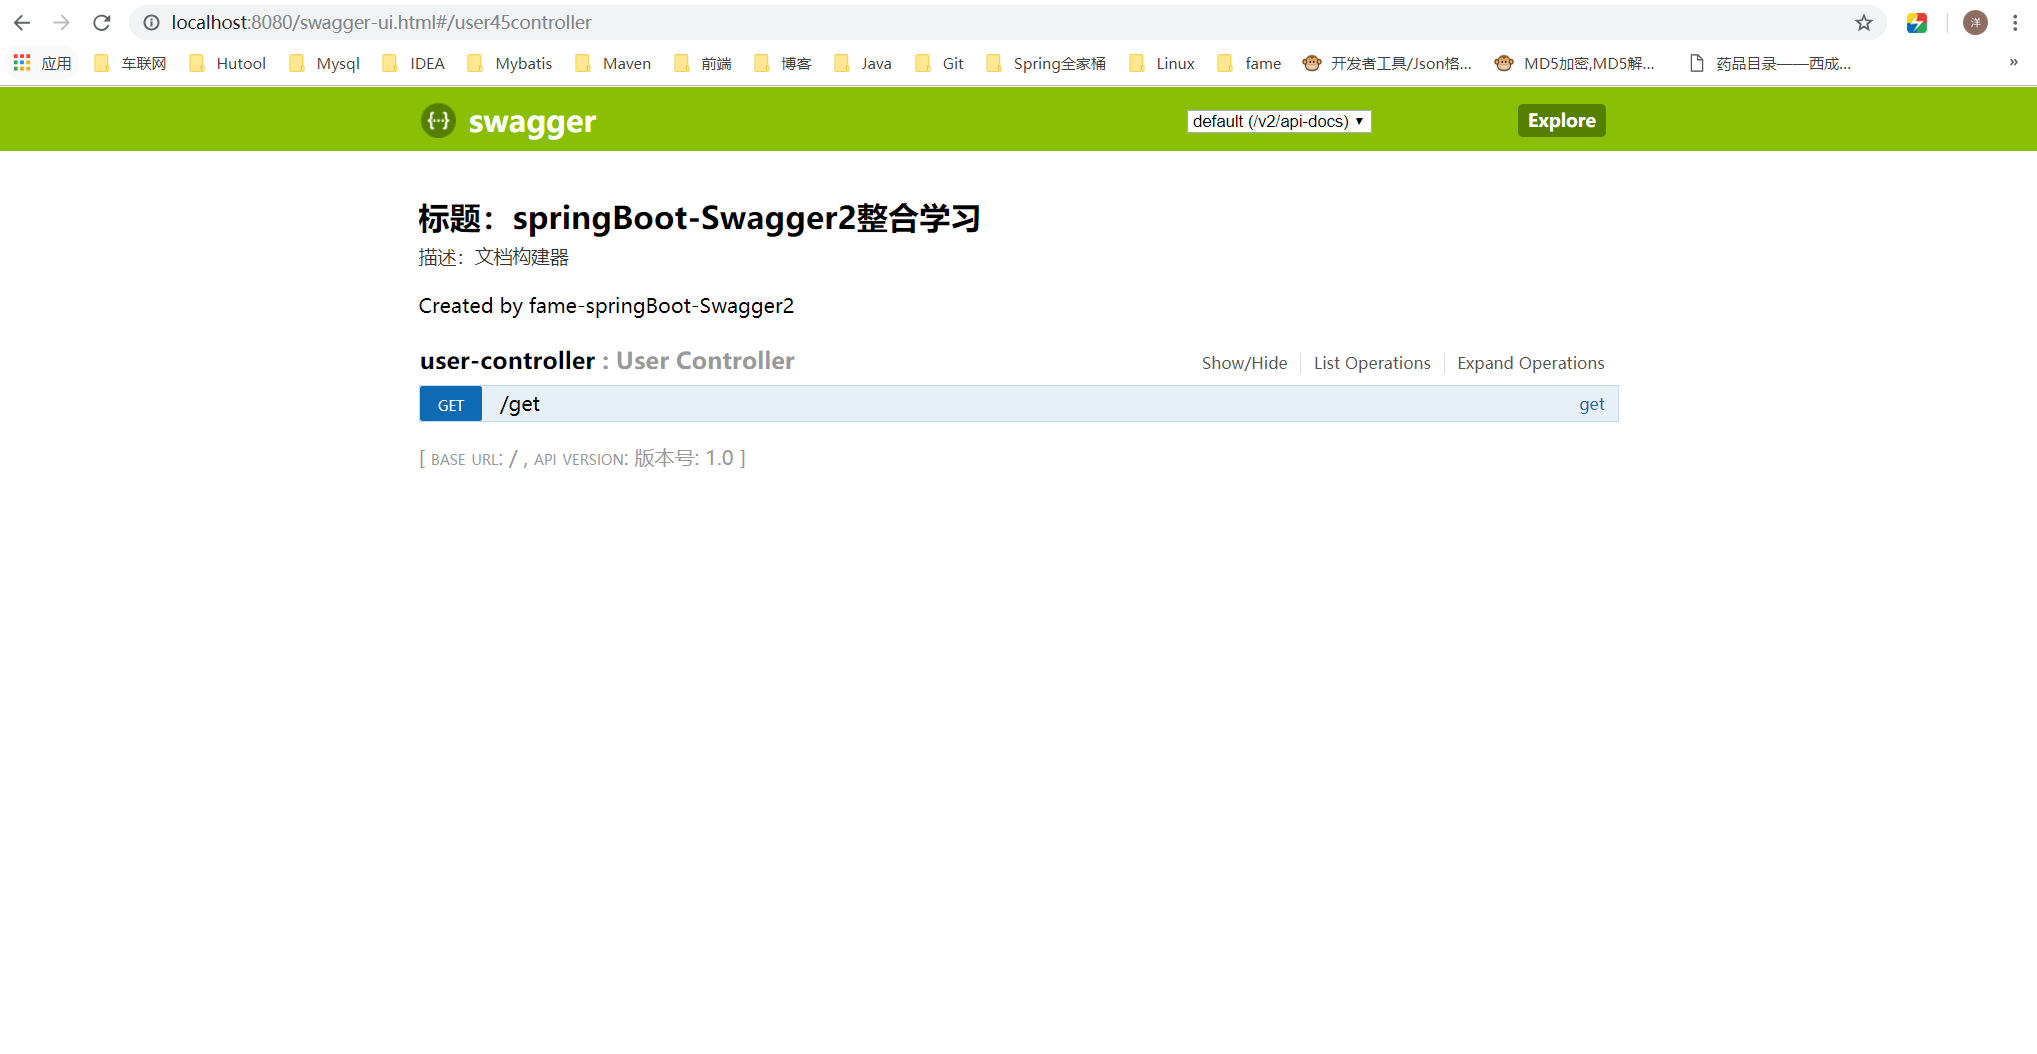
第四步:输入SwaggerUI地址
http://localhost:8080/swagger-ui.html
Swagger2基本使用-常用注解
接口/方法常用注解
/**
 * Swagger接口测试
 *
 * @author Y.yang
 * @date 2019/3/12
 */
@Api(value = "用户信息", tags = { "用户信息" })
@RestController
public class UserController {

	@ApiOperation(value = "用户信息分页查询")
	@GetMapping("/page")
	public String page(User user) {
		return "Hello Swagger2";
	}

	@ApiOperation(value = "用户信息查询")
	@ApiImplicitParams({
		@ApiImplicitParam(name = "id", value = "用户ID", required = true, dataType = "Integer"),
		@ApiImplicitParam(name = "file", value = "文件导入", required = true, dataType = "MultipartFile")
	})
	@GetMapping("/id")
	public UserVo getUser(Long id, MultipartFile file) {
		return new UserVo();
	}
}
@Api: 描述类/接口的主要用途
用于类;表示标识这个类是swagger的资源
tags–表示说明
value–也是说明,不会显示在接口文档上,可以使用tags替代
但是tags如果有多个值,会生成多个list
@Api(value = "用户信息", tags = { "用户信息" })
@ApiOperation: 描述方法用途
@ApiOperation(value = "用户信息分页查询")
@ApiImplicitParam: 描述方法的参数
@ApiImplicitParams: 描述方法的参数(Multi-Params)
@ApiImplicitParams({
	@ApiImplicitParam(name = "id", value = "用户ID", required = true, dataType = "Integer"),
	@ApiImplicitParam(name = "file", value = "文件导入", dataType = "MultipartFile")
})
实体类常用注解
/**
 * 用户信息 数据传输对象 Dto(Data Transfer Object)
 *
 * @author Y.yang
 * @date 2019/3/29
 */
@ApiModel(description = "用户信息请求对象")
@Data
public class User implements Serializable {

	private static final long serialVersionUID = -6986638131456347054L;

	@ApiModelProperty(value = "姓名")
	private String username;

	@ApiModelProperty(value = "性别")
	private String sex;

	@ApiModelProperty(value = "年龄")
	private Integer age;

}
@ApiModel:描述实体类(Dto、Vo、Do等)
@ApiModel(description = "用户信息请求对象")
@ApiModelProperty:描述实体类的字段
@ApiModelProperty(value = "姓名")