准备工作
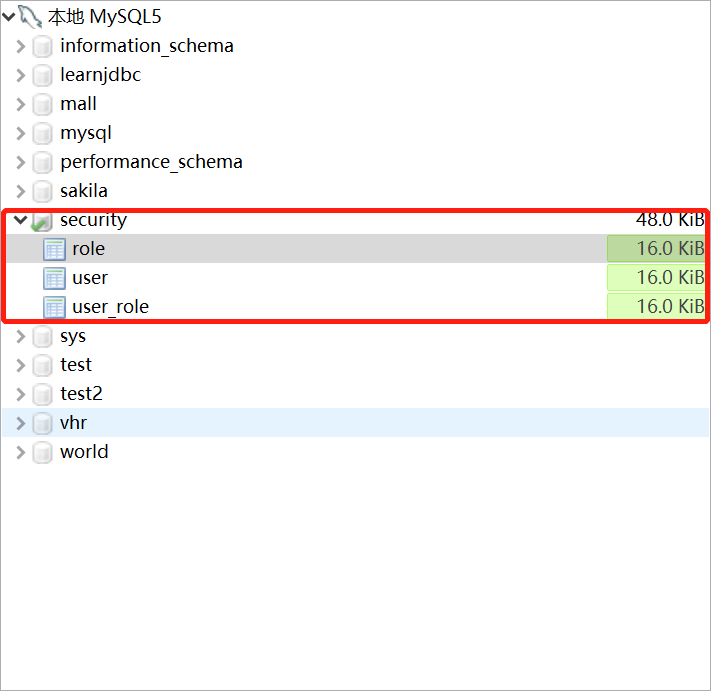
这里涉及数据库的操作,所以首先需要在数据库中导入相应的表格,这里用的 SQL 文件来自江南一点雨
pom.xml 所需依赖:
       <dependency>
            <groupId>org.springframework.boot</groupId>
            <artifactId>spring-boot-starter-security</artifactId>
        </dependency>
        <dependency>
            <groupId>org.springframework.boot</groupId>
            <artifactId>spring-boot-starter-web</artifactId>
        </dependency>
        <dependency>
            <groupId>org.mybatis.spring.boot</groupId>
            <artifactId>mybatis-spring-boot-starter</artifactId>
            <version>2.1.3</version>
        </dependency>

        <dependency>
            <groupId>mysql</groupId>
            <artifactId>mysql-connector-java</artifactId>
            <scope>runtime</scope>
            <version>8.0.16</version>
        </dependency>
        <dependency>
            <groupId>com.alibaba</groupId>
            <artifactId>druid-spring-boot-starter</artifactId>
            <version>1.1.23</version>
        </dependency>
这里使用 mybatis 操作数据库,关于 mybatis 的基本使用,参考文章:在 Spring Boot 中使用 Mybtais
application.properties 配置文件如下:
spring.datasource.url=jdbc:mysql://localhost:3306/security?serverTimezone=UTC&useUnicode=true&characterEncoding=UTF-8
spring.datasource.username=root
spring.datasource.password=123456
spring.datasource.type=com.alibaba.druid.pool.DruidDataSource
示例
bean
新建两个实体类:Users 和 Role
Users 类继承接口 UserDetails ,具体如下:
@Data
public class Users implements UserDetails {
    private Integer id;
    private String username;
    private String password;
    private Boolean enabled;
    private Boolean locked;
    // 一个用户可能有多个角色
    private List<Role> roles;

    /**
     * 返回用户的所有角色
     * @return
     */
    @Override
    public Collection<? extends GrantedAuthority> getAuthorities() {
        List<SimpleGrantedAuthority> authorities = new ArrayList<>();
        for (Role role:roles){
            authorities.add(new SimpleGrantedAuthority("ROLE_" + role.getName()));
        }
        return authorities;
    }

    /**
     * 账户是否未过期
     * @return
     */
    @Override
    public boolean isAccountNonExpired() {
        return true;
    }

    /**
     * 账户是否未锁定
     * @return
     */
    @Override
    public boolean isAccountNonLocked() {
        return !locked;
    }

    /**
     * 密码是否未过期
     * @return
     */
    @Override
    public boolean isCredentialsNonExpired() {
        return true;
    }

    /**
     * 是否可用
     * @return
     */
    @Override
    public boolean isEnabled() {
        return enabled;
    }
}
Role 类如下:
@Data
public class Role {
    private Integer id;
    private String name;
    private String nameZh;
}
mapper
新建接口 UserMapper:
@Mapper
public interface UserMapper {
    Users loadUserByUsername(String username);

    List<Role> getUserRoleById(Integer id);

}
这里定义了两个方法,通过用户名查询用户,和通过用户id查询用户。
新建和 UserMapper 映射的 xml 文件,实现上面两个方法:
<?xml version="1.0" encoding="UTF-8"?>
<!DOCTYPE mapper
        PUBLIC "-//mybatis.org//DTD Mapper 3.0//EN"
        "http://www.mybatis.org/dtd/mybatis-3-mapper.dtd">
<mapper namespace="com.example.securitydb.mapper.UserMapper">
    <select id="loadUserByUsername" resultType="com.example.securitydb.bean.Users">
        select * from user where username=#{username}
    </select>

    <select id="getUserRoleById" resultType="com.example.securitydb.bean.Role">
        select * from role where id in (select rid from user_role where uid=#{id})
    </select>
</mapper>
为了使 UserMapper 生效,需要在 pom.xml 文件中配置一下:
        <resources>
            <resource>
                <directory>src/main/java</directory>
                <includes>
                    <include>**/*.xml</include>
                </includes>
            </resource>
            <resource>
                <directory>src/main/resources</directory>
            </resource>
        </resources>
service
新建 UserService 类,继承接口 UserDetailsService,调用 UserMapper 中的两个方法:
@Service
public class UserService implements UserDetailsService {

    @Autowired
    UserMapper userMapper;

    /**
     * 根据用户名查询用户对象返回
     * 参数为用户名
     */
    @Override
    public UserDetails loadUserByUsername(String username) throws UsernameNotFoundException {
        Users user = userMapper.loadUserByUsername(username);
        if (user == null) {
            throw new UsernameNotFoundException("用户名不存在!");
        }
        user.setRoles(userMapper.getUserRoleById(user.getId()));
        return user;
    }
}
config
新建 SecurityConfig 类,继承 WebSecurityConfigurerAdapter。将 UserService 注入进来,并对不同角色进行权限控制:
@Configuration
public class SecurityConfig extends WebSecurityConfigurerAdapter {

    @Autowired
    UserService userService;

    @Override
    protected void configure(AuthenticationManagerBuilder auth) throws Exception {
        auth.userDetailsService(userService);
    }

    @Bean
    PasswordEncoder passwordEncoder(){
        return new BCryptPasswordEncoder();
    }

    @Override
    protected void configure(HttpSecurity http) throws Exception {
        http.authorizeRequests()
                // 设置不同角色的访问权限
                .antMatchers("/dba/**").hasRole("dba")
                .antMatchers("/admin/**").hasRole("admin")
                .antMatchers("/user/**").hasRole("user")
                // 其他访问路径,只要登录后就可以
                .anyRequest().authenticated()
                .and()
                // 登录表单设置
                .formLogin()
                .permitAll()
                .and()
                .csrf().disable();
    }
}
关于 SecurityConfig 的配置,参考文章:Spring Security 基础教程 -- HttpSecurity 权限和登录表单配置
controller
写一个 HelloController 类,测试上述权限控制是否生效:
@RestController
public class HelloController {
    @GetMapping("/hello")
    public String hello(){
        return "hello Security!";
    }

    @GetMapping("/dba/hello")
    public String dba(){
        return "hello dba!";
    }

    @GetMapping("/admin/hello")
    public String root(){
        return "hello admin!";
    }

    @GetMapping("/user/hello")
    public String user(){
        return "hello user!";
    }
}
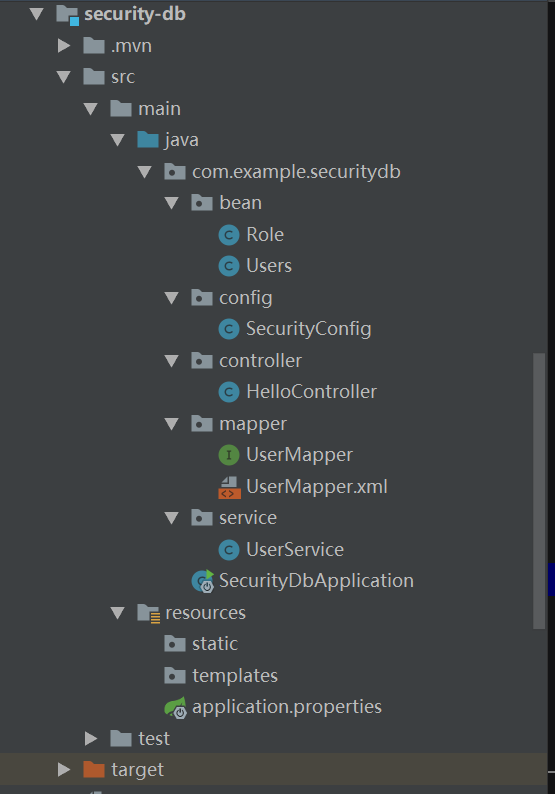
此时,完整目录如下:
测试
启动项目,访问 http://localhost:8080/hello,只需要登录任一账号,就能成功访问。
访问 http://localhost:8080/dba/hello,需要角色 dba
访问 http://localhost:8080/admin/hello,需要角色 admin.
每天学习一点点,每天进步一点点。