使用SignalR 的客户端去发送消息给使用 https 部署的站点,官方文档目前并没有详细的教程,所以在此记录下步骤:
使用管理员身份打开cmd 窗口,选择一个整数保存文件夹的地址,切换到对应的文件夹,然后执行以下步骤:
(一) 生成证书文件
1. openssl genrsa -out test.key 1024

2. openssl req -new -x509 -key test.key -out test.cer -days 365 -subj /CN=10.158.229.20
注:CN=xxx 这里可以填写部署网站的域名或者IP地址

3. openssl pkcs12 -export -out test.pfx -inkey test.key -in test.cer
注:生成了私钥文件 test.pfx, 这一步需要输入密码,密码会在导入IIS的时候使用

在以上步骤完成之后,生成如下几个文件, test.cer, test.key, test.pfx:

4. 添加到证书管理的可信任证书节点中区,这一步非常重要,如果不添加,就会导致SignalR无法正常访问
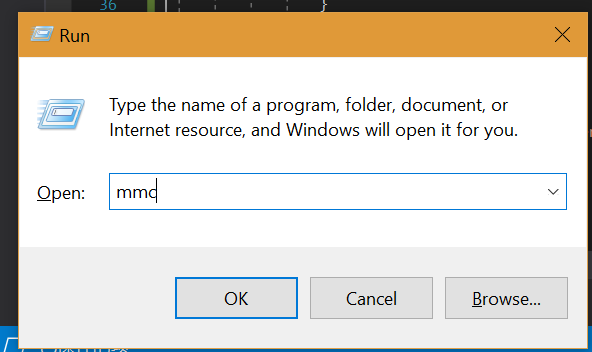
4.1. 运行-->输入mmc
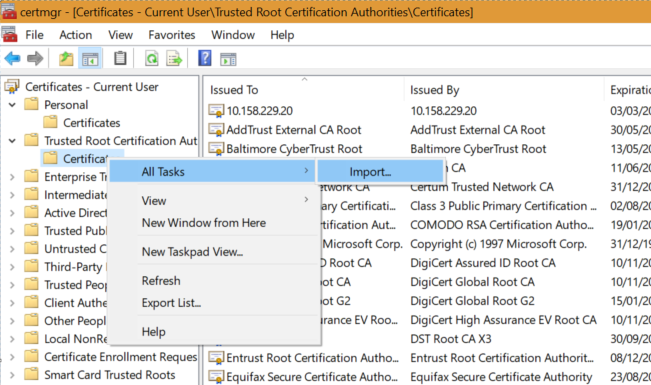
4.2. File 中打开证书管理器

4.3. 在可信任根证书的节点右键导入证书
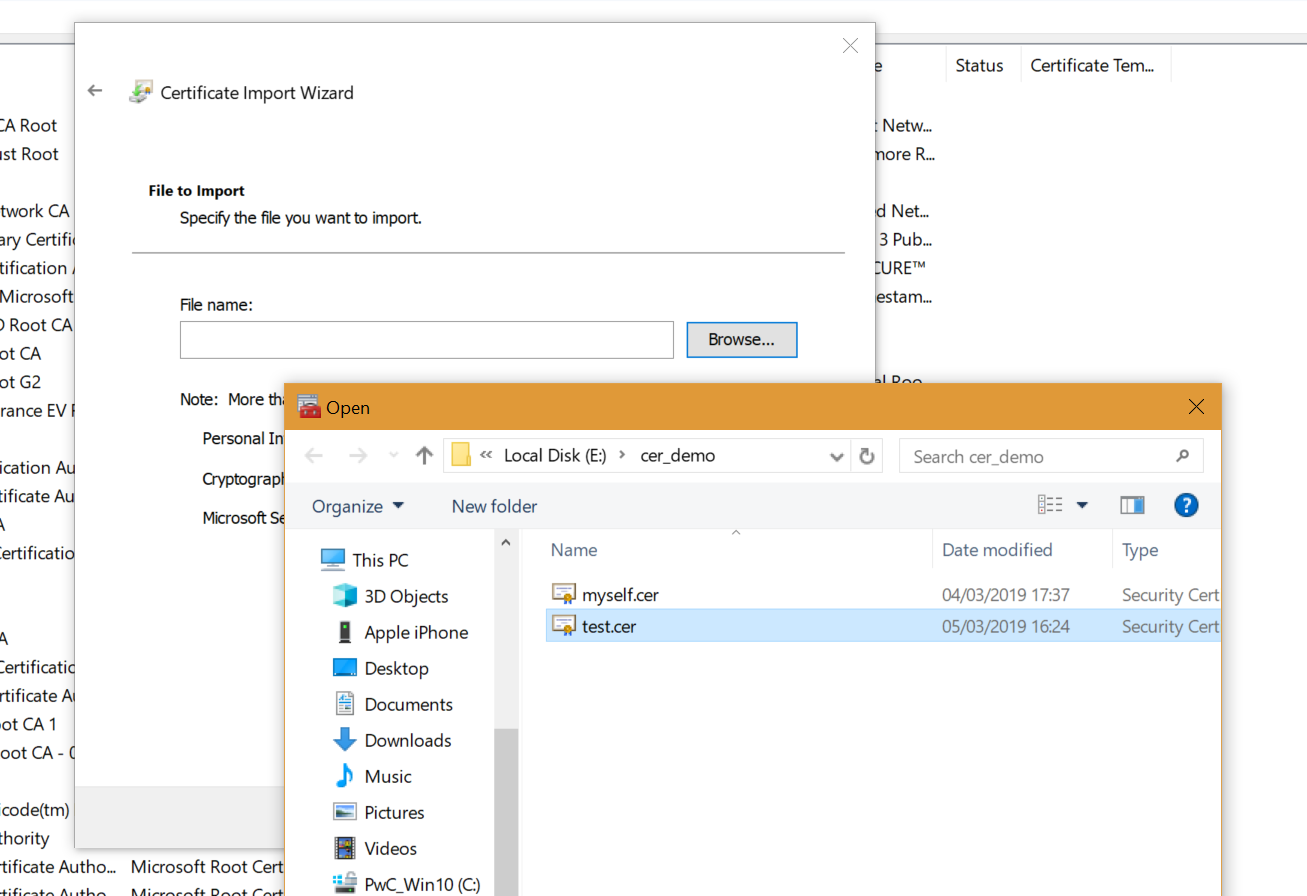
以上工作便完成了证书的创建和添加
(二)接下来开始部署IIS 站点:
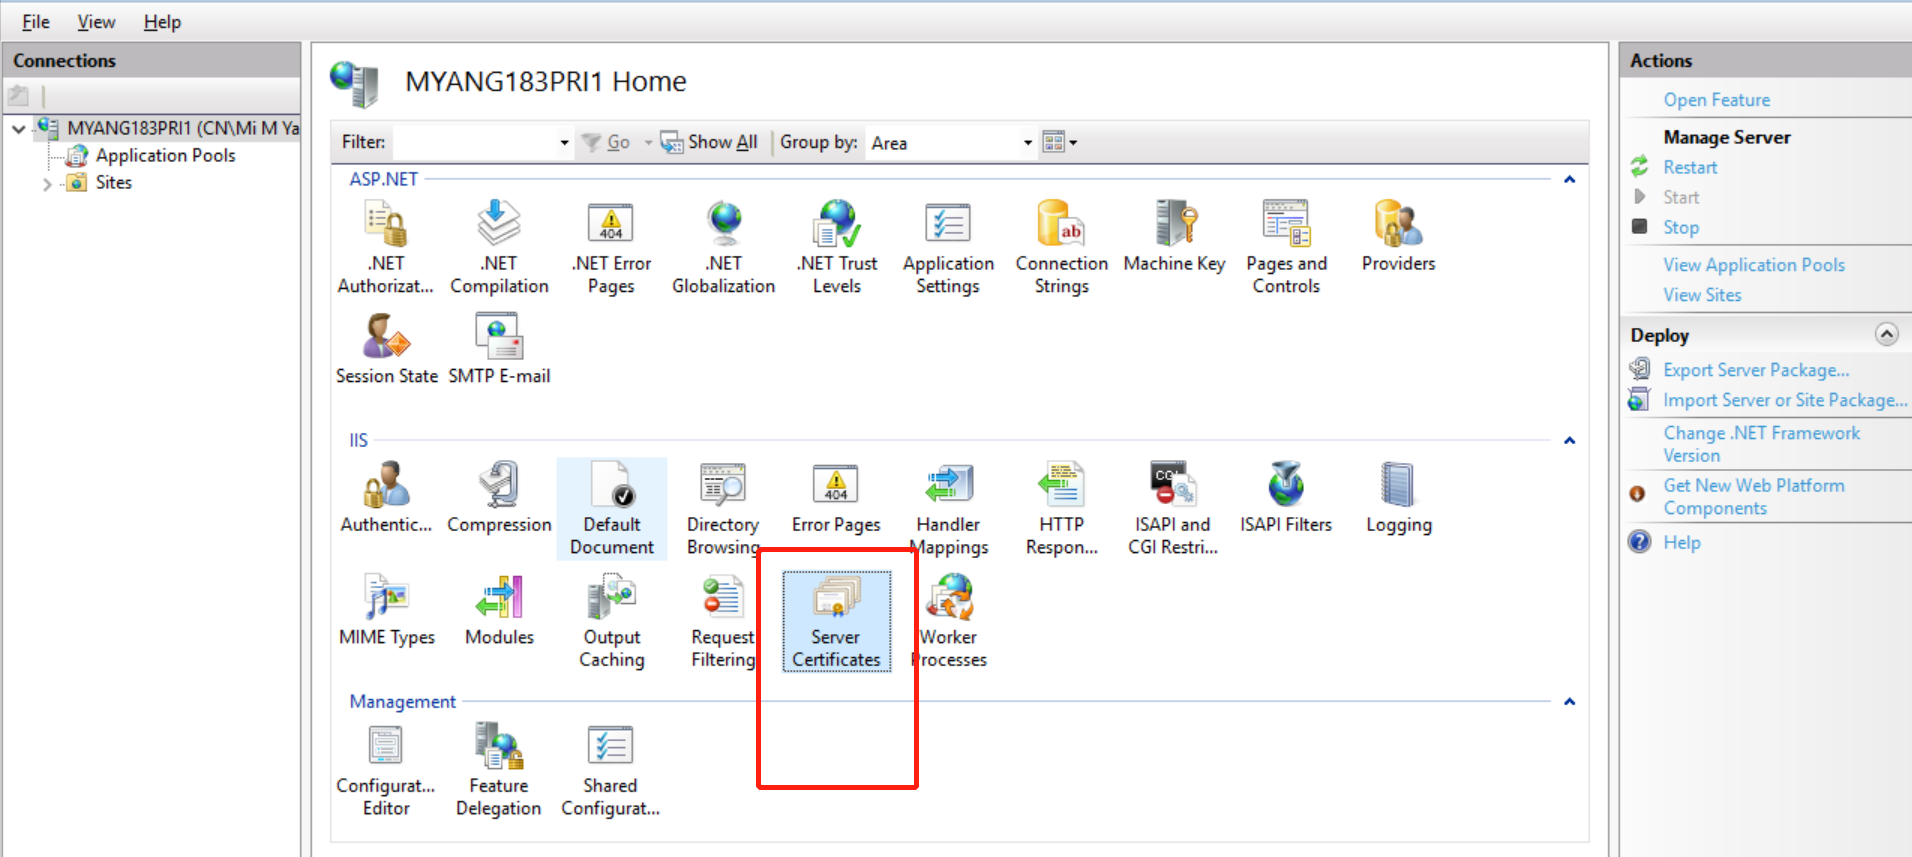
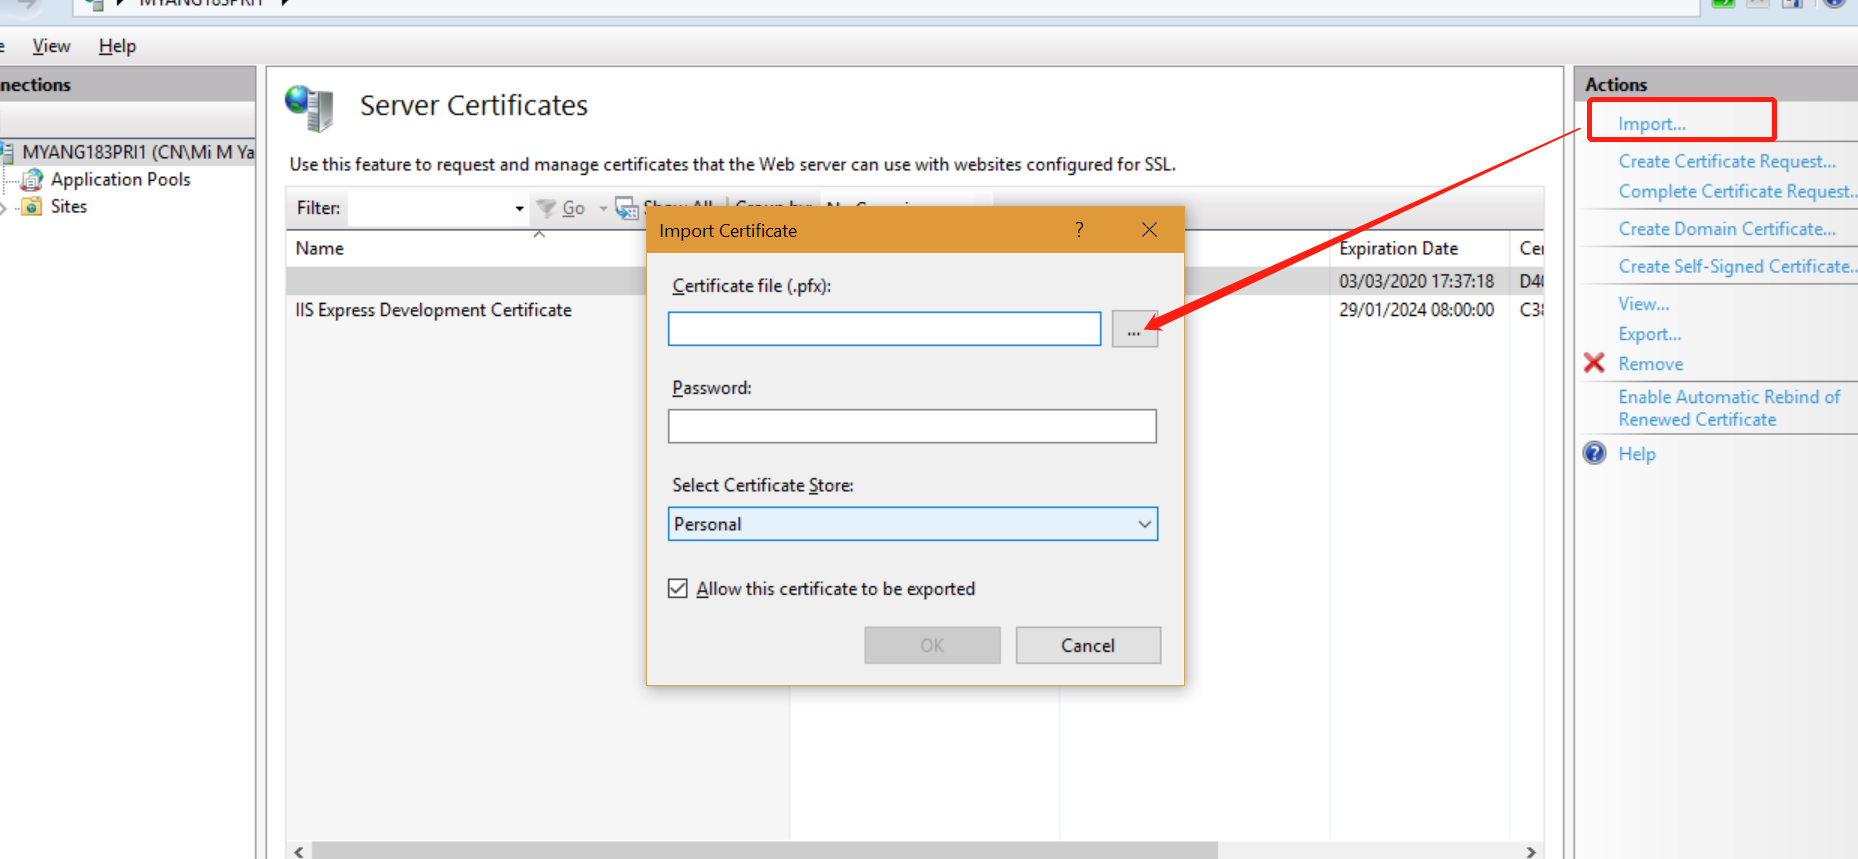
1. 在IIS 管理其中选择 服务端证书
2. 选择导入,找到对应的 .pfx 证书,输入密码后,确认导入
3. 在自己的站点绑定对应的 SSL 证书

完成以上工作后,一个https 站点就已经完成
测试Demo:
客户端:
 1 using Microsoft.AspNet.SignalR.Client;
 2 using System;
 3 using System.Collections.Generic;
 4 using System.Linq;
 5 using System.Security.Cryptography.X509Certificates;
 6 using System.Text;
 7 using System.Threading.Tasks;
 8
 9 namespace SignalR_cli
10 {
11     class Program
12     {
13         static HubConnection hubConnection = null;
14         static IHubProxy proxy = null;
15         static void Main(string[] args)
16         {
17             //这里连接使用OpenSSL 生成的证书部署的 https 站点
18             hubConnection = new HubConnection("https://10.158.229.20:443/");
19             //var hubConnection = new HubConnection("http://10.158.229.20:8081/");
20             //请求的时候一定带上对应站点部署的证书
21             hubConnection.AddClientCertificate(X509Certificate.CreateFromSignedFile(@"E:cer_demomyself.cer"));
22             proxy = hubConnection.CreateHubProxy("ChatHub");
23             hubConnection.Start();
24             Console.WriteLine((int)hubConnection.State);
25             while (true)
26             {
27                 try
28                 {
29                     Console.WriteLine("Input:");
30                     var msg = Console.ReadLine();
31                     Go(msg);//异步发送消息就好了
32                 }
33                 catch (Exception e)
34                 {
35                     Console.WriteLine(e.Message);
36                 }
37             }
38         }
39         static async Task Go(string msg)
40         {
41             await proxy.Invoke("Send", "userCenter", msg);
42         }
43     }
44 }
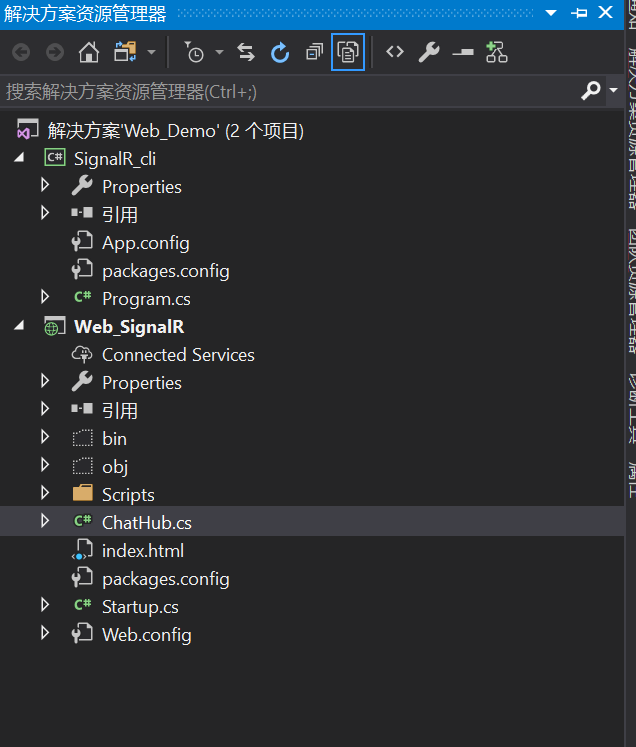
服务端:参考的官方文档
 1 using System;
 2 using System.Collections.Generic;
 3 using System.Linq;
 4 using System.Web;
 5 using Microsoft.AspNet.SignalR;
 6
 7 namespace Web_SignalR
 8 {
 9     public class ChatHub : Hub
10     {
11         public void Send(string name, string message)
12         {
13             Clients.All.broadcastMessage(name, message);
14         }
15     }
16 }
 1 using System;
 2 using System.Threading.Tasks;
 3 using Microsoft.Owin;
 4 using Owin;
 5
 6 [assembly: OwinStartup(typeof(Web_SignalR.Startup))]
 7
 8 namespace Web_SignalR
 9 {
10     public class Startup
11     {
12         public void Configuration(IAppBuilder app)
13         {
14             // 有关如何配置应用程序的详细信息,请访问 https://go.microsoft.com/fwlink/?LinkID=316888
15             app.MapSignalR();
16         }
17     }
18 }
1 <!DOCTYPE html> 2 <html> 3 <head> 4 <title>SignalR Simple Chat</title> 5 <style type="text/css"> 6 .container { 7 background-color: #99CCFF; 8 border: thick solid #808080; 9 padding: 20px; 10 margin: 20px; 11 } 12 </style> 13 </head> 14 <body> 15 <div class="container"> 16 <input type="text" id="message" /> 17 <input type="button" id="sendmessage" value="Send" /> 18 <input type="hidden" id="displayname" /> 19 <ul id="discussion"></ul> 20 </div> 21 <!--Script references. --> 22 <!--Reference the jQuery library. --> 23 <script src="Scripts/jquery-3.3.1.min.js"></script> 24 <!--Reference the SignalR library. --> 25 <script src="Scripts/jquery.signalR-2.2.2.min.js"></script> 26 <!--Reference the autogenerated SignalR hub script. --> 27 <script src="signalr/hubs"></script> 28 <!--Add script to update the page and send messages.--> 29 <script type="text/javascript"> 30 $(function () { 31 // Declare a proxy to reference the hub. 32 var chat = $.connection.chatHub; 33 // Create a function that the hub can call to broadcast messages. 34 chat.client.broadcastMessage = function (name, message) { 35 // Html encode display name and message. 36 var encodedName = $('<div />').text(name).html(); 37 var encodedMsg = $('<div />').text(message).html(); 38 // Add the message to the page. 39 $('#discussion').append('<li><strong>' + encodedName 40 + '</strong>: ' + encodedMsg + '</li>'); 41 }; 42 // Get the user name and store it to prepend to messages. 43 $('#displayname').val("test"); 44 // Set initial focus to message input box. 45 $('#message').focus(); 46 // Start the connection. 47 $.connection.hub.start().done(function () { 48 $('#sendmessage').click(function () { 49 // Call the Send method on the hub. 50 chat.server.send($('#displayname').val(), $('#message').val()); 51 // Clear text box and reset focus for next comment. 52 $('#message').val('').focus(); 53 }); 54 }); 55 }); 56 </script> 57 </body> 58 </html>
效果演示:
