一、SpringBoot简介
开发团队:Pivotal团队
主要目的:简化新Spring应用的初始搭建以及开发过程。
秉持理念:约定优于配置。(该框架使用了特定的方式来进行配置,从而使开发人员不再需要定义样板化的配置)
二、SpringBoot的特点
1、快速创建独立的Spring应用程序。
Spring Boot 并不是对 Spring 功能上的增强,而是提供了一种快速使用 Spring 的方式
2、嵌入的Tomcat,不需要部署war文件
3、简化了Maven的配置
4、自动装配Spring
5、开箱即用,没有代码生成、也不需要XML的配置
6、是微服务的入门级框架,SpringBoot是SpringCloud的基础
7、提供生产就绪功能:如指标、健康检查、外部配置等
三、玩耍环境推荐
Maven 3.3.9 + JDK1.8 + IDEA (Ultimate)
四、创建首个SpringBoot项目
新建Sring Initalizr项目

然后点击next,显示为下面这张图片

这里我就不建什么helloworld、hellospringboot之类的项目了,注意工程名字要全小写,package配置的是包名,可以根据自己的喜爱设置,然后点击next
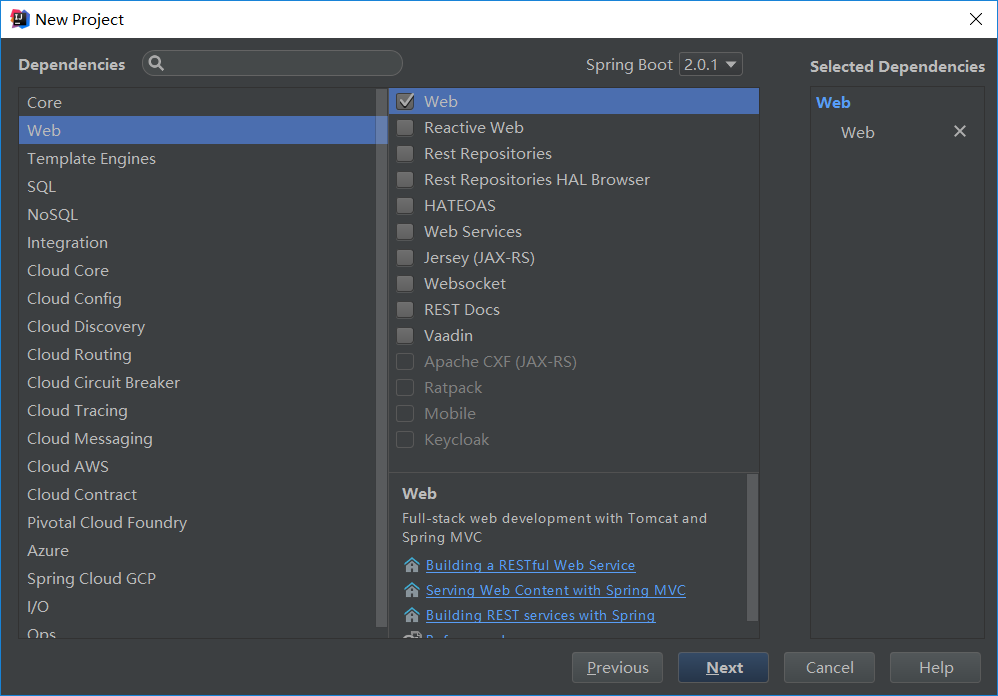
这里我们选择web工程,然后next
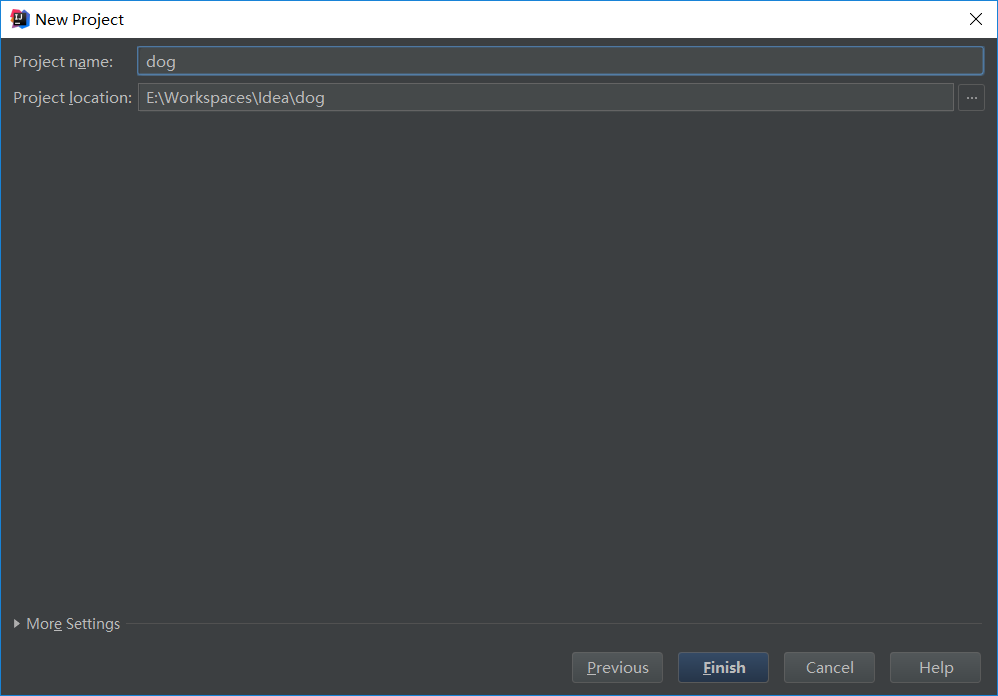
这里是让我们选择自己的工作路径,建议不要包含中文路径,点击finish
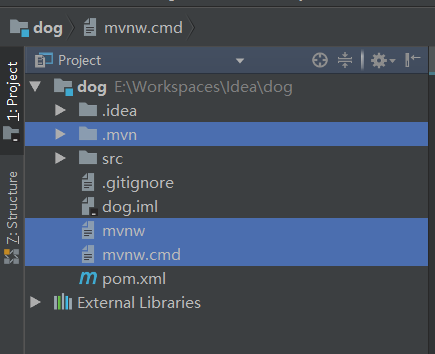
下面,我们可以删除一些暂时用不到的文件夹和文件(一共是3个)
注意我使用的springboot版本号为2.0.1.RELEASE,尽量和我一致,不能然后面我所使用的方法你可能用不了。
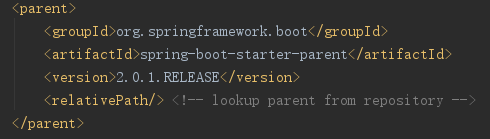
如果这里显示为红色的话,是因为maven还没有把所需要的依赖下载到本地仓库。
pom.xml文件基本上是这样的
<?xml version="1.0" encoding="UTF-8"?>
<project xmlns="http://maven.apache.org/POM/4.0.0" xmlns:xsi="http://www.w3.org/2001/XMLSchema-instance"
    xsi:schemaLocation="http://maven.apache.org/POM/4.0.0 http://maven.apache.org/xsd/maven-4.0.0.xsd">
    <modelVersion>4.0.0</modelVersion>

    <groupId>com.zmfx</groupId>
    <artifactId>dog</artifactId>
    <version>0.0.1-SNAPSHOT</version>
    <packaging>jar</packaging>

    <name>dog</name>
    <description>Demo project for Spring Boot</description>

    <parent><!--定义了SpringBoot的版本信息-->
        <groupId>org.springframework.boot</groupId>
        <artifactId>spring-boot-starter-parent</artifactId>
        <version>2.0.1.RELEASE</version>
        <relativePath/> <!-- lookup parent from repository -->
    </parent>

    <properties>
        <project.build.sourceEncoding>UTF-8</project.build.sourceEncoding>
        <project.reporting.outputEncoding>UTF-8</project.reporting.outputEncoding>
        <java.version>1.8</java.version>
    </properties>

    <dependencies>
        <!--对于web的依赖-->
        <dependency>
            <groupId>org.springframework.boot</groupId>
            <artifactId>spring-boot-starter-web</artifactId>
        </dependency>
        c        <dependency>
            <groupId>org.springframework.boot</groupId>
            <artifactId>spring-boot-starter-test</artifactId>
            <scope>test</scope>
        </dependency>
    </dependencies>

    <build>
        <plugins>
            <plugin><!--SpringBoot的基本配置-->
                <groupId>org.springframework.boot</groupId>
                <artifactId>spring-boot-maven-plugin</artifactId>
            </plugin>
        </plugins>
    </build>

</project>
当所有的maven依赖下载完毕的时候,你项目的目录结构样子大体应该是这个样子的

依然是老套路,新建一个HelloController,来和SpringBoot打个招呼吧
package com.zmfx.hello;

import org.springframework.web.bind.annotation.RequestMapping;
import org.springframework.web.bind.annotation.RequestMethod;
import org.springframework.web.bind.annotation.RestController;

/**
 * 这里的@RestController   相当于@ResponseBody + @Controller
 */
@RestController
public class HelloController {
    @RequestMapping(value = "/hello",method = RequestMethod.GET)
    public String helloSpringBoot(){
        return "Hello SpringBoot!";
    }
}
我们点击IDEA的运行按钮,然后在控制台会看到SpringBoot内置的Tomcat访问的默认端口号8080

然后在网址中输入 http://127.0.0.1:8080/hello 页面会展示 Hello SpringBoot!
说明我们成功的使用SpringBoot项目和SpringBoot打过招呼了
这里需要说明一下,SpringBoot的启动类 DogApplication
package com.zmfx;

import org.springframework.boot.SpringApplication;
import org.springframework.boot.autoconfigure.SpringBootApplication;

@SpringBootApplication //用来声明这是启动SpringBoot程序的启动类,必须有
public class DogApplication {
    public static void main(String[] args) {
        SpringApplication.run(DogApplication.class, args);
    }
}