题记:
本章节主要讲述的excel的封装,以及测试元素信息的读取,来适配框架的一些操作
使用xlrd3读取数据
由于我们的数据是存储到excel里面的,所以在此我们需要封装一个读取excel的数据的方法
读取baidu_page.xls文件中的内容
- excel图示

示例代码
 1 # -*- coding: utf-8 -*-
 2 # @Time : 2022/1/4 16:15
 3 # @Author : Limusen
 4 # @File : demo_excel_20
 5
 6 import os
 7 import xlrd3
 8
 9 abs_path = os.path.dirname(os.path.abspath(__file__))
10 # excel的路径
11 file_path = os.path.join(abs_path, '..', 'files', 'baidu_page.xls')
12
13 # 创建excel对象
14 work_book = xlrd3.open_workbook(file_path)
15 # 创建表对象
16 sheet = work_book.sheet_by_name("baidu")
17
18 # 获取行
19 print(sheet.nrows)
20 # 获取列
21 print(sheet.ncols)
22 # 获取数据
23 print(sheet.cell_value(2, 4))
24
25 # 获取总行数
26 def nrows():
27     return sheet.nrows
28
29 # 获取总列数
30 def ncols():
31     return sheet.ncols
32
33 #  取出excel的全部数据
34 all_excel_data = []
35 for row in range(nrows()):
36     row_data = []
37     for cols in range(ncols()):
38         cell_value = sheet.cell_value(row, cols)
39         row_data.append(cell_value)
40     all_excel_data.append(row_data)
41 for i in all_excel_data:
42     print(i)
- 读取出来的数据

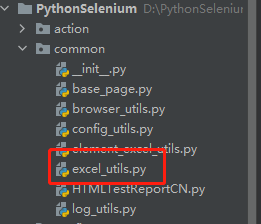
封装excel类
上面我们讲到了如何将数据读取出来,现在我们将代码封装成一个excel类
1.新建common
2.common包下新建excel_utils.py文件
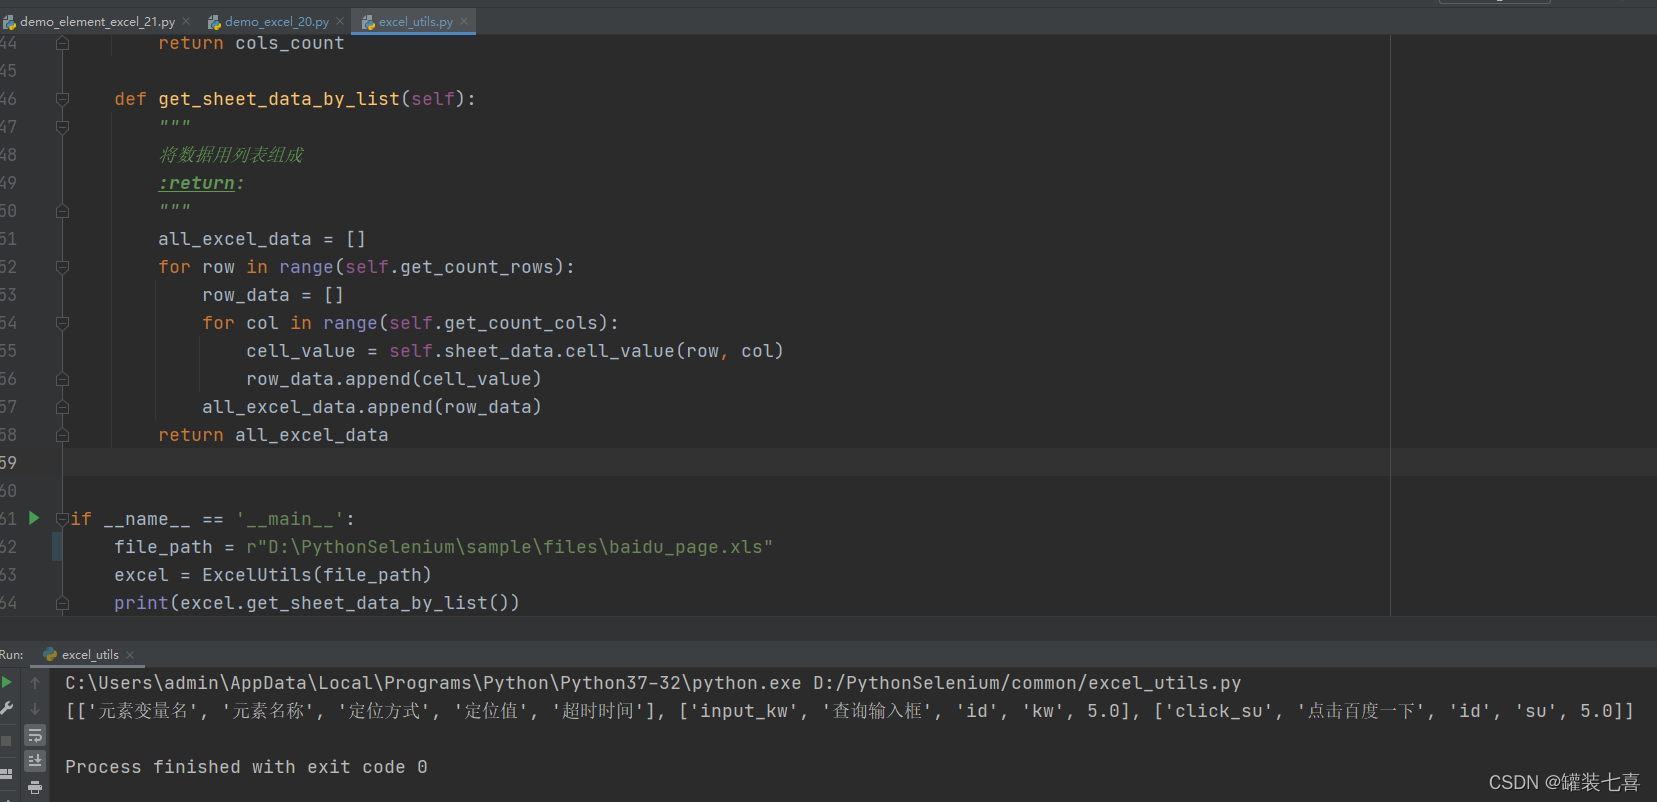
示例代码
# -*- coding: utf-8 -*-
# @Time : 2022/1/4 16:49
# @Author : Limusen
# @File : excel_utils

import xlrd3


class ExcelUtils:

    def __init__(self, excel, sheet_name=None):
        self.excel_path = excel
        self.sheet_name = sheet_name
        self.sheet_data = self.__get_all_data()

    def __get_all_data(self):
        """
        创建excel对象
        :return:
        """
        work_book = xlrd3.open_workbook(self.excel_path)
        if self.sheet_name:
            sheet = work_book.sheet_by_name(self.sheet_name)
        else:
            sheet = work_book.sheet_by_index(0)
        return sheet

    @property
    def get_count_rows(self):
        """
        获取excel总行数
        :return:  返回总行数
        """
        row_count = self.sheet_data.nrows
        return row_count

    @property
    def get_count_cols(self):
        """
        获取excel总列数
        :return:  返回总列数
        """
        cols_count = self.sheet_data.ncols
        return cols_count

    def get_sheet_data_by_list(self):
        """
        将数据用列表组成
        :return:
        """
        all_excel_data = []
        for row in range(self.get_count_rows):
            row_data = []
            for col in range(self.get_count_cols):
                cell_value = self.sheet_data.cell_value(row, col)
                row_data.append(cell_value)
            all_excel_data.append(row_data)
        return all_excel_data


if __name__ == '__main__':
    file_path = r"D:\PythonSelenium\sample\files\baidu_page.xls"
    excel = ExcelUtils(file_path)
    print(excel.get_sheet_data_by_list())
代码图示
封装element_excel_data类
上面说到了读取excel的数据,但是那个数据并不是我想要的,我现在想要的是一个字典中包含多个字典的键值对形式数据,只需要输入对应的键名就可以值
- 举例:
{
‘login_button’: {‘element_name’: ‘登录按钮’, ‘locator_type’: ‘xpath’, ‘locator_value’: ‘//a[text()=“登录”]’, ‘timeout’: 5.0},
‘user_name_input’: {‘element_name’: ‘用户名输入框’, ‘locator_type’: ‘xpath’, ‘locator_value’: ‘//input[@alt=“填写用户名或邮箱”]’, ‘timeout’: 5.0},
‘password_input’: {‘element_name’: ‘密码输入框’, ‘locator_type’: ‘xpath’, ‘locator_value’: ‘//input[@alt=“填写密码”]’, ‘timeout’: 5.0},
‘switch_login_button’: {‘element_name’: ‘跳转之后,登录按钮’, ‘locator_type’: ‘xpath’, ‘locator_value’: ‘//input[@value=“登录”]’, ‘timeout’: 5.0}
}
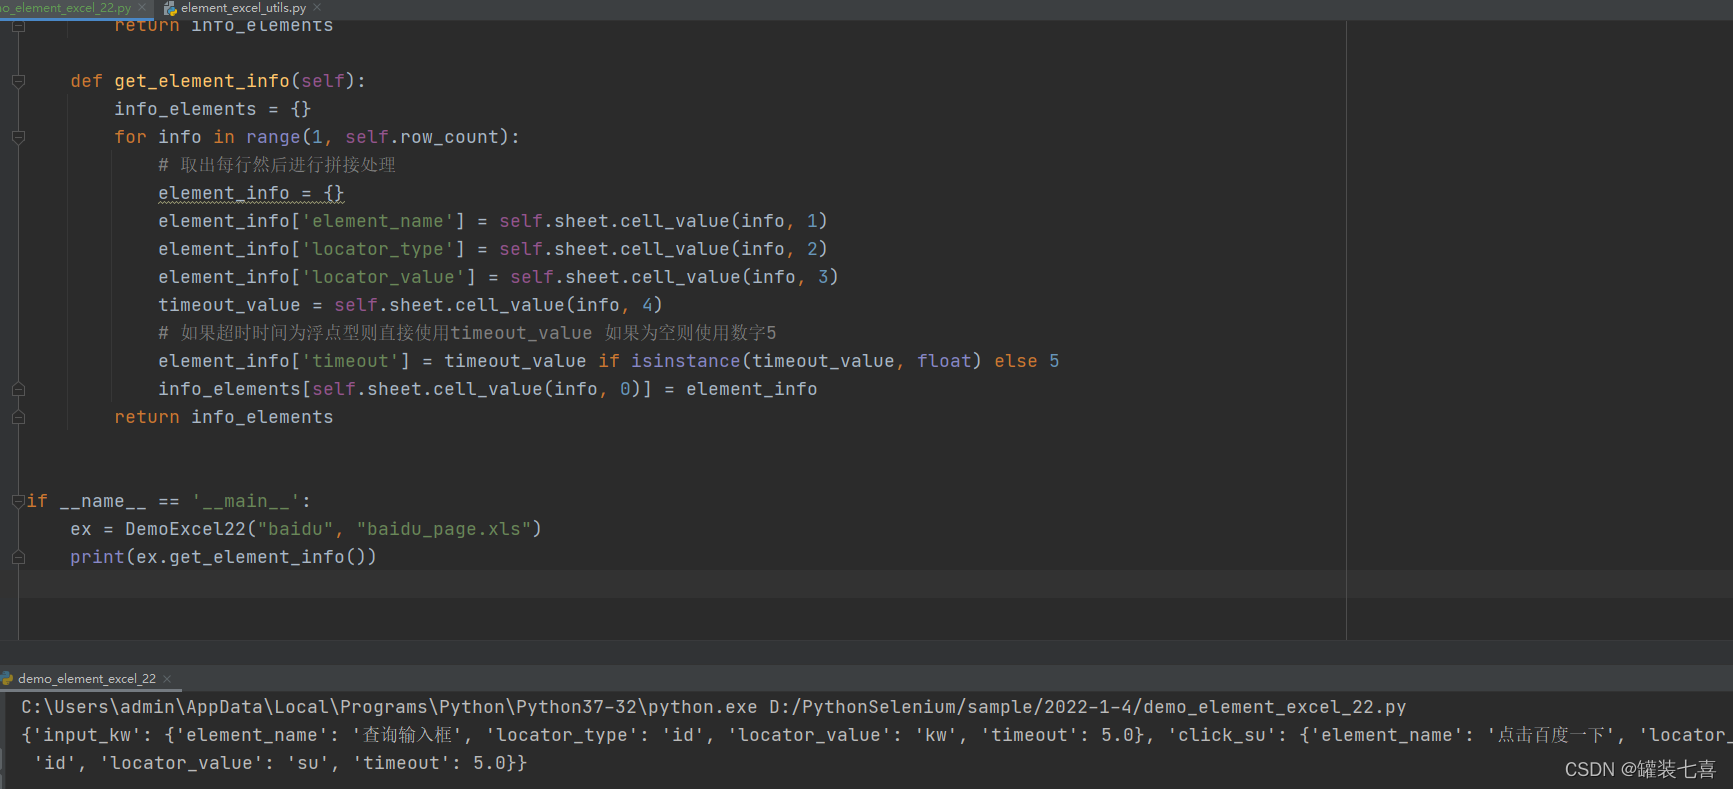
- demo_element_excel_22.py
 1 # -*- coding: utf-8 -*-
 2 # @Time : 2022/1/6 15:45
 3 # @Author : Limusen
 4 # @File : demo_element_excel_22
 5
 6
 7 import os
 8 import xlrd3
 9
10 current_path = os.path.dirname(os.path.dirname(os.path.abspath(__file__)))
11 excel_path = os.path.join(current_path, '..', 'element_info_datas')
12
13
14 class DemoExcel22:
15
16     def __init__(self, module_name, page_name, element_path=excel_path):
17         """
18         :param module_name: 模块名,在element_info_datas模块下
19         :param page_name: element_info_datas模块下的页面名称
20         :param element_path:  excel的地址
21         """
22         # 指定excel的地址
23         self.excel_path = os.path.join(element_path, module_name, page_name)
24
25         # 创建excel对象
26         self.work_book = xlrd3.open_workbook(self.excel_path)
27         # 创建sheet对象 默认取第一个 一个页面一个excel
28         self.sheet = self.work_book.sheet_by_index(0)
29         # 获取excel总行数
30         self.row_count = self.sheet.nrows
31
32     def get_element_demo(self):
33         info_elements = {}
34         for info in range(1, self.row_count):
35             # 可以发现这里会将不同的行数的数打印出来
36             print(self.sheet.cell_value(info,3))
37         return info_elements
38
39     def get_element_info(self):
40         info_elements = {}
41         for info in range(1, self.row_count):
42             # 取出每行然后进行拼接处理
43             element_info = {}
44             element_info['element_name'] = self.sheet.cell_value(info, 1)
45             element_info['locator_type'] = self.sheet.cell_value(info, 2)
46             element_info['locator_value'] = self.sheet.cell_value(info, 3)
47             timeout_value = self.sheet.cell_value(info, 4)
48             # 如果超时时间为浮点型则直接使用timeout_value 如果为空则使用数字5
49             element_info['timeout'] = timeout_value if isinstance(timeout_value, float) else 5
50             info_elements[self.sheet.cell_value(info, 0)] = element_info
51         return info_elements
52
53
54 if __name__ == '__main__':
55     ex = DemoExcel22("baidu", "baidu_page.xls")
56     print(ex.get_element_demo())
代码图示
总结
本章节主要讲述的如何通过python进行excel的读写,并且将数据取出加工成我们想要的数据,到了这里离我们的框架完成已经进行一半啦! 继续坚持~
代码
地址 : https://gitee.com/todayisgoodday/PythonSelenium