先介绍下ckeditor5的使用方式:
安装依赖:
npm install --save @ckeditor/ckeditor5-vue @ckeditor/ckeditor5-build-classic
要创建编辑器实例,必须首先将编辑器构建和组件模块导入应用程序的根文件中(例如,main.js在由Vue CLI生成时)。然后,使用以下Vue.use()方法启用组件:
import Vue from 'vue';
import CKEditor from '@ckeditor/ckeditor5-vue';

Vue.use( CKEditor );
在组件中的具体使用方式如下:
<template>
    <div id="app">
        <ckeditor :editor="editor" v-model="editorData" :config="editorConfig"></ckeditor>
    </div>
</template>

<script>
    import ClassicEditor from '@ckeditor/ckeditor5-build-classic';

    export default {
        name: 'app',
        data() {
            return {
                editor: ClassicEditor,
                editorData: '<p>Content of the editor.</p>',
                editorConfig: {
                    // The configuration of the editor.
                }
            };
        }
    }
</script>
如果需要自定义配置,则可以配置如下:
editorConfig: {
language:'zh-cn',toolbar: ['heading', 'fontSize', 'highlight', 'highlight:yellowMarker', 'highlight:greenMarker', 'highlight:pinkMarker', 'highlight:blueMarker', 'fontFamily', 'alignment', 'imageUpload', 'bold', 'italic', 'underline', 'imageStyle:full', 'imageStyle:alignLeft', 'imageStyle:alignRight', 'link', 'undo', 'redo'], fontSize: { options: [8, 9, 10, 11, 12, 'default', 14, 16, 18, 20, 22, 24, 26, 28, 36, 44, 48, 72], }, highlight: { options: [ { model: 'blackPen', class: 'pen-black', title: '黑色', color: 'var(--ck-highlight-pen-black)', type: 'pen' }, { model: 'redPenPen', class: 'pen-red', title: '红色', color: 'var(--ck-highlight-pen-red)', type: 'pen' }, } }, ckfinder: { uploadUrl: `${store.getters.currentStack.baseURL}/ckeditor/upload`, // 后端处理上传逻辑返回json数据,包括uploaded 上传的字节数 和url两个字段 }, }
这里要说明的是上传接口必须返回的有uploaded和url这两个字段才可以,如下图:

设置ckeditor5输入区域的高度:
<style>
.ck-editor__editable { min-height: 100px; }
</style>
效果图如下:

至此,就大功告成了!!!!!!
在此要说明一点,ckeditor5在ie11下是不兼容的,要想在ie11下正常运行,可能需要较低版本的ckeditor,,,在解决兼容性的时候,发现ckeditor4是兼容ie11的。
下面我们介绍一下ckeditor4的使用方式:
从CKEditor 网站:https://ckeditor.com/ckeditor-4/download/下载CKEditor,这个是我项目中下载好的包,已经上传到我的百度网盘
链接:https://pan.baidu.com/s/1_fskJGVMedK_7ghvK8Q4qg
提取码:yals
复制这段内容后打开百度网盘手机App,操作更方便哦
引用ckeditor,并且需要在webpack.base.config.js中配置如下:

<script type="text/javascript" src="static/ckeditor/ckeditor.js"></script>
<textarea id="editor" rows="10" cols="80"></textarea>
import CKEDITOR from "CKEDITOR"
mounted: function () {
      CKEDITOR.replace("editor", {height: "300px",  "100%", toolbar: "Full"});
      this.editor = CKEDITOR.instances.editor;
      console.log(this.editor.getData());
    },
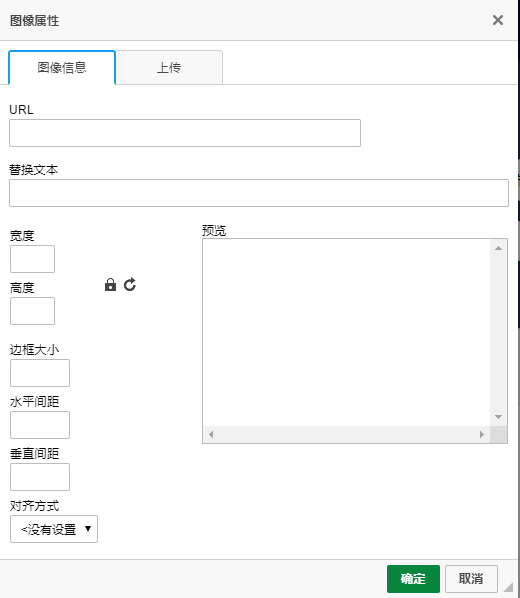
效果如下图:

在此说一下关于图片上传的配置:
修改ckeditor文件夹下config.js:
 config.removeDialogTabs = 'image:advanced;image:Link';//隐藏超链接和高级选项
  config.image_previewText = ' ';//设置图片预览说明为空
//上传图片窗口用到的接口
  config.filebrowserImageUploadUrl = "http://192.168.12.160:8090/gdt_information/messageFeedBack/uploadImgEdit";
  /*config.filebrowserUploadUrl = "http://192.168.12.160:8090/gdt_information/messageFeedBack/uploadImgEdit";

  // 使上传图片弹窗出现对应的“上传”tab标签
  config.removeDialogTabs = 'image:advanced;link:advanced';

  //粘贴图片时用得到
  config.extraPlugins = 'uploadimage';
  config.uploadUrl = "http://192.168.12.160:8090/gdt_information/messageFeedBack/uploadImgEdit";*/
这样就能实现图片的上传啦,
效果图如下:
在项目中发现,ckeditor的setData('1111111')方法不好用,老是设置不上数据,于是我自己也是百度了各种资料都不大好使,后来用dom添加的方式给实现了,
我是这样写的
 1 this.$http
 2         .get(
 3           `${global.postUrl}/gdt_information/newsManage/queryNewsById?newsId=${this.newsId}`
 4         )
 5         .then(res => {
 6           this.editForm = res.data.data;
 7           this.editor.setData(this.editForm.newsContent);
 8           let body = (document.getElementById('editor-textarea').getElementsByTagName('iframe')[0]).contentDocument.getElementsByTagName('body');
 9           console.log(body);
10           setTimeout(() => {
11             if(body.length ==1){
12               console.log(body[0]);
13               body[0].innerHTML  = this.editForm.newsContent;
14             }
15           },500);
16
17         })
18         .catch(error => {
19           console.log(error);
20         });
在textarea的外层声明了一个div ,
,
也不知道还有没有更好的解决办法,希望有更好办法的小伙伴多多分享!!!