装饰器
一 @pytest.fixture() 灵活进行用例运行前后的资源设置
1.fixture有明确的名字
2.在其他函数调用它时会被激活,调用fixture时名字不需要加括号,调用的方式是直接在其他函数的括号里把fixture名字作为参数传进去
3.每个test都运行,默认cope是function
class:每个测试类之前执行一次(setupclass,teardownclass)
module:每个module的所有test只运行一次
session:每个session只运行一次
4.fixture看做是资源,在你的测试用例执行之前需要去配置这些资源,执行完后需要去释放资源,相当于unnitest的setup和teardown
conftest.py:共享fixture功能
如果在实现测试期间,要使用多个测试文件中的fixture函数,则可以将其移动到conftest.py文件中
1.不需要导入fixture,它会自动被pytest发现
2.conftest.py文件配置在工程根目录下面
二 @pytest.mark 灵活根据标签运行测试用例
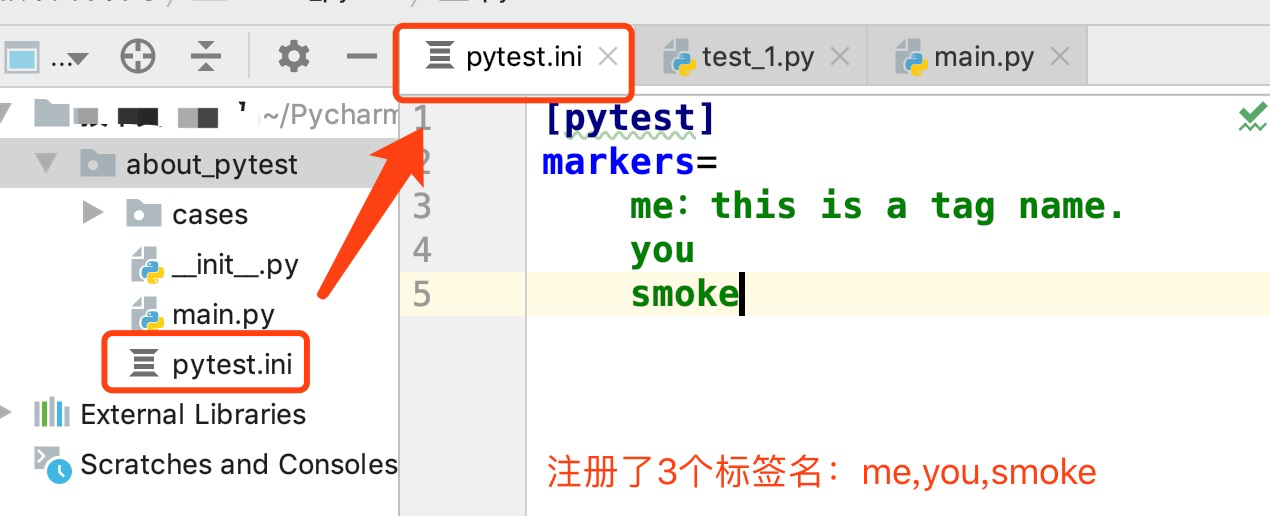
1.先在pytest.ini里注册好标签名 (pytest.ini文件要直接配置在工程根目录下)
2.在测试用例/测试类中给用例打标记(只能使用已注册的标记名)(eg:me)
在测试用例的前面加上:@pytest.mark.已注册标签名 (@pytest.mark.me)
3.运行时,根据用例标签过滤(-m 标签名)
pytest -sq -m="me" demo.py
pytest.main(["sq","-m=me","demo.py"])
三 @pytest.mark.parametrize 配置用例参数
eg:
@pytest.mark.parametrize("case",cases) 这里case一定要加引号
def func(case):
xxxx
return xx
第三方插件
1.安装:pip3 install pytest-rerunfailures 重跑失败用例插件
pytest -sq demo_rerun.py --reruns 5 --reruns-delay 2 重跑5次 每次重跑延迟2秒2.安装:pip3 install allure-pytest 报告生成插件
pytest -sq demo.py --alluredir=output/report
(报告目录在当前运行py文件的同一目录下)(output是文件夹名,report是报告名)
allure serve target/output/report  执行该语句后,会打开默认浏览器,显示报告。


pytest运行命令参数
1.参数:-s
运行过程中执行print打印函数
2.参数:-v 或 -q
打印用例执行的详细 -v/简略过程 -q
3.运行指定的函数(使用两对冒号 : :分隔)
pytest 模块名::类名::函数名
4.pytest -m ”标记“
执行特定的测试用例
5.pytest --alluredir=output/report
生成报告
pytest运行模式
1.命令行
cd要运行目录 pytest在哪个目录下运行,那就在哪个目录中去搜索用例
2.pytest.main()
右击时不能用pytest in xxx.py的形式运行 只能以python xxx.py的形式运行
3.不使用pytest.main(),单纯右击时
一定要是pytest in xxx.py的形式运行