一.web容器服务
使用nginx,标明镜像作者信息,设定自己的web存放目录,请将默认的监听端口80更改为你自定义的端口,并且声明暴露的端口,容器启动时,能直接进入web代码的存放目录
1.拉取nginx镜像
sudo docker pull nginx:latest

2.创建容器并获取配置文件
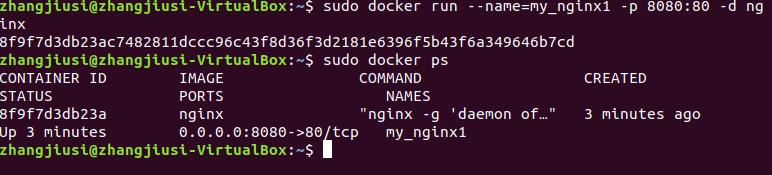
sudo docker run --name=my_nginx1 -p 8080:80 -d nginx
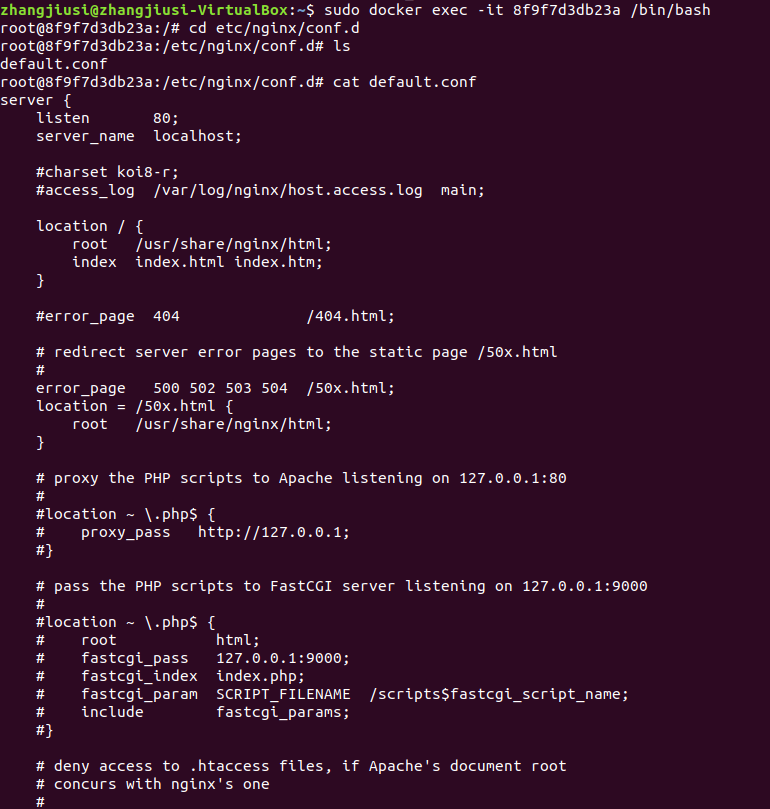
sudo docker exec -it [容器id] /bin/bash
cat /etc/nginx/conf.d/default.conf
3.创建并修改配置文件
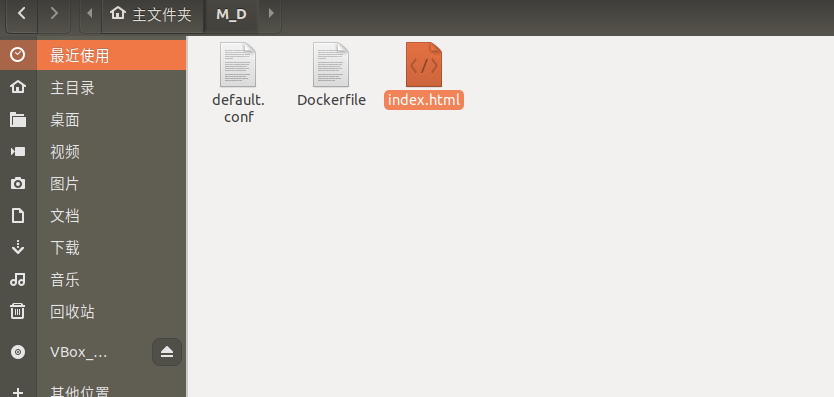
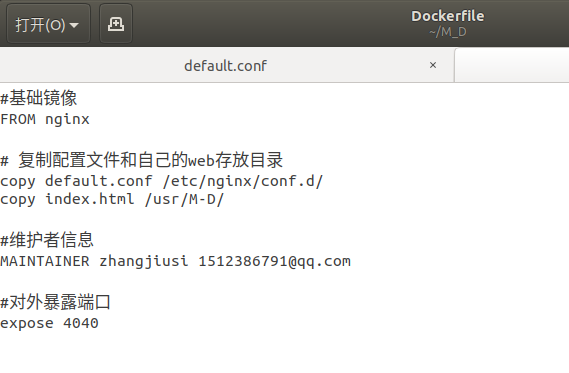
default.conf:修改端口为1234并将root改为web存放目录

Dockerfile
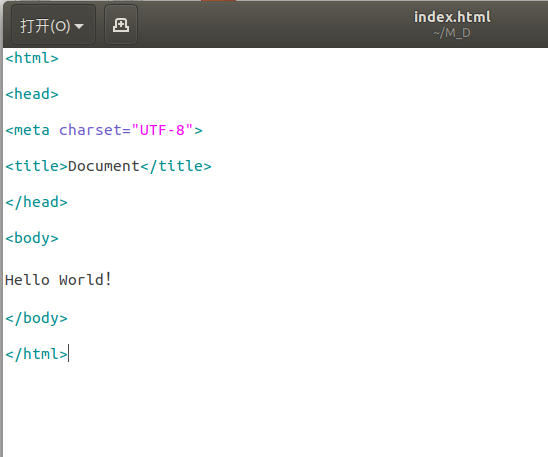
index.html
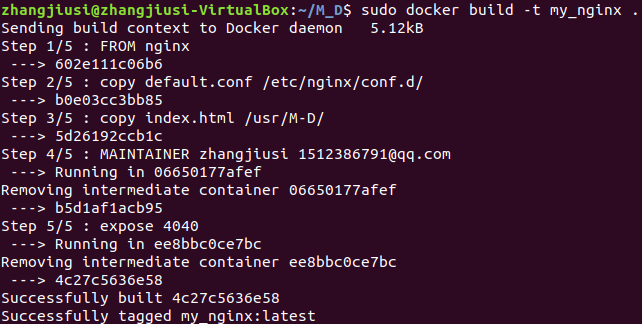
3.构建自己的nginx
sudo docker build -t mynginx .
用该镜像构建一个容器
sudo docker run --name my_nginx2 -p 4040:1234 -p my_nginx

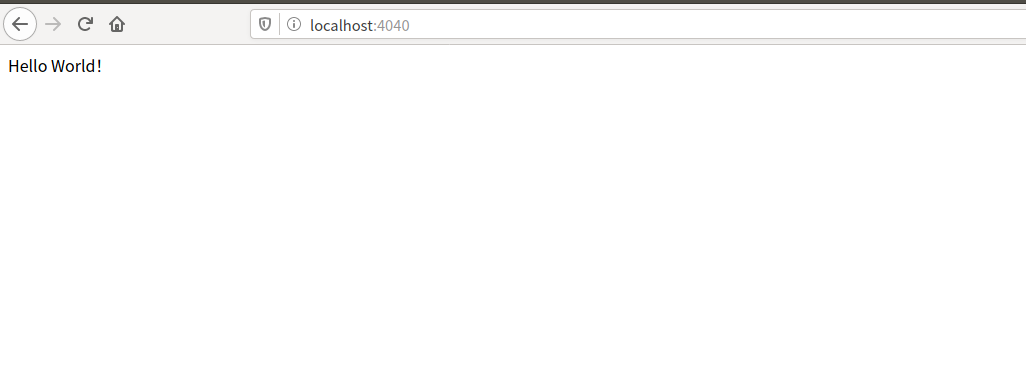
在浏览器中查看
二.数据库容器服务
可选择Mysql,Mariadb等,要求标明镜像作者信息,为了方便维护,需要能够查看容器内的配置信息,包括但不限于网络、应用配置文件等。在环境变量中设置好数据库的root密码且不允许空密码登录,创建一个测试数据库,指定用户名和密码。
1.拉取mysql镜像
sudo docker pull mysql:5.7

2.创建mysql镜像所需文件
Dockerfile
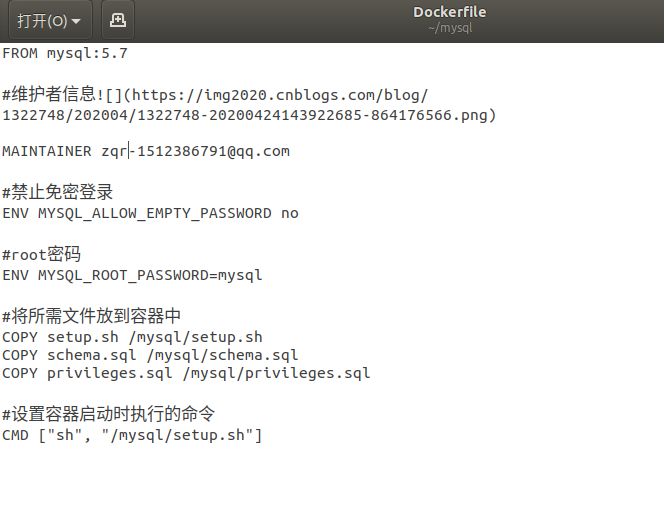
setup.sh

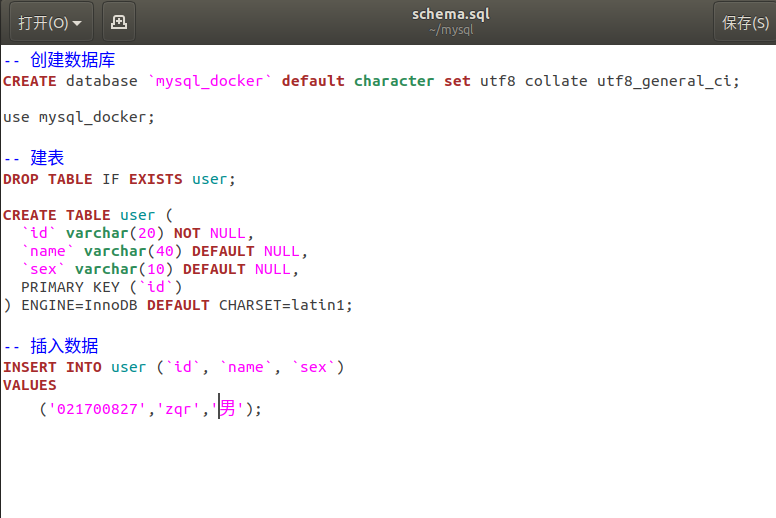
schema.sql
privileges.sql

3.构建自己的mysql镜像
sudo docker build -t mysql .

4.使用该镜像创建运行一个容器
sudo docker run --name z_sql -p 1234:1234 -d mysql

5.进入数据库
sudo docker exec -it msql /bin/bash
mysql -u ljy -p

6.运行情况
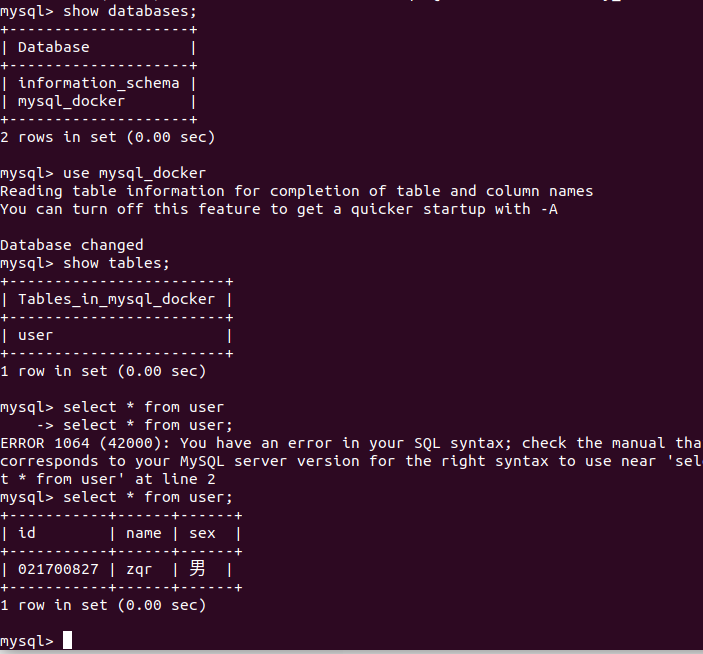
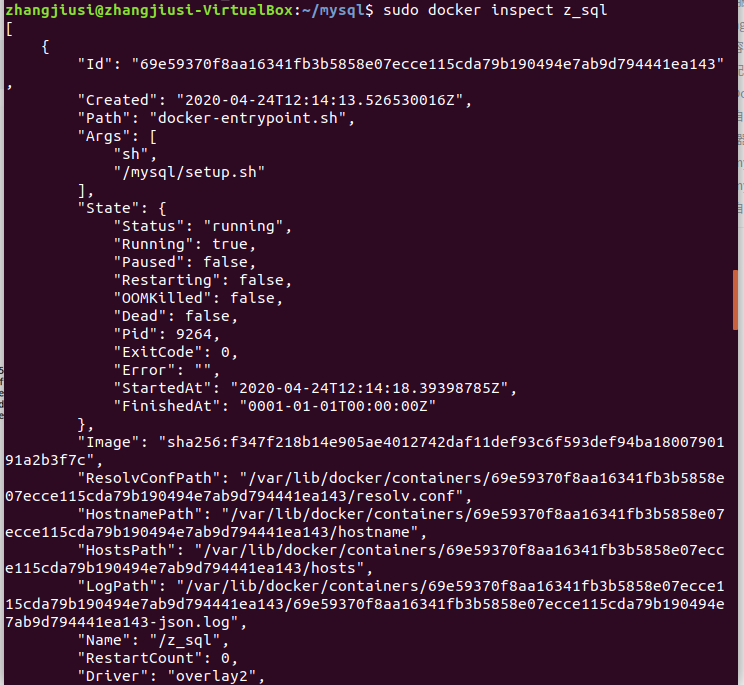
7.查看容器内配置信息
sudo docker inspect z_sql