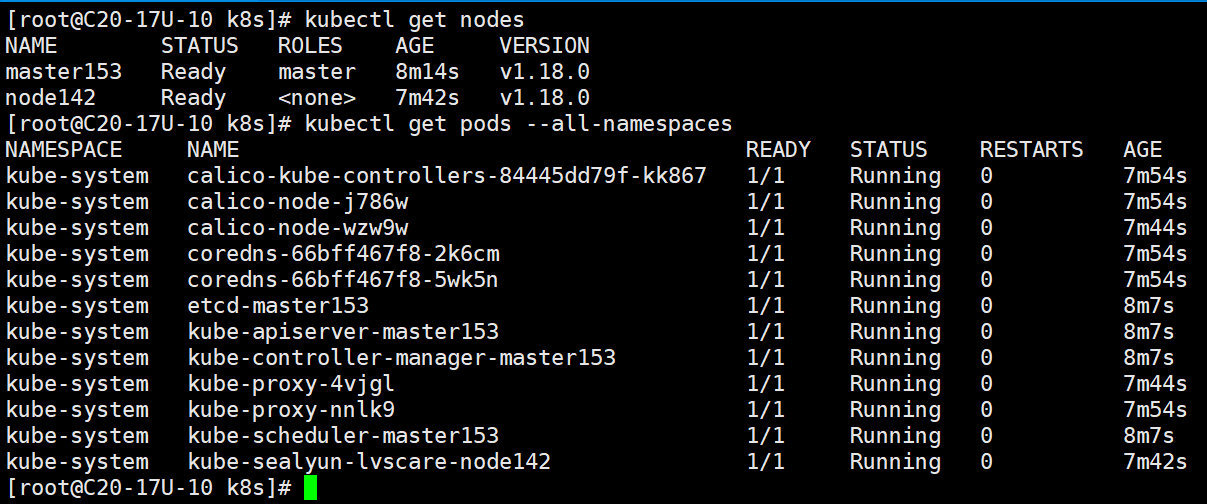
1、环境介绍

2、运行以下命令来自动下载并解压缩最新版本
curl -L https://istio.io/downloadIstio | sh
注意:如果下载最新版本istio,/etc/hosts配置文件需要添加199.232.28.133 raw.githubusercontent.com,原因你懂得,不然报 Failed connect to raw.githubusercontent.com:443; 连接超时错误。
这里我没有下载最新版的istio,下载的是istio1.6.8版本
curl -L https://istio.io/downloadIstio | ISTIO_VERSION=1.6.8 TARGET_ARCH=x86_64 sh -
3、安装目录包含
可以看到有4个目录(bin、manifests、samples、tools)及3个文件(LICENSE、README.md、manifest.yaml)
其中bin下是istioctl执行程序,manifests是istio相关的主要部署组件,manifest.yaml是当前istio版本(1.7.2)中manifests目录下各组件的配置和依赖描述,samples是一套istio应用样例,用来部署测试做功能校验的,tools是一些工具脚本
打开README.md发现,主要说了3个点,istio的功能介绍、项目git仓库、以及问题优化管理原则,并没有直接给出安装使用方法

4、 实现 istioctl 自动补全功能
/etc/profile文件添加
export ISTIO_HOME=/data/k8s/istio-1.6.8
export PATH=$ISTIO_HOME/bin:$PATH
添加完毕后,加载配置使配置生效:
source /etc/profile
5、安装demo配置文件
istioctl manifest apply --set profile=demo

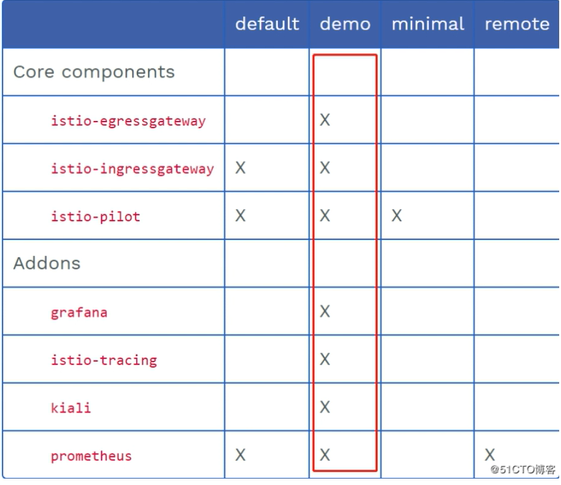
注意: 安装时选择不同的profile安装的组件与插件不一样,查看当前版本profile列表使用istioctl profile list命令:

生产上因为性能原因建议安装default profile,一般熟练的老手都会使用empty profile,然后根据需求开启组件与插件, 不同profile安装组件与插件列表(其中x代表安装):

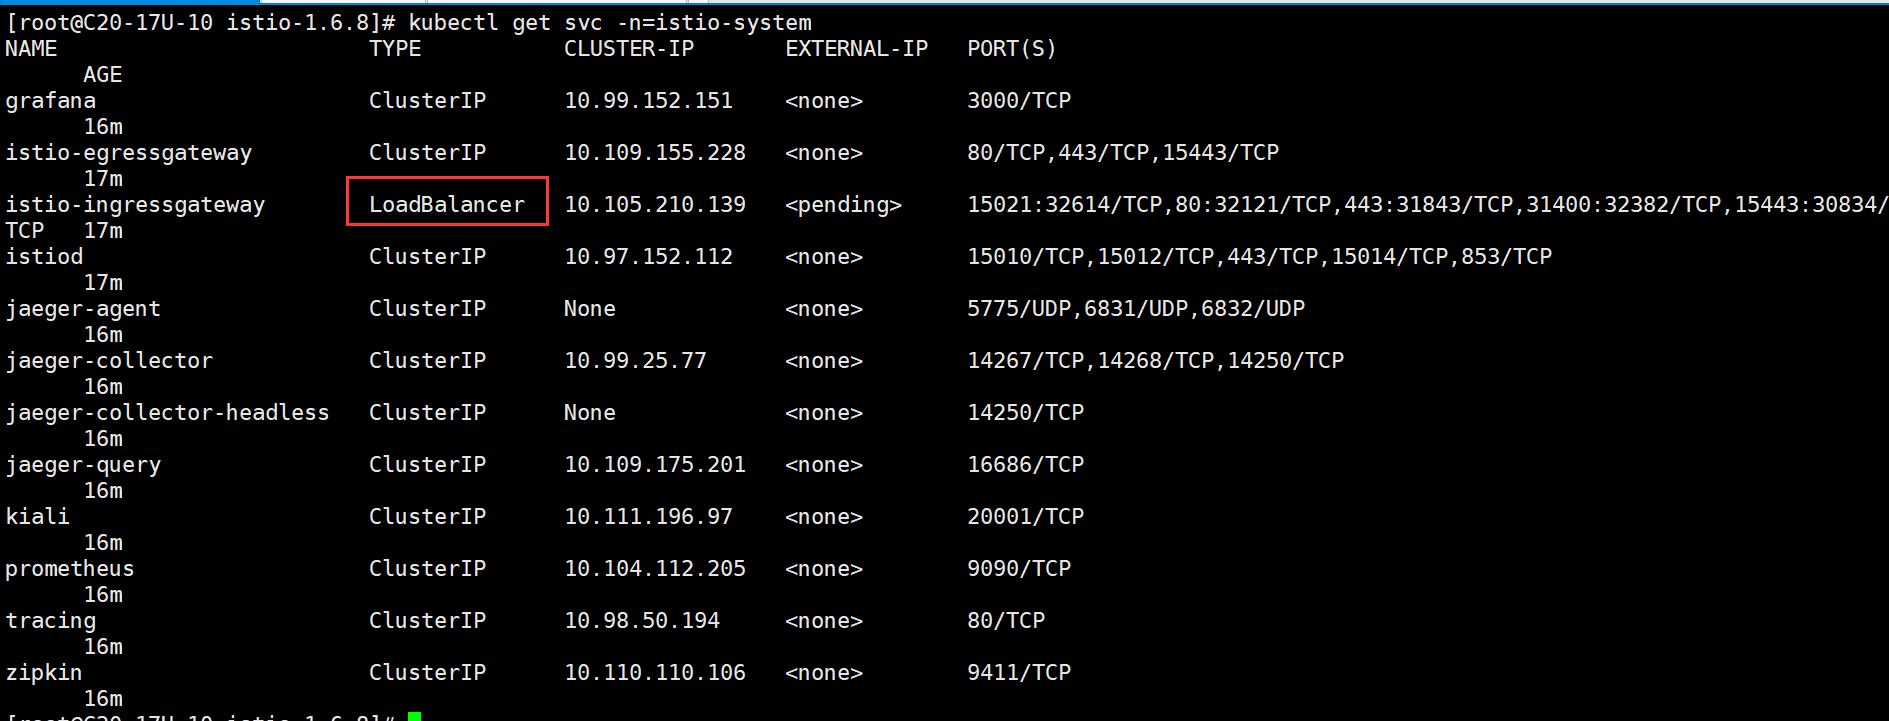
6、通过确保已部署以下Kubernetes服务来验证安装
kubectl get deployment -n=istio-system

kubectl get pods -n=istio-system

kubectl get svc -n=istio-system

注意:将这里的LoadBalancer修改成NodePort。
7、卸载(会删除RBAC权限,istio-system名称空间以及它下面的层次结构中的所有资源)
istioctl manifest generate --set profile=demo | kubectl delete -f -