对于如下的代码,一直有点不明白它具体每一步操作的影响。今天就稍微研究下。代码如下
xml代码
<RelativeLayout xmlns:android="http://schemas.android.com/apk/res/android"
    xmlns:tools="http://schemas.android.com/tools"
    xmlns:internal="http://schemas.android.com/apk/prv/res/android"
    android:layout_width="match_parent"
    android:layout_height="match_parent"
    android:background="#555555"
    android:paddingBottom="@dimen/activity_vertical_margin"
    android:paddingLeft="@dimen/activity_horizontal_margin"
    android:paddingRight="@dimen/activity_horizontal_margin"
    android:paddingTop="@dimen/activity_vertical_margin"
    tools:context="com.example.test1.MainActivity" >

    <LinearLayout
        android:layout_width="wrap_content"
        android:layout_height="wrap_content"
        android:layout_centerInParent="true"
        internal:layout_maxHeight="20dp"
        internal:layout_maxWidth="100dp"
        internal:layout_minHeight="20dp"
        android:orientation="vertical" >

        <ImageButton
            android:id="@+id/tv"
            android:layout_width="150dp"
            android:layout_height="150dp"
            android:background="#0000ff" />

        <ImageButton
            android:id="@+id/tv2"
            android:layout_width="150dp"
            android:layout_height="150dp"
            android:layout_marginTop="20dp"
            android:background="#ff0000" />

        <ImageButton
            android:id="@+id/tv3"
            android:layout_width="150dp"
            android:layout_height="150dp"
            android:layout_marginTop="20dp"
            android:background="#ff0000" />
    </LinearLayout>

</RelativeLayout>
activity中的代码如下
package com.example.testcode;

import android.app.Activity;
import android.graphics.Bitmap;
import android.graphics.Canvas;
import android.graphics.PixelFormat;
import android.graphics.drawable.BitmapDrawable;
import android.graphics.drawable.Drawable;
import android.os.Bundle;
import android.util.Log;
import android.view.Menu;
import android.view.MenuItem;
import android.widget.ImageButton;
import android.widget.ImageView;

public class MainActivity extends Activity {
    ImageButton tView;
    ImageButton tView2;
    ImageButton tView3;

    @Override
    protected void onCreate(Bundle savedInstanceState) {
        super.onCreate(savedInstanceState);
        setContentView(R.layout.activity_main);
        tView = (ImageButton) findViewById(R.id.tv);
        tView3 = (ImageButton) findViewById(R.id.tv3);
        Drawable drawable = getResources().getDrawable(R.drawable.test);
        int w = drawable.getIntrinsicWidth();
        int h = drawable.getIntrinsicHeight();
        Log.e("123", "drawable:w==" + w + "|||" + "drawable:h===" + h);
        Bitmap bitmap = ((BitmapDrawable) drawable).getBitmap();
        w = bitmap.getWidth();
        h = bitmap.getHeight();
        Log.e("123", "bitmap:w==" + w + "|||" + "bitmap:h===" + h);

        tView.setImageDrawable(new BitmapDrawable(getResources(), bitmap));
        tView3.setImageDrawable(getResources().getDrawable(
                R.drawable.test));
        tView2 = (ImageButton) findViewById(R.id.tv2);
        Drawable drawable2 = getResources().getDrawable(R.drawable.test);
        int w2 = drawable2.getIntrinsicWidth();
        int h2 = drawable2.getIntrinsicHeight();
        Log.e("123", "drawable2:w2==" + w2 + "|||" + "drawable2:h2===" + h2);
        Bitmap.Config config = drawable.getOpacity() != PixelFormat.OPAQUE ? Bitmap.Config.ARGB_8888
                : Bitmap.Config.RGB_565;
        Bitmap bitmap2 = Bitmap.createBitmap(150, 150, config);
        w2 = bitmap2.getWidth();
        h2 = bitmap2.getHeight();
        Log.e("123", "bitmap2:w2==" + w2 + "|||" + "bitmap2:h2===" + h2);
        Canvas canvas = new Canvas(bitmap2);
        drawable2.setBounds(50, 50, w2 + 50, h2 + 50);
        drawable2.draw(canvas);
        w2 = drawable2.getIntrinsicWidth();
        h2 = drawable2.getIntrinsicHeight();
        Log.e("123", "drawable3:w2==" + w2 + "|||" + "drawable3:h2===" + h2);
        tView2.setImageDrawable(new BitmapDrawable(getResources(), bitmap2));
    }

    @Override
    public boolean onCreateOptionsMenu(Menu menu) {
        // Inflate the menu; this adds items to the action bar if it is present.
        getMenuInflater().inflate(R.menu.main, menu);
        return true;
    }

    @Override
    public boolean onOptionsItemSelected(MenuItem item) {
        // Handle action bar item clicks here. The action bar will
        // automatically handle clicks on the Home/Up button, so long
        // as you specify a parent activity in AndroidManifest.xml.
        int id = item.getItemId();
        if (id == R.id.action_settings) {
            return true;
        }
        return super.onOptionsItemSelected(item);
    }
}
图片

1)对于上面的代码,打印log如下
  1 01-01 09:12:10.867: E/123(3373): drawable:w==174|||drawable:h===174
  2 01-01 09:12:10.867: E/123(3373): bitmap:w==174|||bitmap:h===174
  3 01-01 09:12:10.869: E/123(3373): drawable2:w2==174|||drawable2:h2===174
  4 01-01 09:12:10.870: E/123(3373): bitmap2:w2==150|||bitmap2:h2===150
  5 01-01 09:12:10.872: E/123(3373): drawable3:w2==174|||drawable3:h2===174
效果图如下

2)现在我们研究
drawable2.setBounds(0, 0, w2, h2);
Bitmap bitmap2 = Bitmap.createBitmap(150, 150, config);
这个属性的影响
修改1
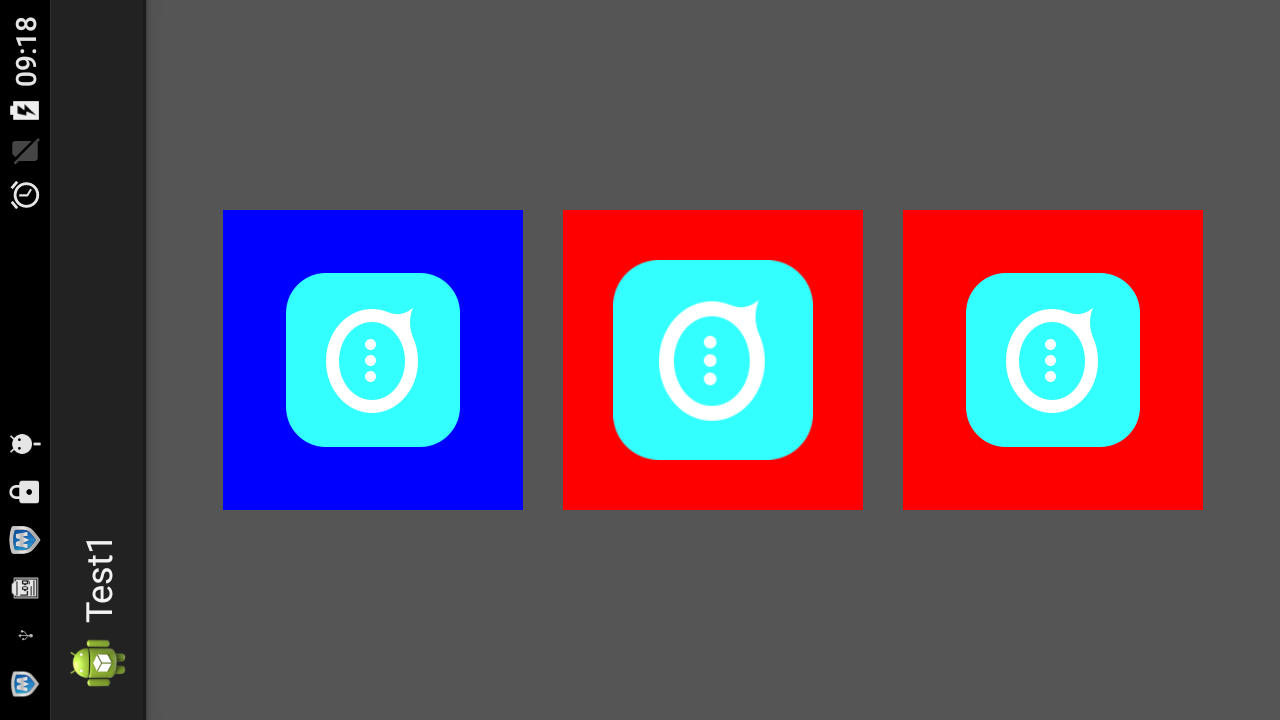
Bitmap bitmap2 = Bitmap.createBitmap(200, 200, config);
drawable2.setBounds(0, 0, w2, h2);
结果
  1 01-01 09:16:18.529: E/123(3986): drawable:w==174|||drawable:h===174
  2 01-01 09:16:18.530: E/123(3986): bitmap:w==174|||bitmap:h===174
  3 01-01 09:16:18.531: E/123(3986): drawable2:w2==174|||drawable2:h2===174
  4 01-01 09:16:18.532: E/123(3986): bitmap2:w2==200|||bitmap2:h2===200
  5 01-01 09:16:18.536: E/123(3986): drawable3:w2==174|||drawable3:h2===174
修改2
drawable2.setBounds(100, 100, w2, h2);
结果
  1 01-01 09:16:18.529: E/123(3986): drawable:w==174|||drawable:h===174
  2 01-01 09:16:18.530: E/123(3986): bitmap:w==174|||bitmap:h===174
  3 01-01 09:16:18.531: E/123(3986): drawable2:w2==174|||drawable2:h2===174
  4 01-01 09:16:18.532: E/123(3986): bitmap2:w2==200|||bitmap2:h2===200
  5 01-01 09:16:18.536: E/123(3986): drawable3:w2==174|||drawable3:h2===174
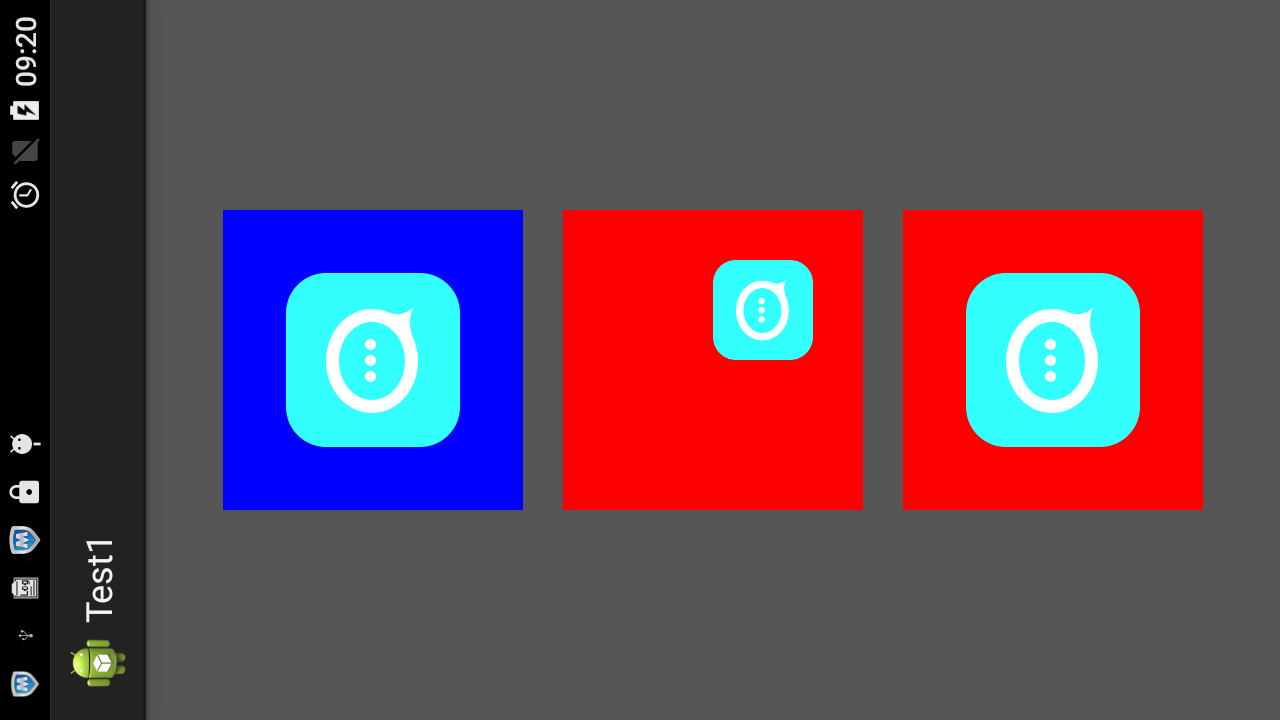
现在证明了,这个方法,对于原来的图片是没有任何的影响的。
修改3
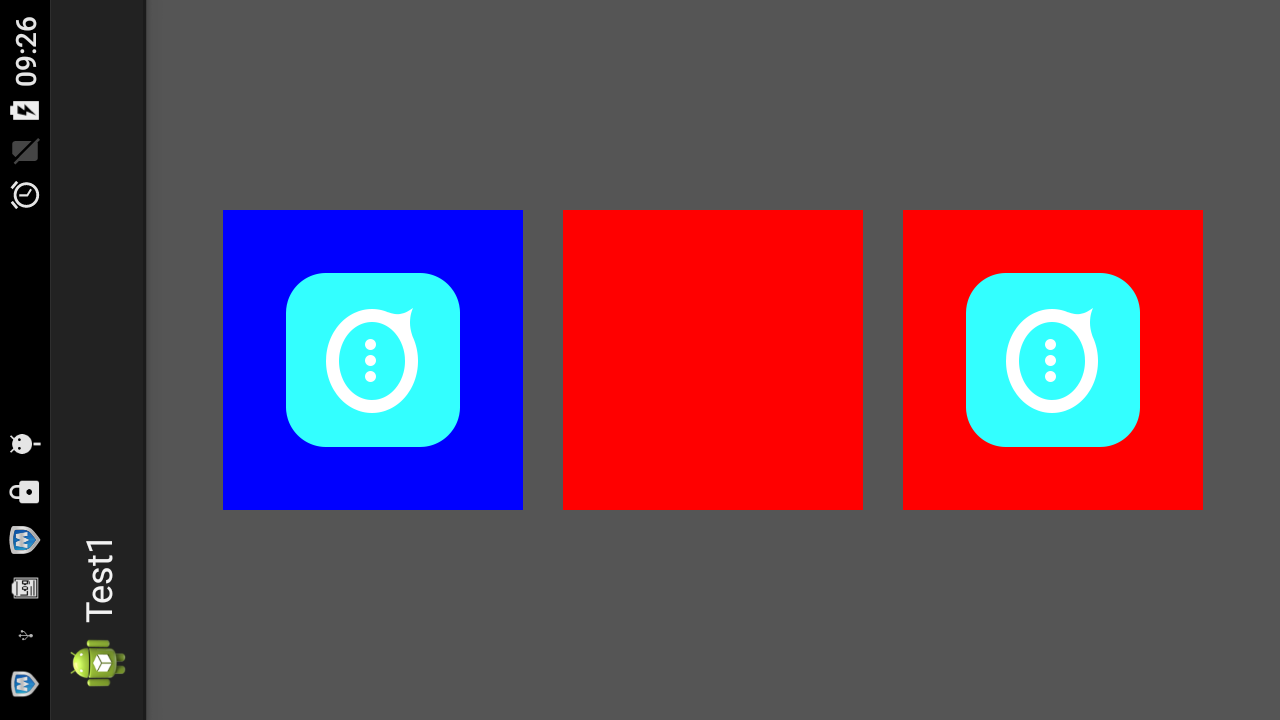
drawable2.setBounds(100, 100, 99, 99);
修改4)
drawable2.setBounds(100, 100, 120, 120);

修改5)
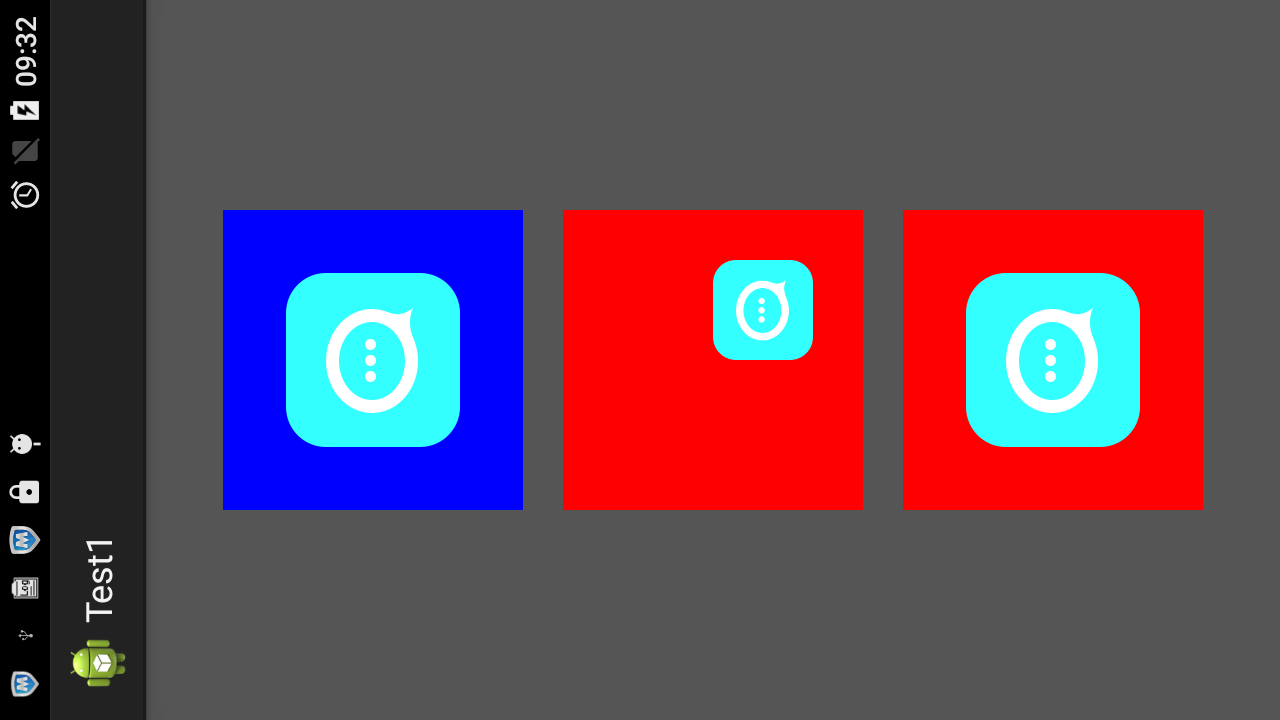
drawable2.setBounds(100, 100, 200, 200);
修改7)
drawable2.setBounds(100, 100, 220, 220);
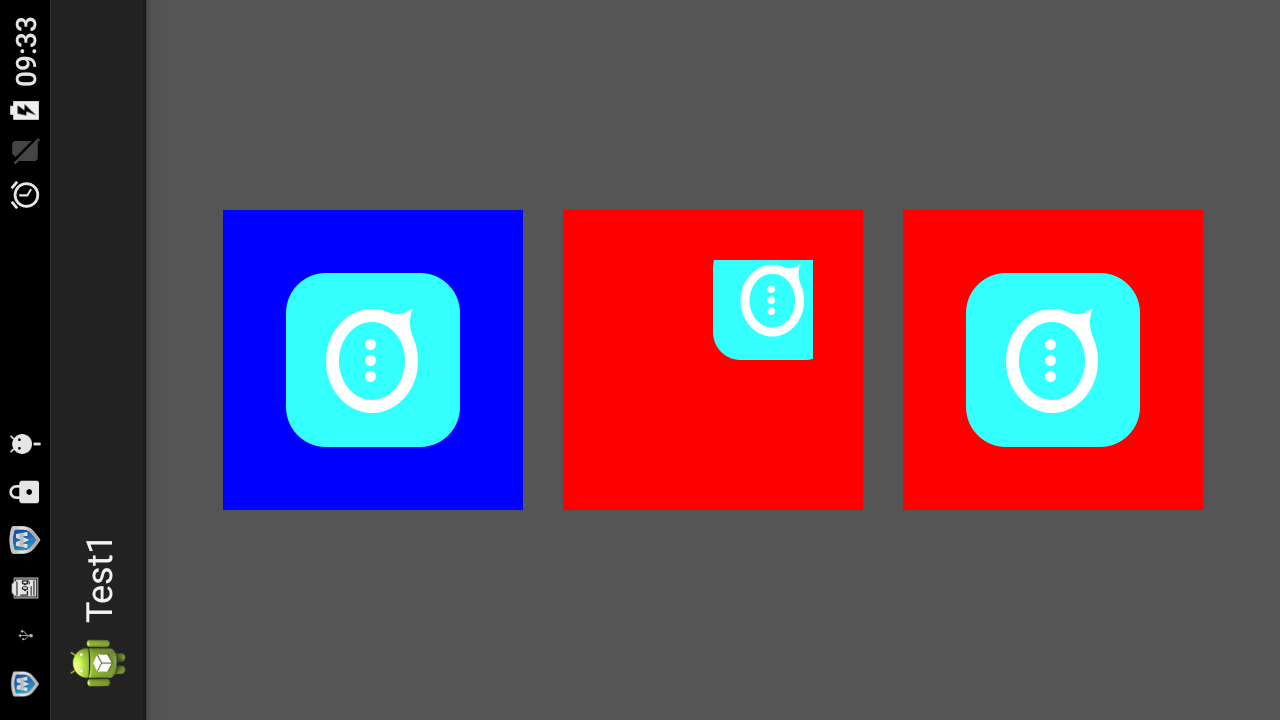
结论明了了
1.createBitmap(w,h,config)的w,h决定了一个矩形区域。我们的setbounds 的显示区域就在这里
2.setbounds(left,top,right,bottom),它是在bitmap的区域里面画一个矩形,我们的drawable就显示在这个矩形里。
这个矩形的正对角线端点坐标为(left,top),(right,bottom)

3.我们图形的可见区域就是这两个矩形的交集。所以说,
(1)如果我们的bound矩形全部可见的话,right>left,bottom>left,而且这个矩形整个的都要在bitmap矩形内
(2)如果bound矩形超出了bitmap矩形,那么超出部分就不会再显示了