mobx 是由 Mendix、Coinbase、Facebook 开源和众多个人赞助商所赞助的。
mobx和redux类似,也可以用来进行状态管理,并且更简单,更灵活。初次研究,先实现一个最简单的功能修改一个字符串值
官网:https://cn.mobx.js.org
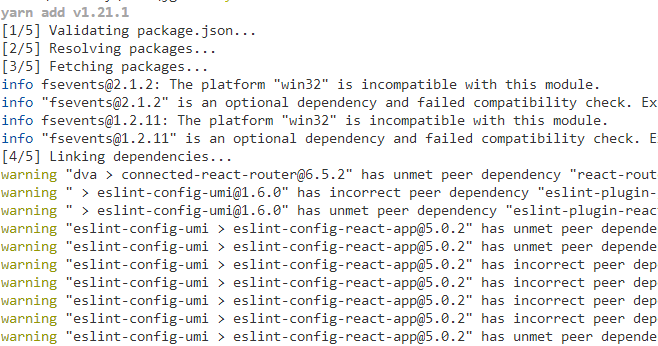
1、安装
yarn add mobx-react --save
yarn add mobx --save
...
2、添加import
import { observer } from 'mobx-react';
import { observable, computed, action } from 'mobx';
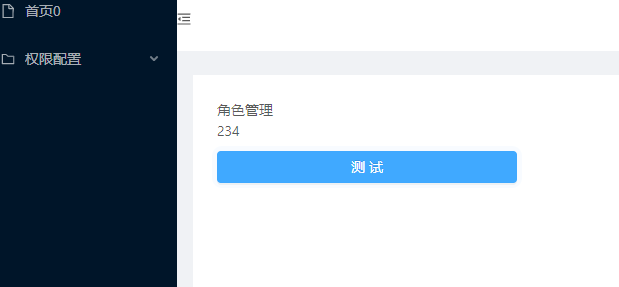
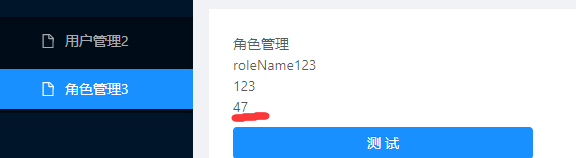
3、修改UserRole代码如下
import React from 'react';
import { observer } from 'mobx-react';
import { decorate,observable, computed, action } from 'mobx';
import { Button,Input} from 'antd';
@observer
class UserRole extends React.Component {
  constructor(props) {
    super(props);
  }
  @observable roleName = "123";
  handleTestClick = e => {
    this.roleName="234";
    console.log(this.roleName);
  };
  render() {
    return (
      <div>角色管理
       <div>{this.roleName}</div>
      <Button type="primary" style={{marginTop:10,300}}  onClick={this.handleTestClick}>测试</Button>
      </div>
    );
  }
}
export default UserRole;
4、点击测试,可以看到不用从新对state赋值,即可自动渲染

5、如果不使用mobx,须使用setState才能实现类似效果,比较麻烦。代码如下
import React from 'react';
import { observer} from 'mobx-react';
import { decorate,observable, computed, action} from 'mobx';
import { Button,Input} from 'antd';
class UserRole extends React.Component {

  constructor(props) {
    super(props);
    this.state={
      roleName:'test'
    }
  };
  state:{
    roleName
  };
  handleTestClick = e => {
    this.setState({
      roleName:'234'
    });
    console.log(this.state.roleName);
  };
  render() {
    return (
      <div>角色管理
       <div>{this.state.roleName}</div>
      <Button type="primary" style={{marginTop:10,300}}  onClick={this.handleTestClick}>测试</Button>
      </div>
    );
  }
}

export default UserRole;
6、测试使用@compute
import React from 'react';
import { observer} from 'mobx-react';
import { decorate,observable, computed, action} from 'mobx';
import { Button,Input} from 'antd';
@observer
class UserRole extends React.Component {

  constructor(props) {
    super(props);
  };
  @observable
  roleName = "123";
  @computed get roleNameInfo()
  {
    return "roleName"+this.roleName;
  }
  handleTestClick = e => {
    this.roleName="234";
    console.log(this.roleName);
  };
  render() {
    return (
      <div>角色管理
      <div>{this.roleNameInfo}</div>
      <div>{this.roleName}</div>
      <Button type="primary" style={{marginTop:10,300}}  onClick={this.handleTestClick}>测试</Button>
      </div>
    );
  }
}

export default UserRole;
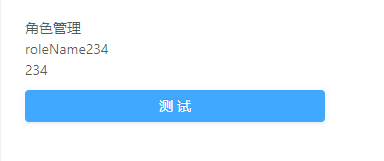
也会自动Render
7、使用严格模式
import {observable, action, useStrict} from 'mobx';
useStrict(true);
在新版本中已经不能使用,估计是容易误解吧,代码如下
import { observable, action,configure } from 'mobx';
configure({enforceActions:true});
开启严格模式后
this.roleName="234";
这种操作会报错,必须放在@action 修饰的函数中才可以。mobx 4.x中变化
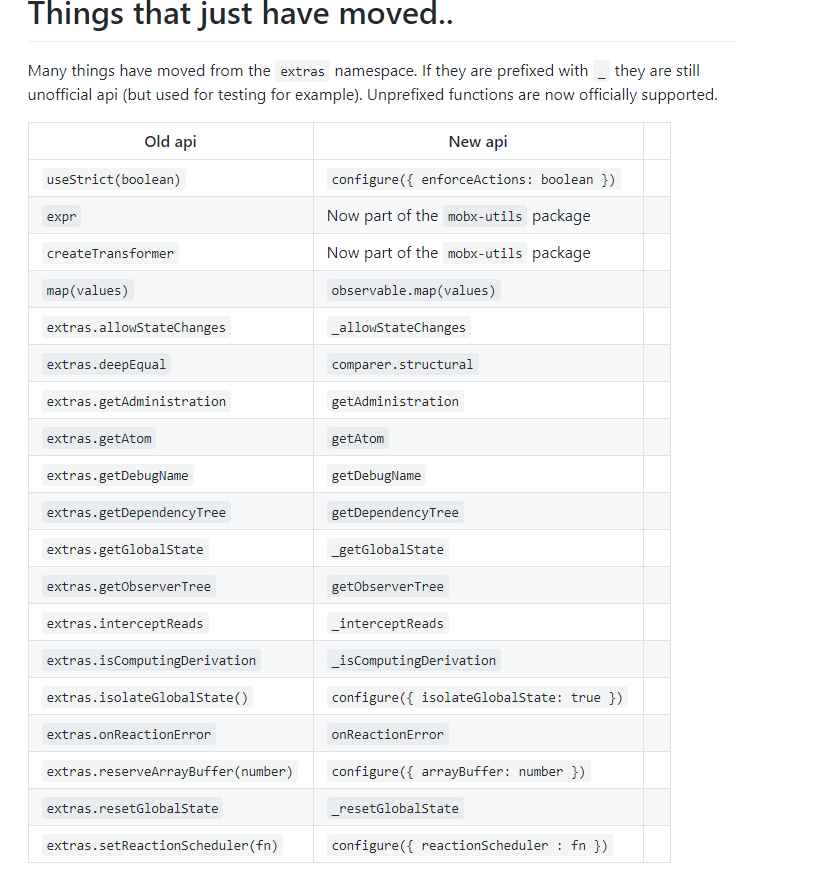 https://github.com/mobxjs/mobx/wiki/Migrating-from-mobx-3-to-mobx-4#things-that-just-have-moved
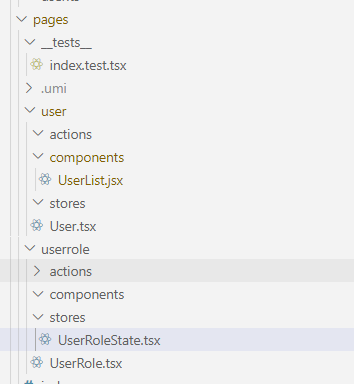
8、重构项目目录如下
9、可以两个页面组件共享一个State。
User.jsx中增加代码
import userRoleState from '../userrole/stores/UserRoleState';
render中添加
<div>{userRoleState.secend}</div>
事件中增加
userRoleState.add();
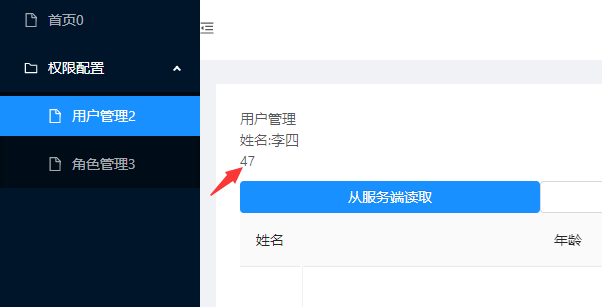
两个值会同步改变。