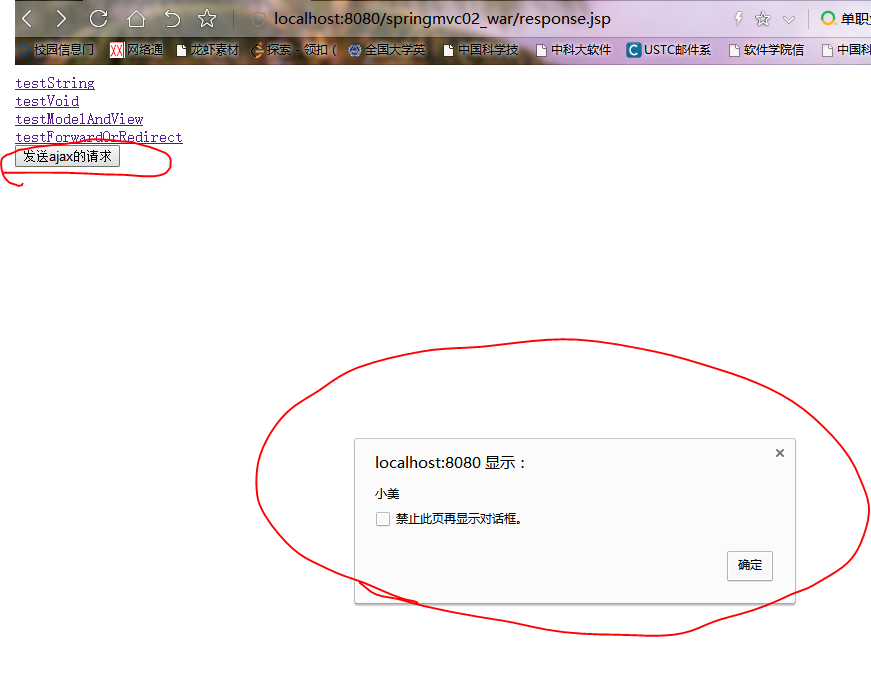
一.配置不过滤静态资源文件:用来访问webapp中js,css,images文件
1.修改springmvc.xml
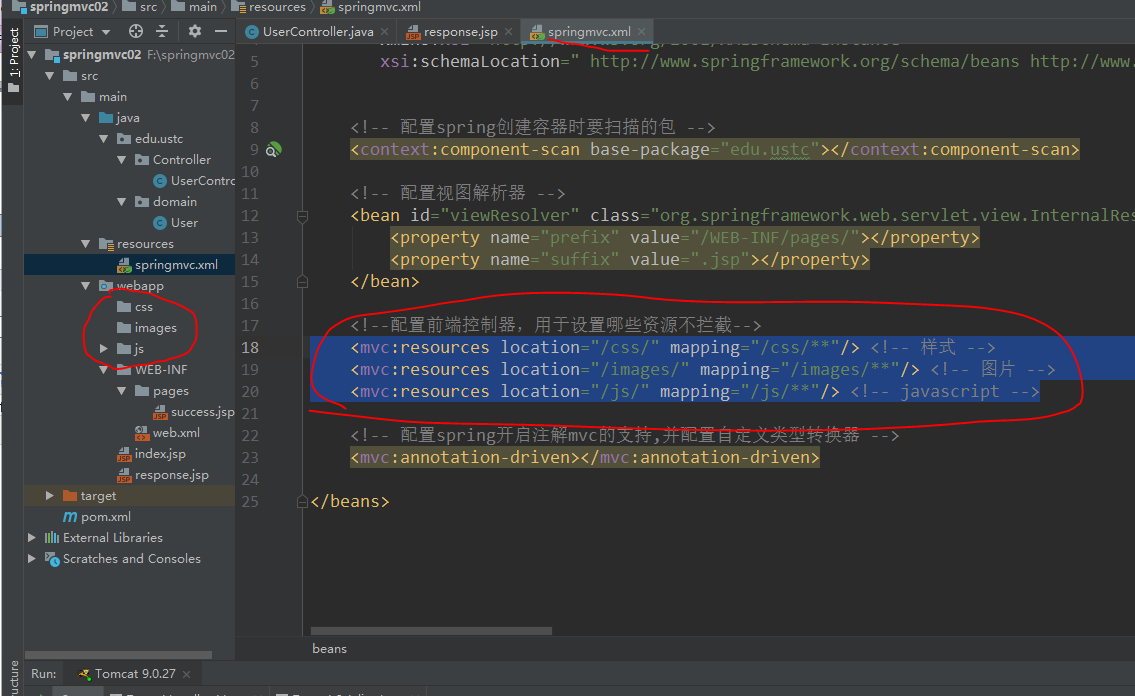
1     <!--配置前端控制器,用于设置哪些资源不拦截-->
2     <mvc:resources location="/css/" mapping="/css/**"/> <!-- 样式 -->
3     <mvc:resources location="/images/" mapping="/images/**"/> <!-- 图片 -->
4     <mvc:resources location="/js/" mapping="/js/**"/> <!-- javascript -->
2.jsp:

 1 <%@ page contentType="text/html;charset=UTF-8" language="java" %>
 2
 3 <html>
 4 <head>
 5     <title>response</title>
 6     <script src="js/jquery.min.js"></script>
 7     <script>
 8         //页面加载,绑定点击事件
 9         $(function () {
10             $("#btn").click(function () {
11                 alert("hello btn");
12             });
13         });
14     </script>
15 </head>
16 <body>
17
18 <a href="user/testString">testString</a> <br>
19 <a href="user/testVoid">testVoid</a>  <br>
20 <a href="user/testModelAndView">testModelAndView</a> <br>
21 <a href="user/testForwardOrRedirect">testForwardOrRedirect</a> <br>
22
23 <button id="btn">发送ajax的请求</button>
24 </body>
25 </html>
展示:

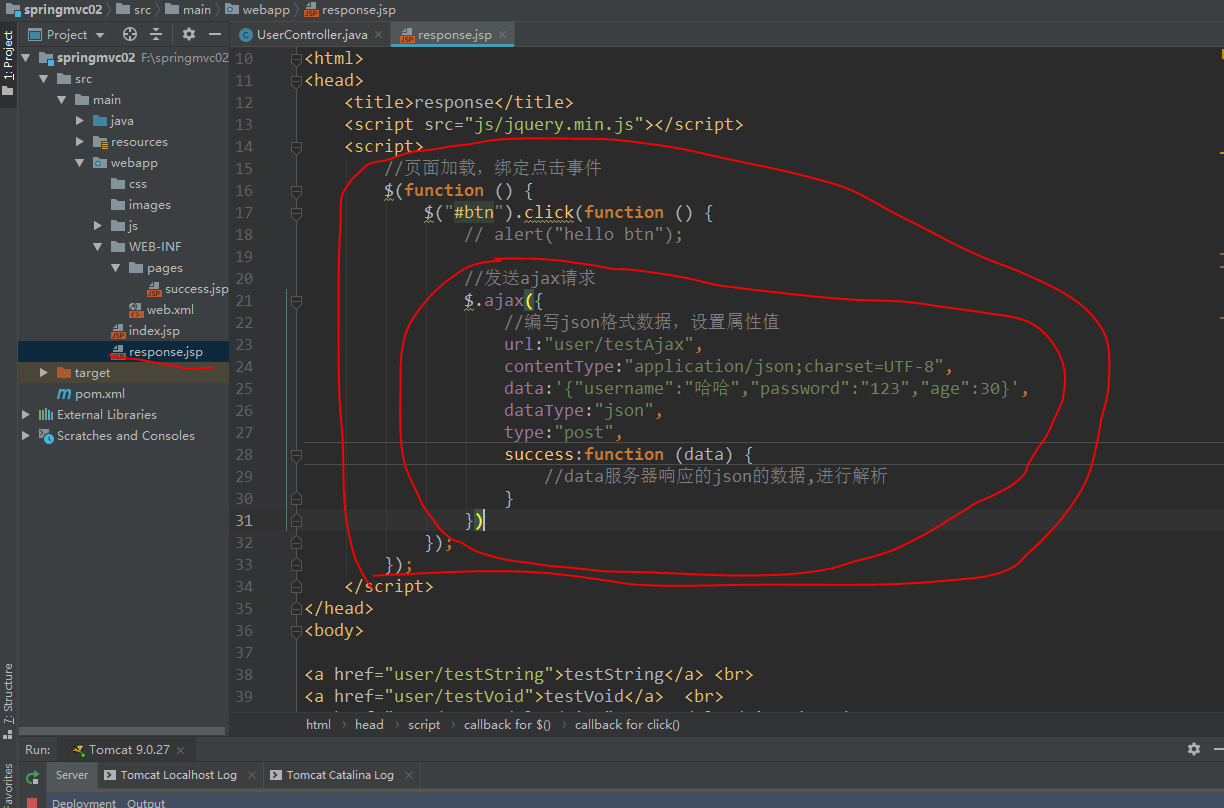
二.客户端发送json请求给服务器端
jsp:
 1     <script>
 2         //页面加载,绑定点击事件
 3         $(function () {
 4             $("#btn").click(function () {
 5                 // alert("hello btn");
 6
 7                 //发送ajax请求
 8                 $.ajax({
 9                     //编写json格式数据,设置属性值
10                     url:"user/testAjax",
11                     contentType:"application/json;charset=UTF-8",
12                     data:'{"username":"哈哈","password":"123","age":30}',
13                     dataType:"json",
14                     type:"post",
15                     success:function (data) {
16                         //data服务器响应的json的数据,进行解析
17                     }
18                 })
19             });
20         });
21     </script>
方法:

 1     /**
 2      * 模拟Ajax异步请求响应,RequestBody 获得请求体数据
 3      * @param body
 4      */
 5     @RequestMapping("/testAjax")
 6     public void testAjax(@RequestBody String body){
 7
 8         System.out.println("testAjax执行了...");
 9
10         System.out.println(body);
11     }
执行结果:

三.服务器返回json给客户端
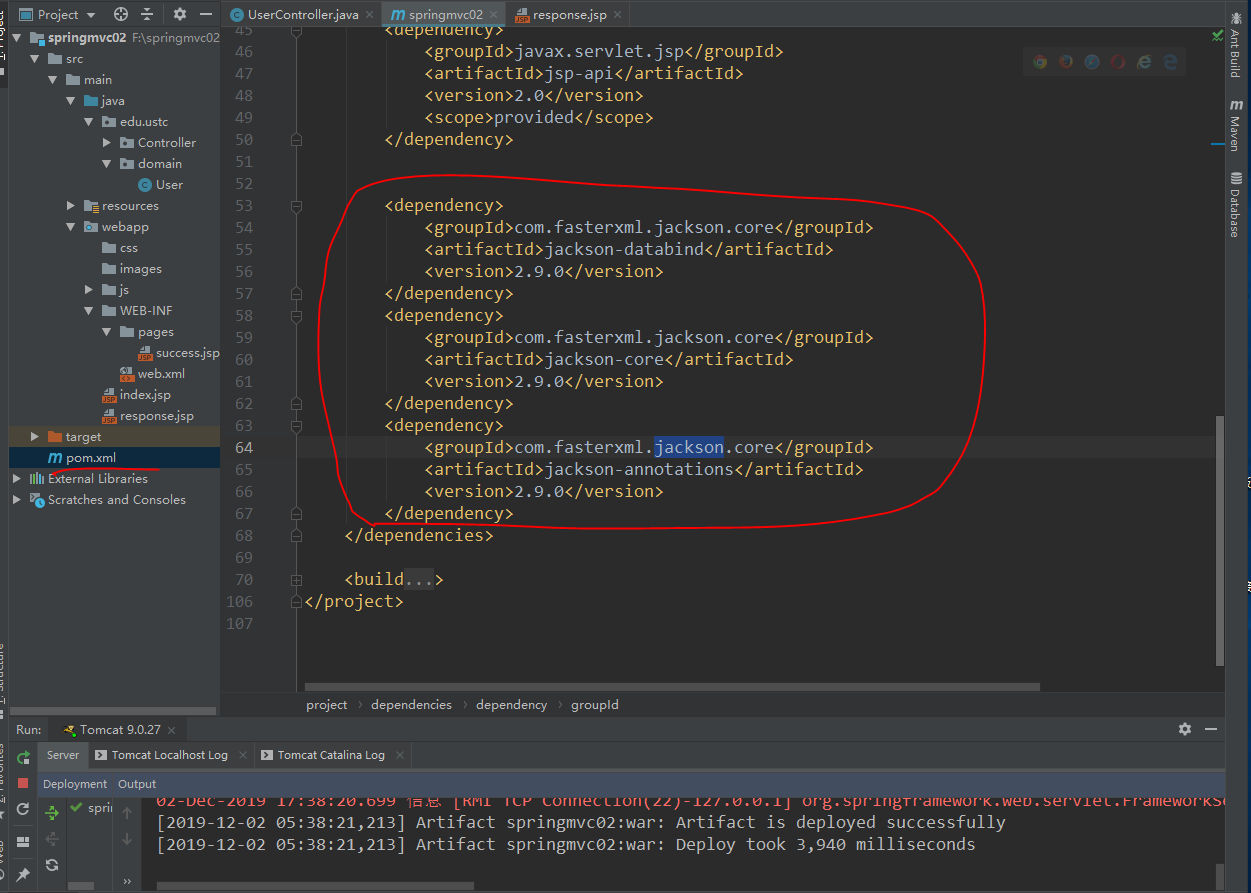
首先需要修改pom.xml导入jackson的jar包用于解析和封装json数据:
 1         <dependency>
 2             <groupId>com.fasterxml.jackson.core</groupId>
 3             <artifactId>jackson-databind</artifactId>
 4             <version>2.9.0</version>
 5         </dependency>
 6         <dependency>
 7             <groupId>com.fasterxml.jackson.core</groupId>
 8             <artifactId>jackson-core</artifactId>
 9             <version>2.9.0</version>
10         </dependency>
11         <dependency>
12             <groupId>com.fasterxml.jackson.core</groupId>
13             <artifactId>jackson-annotations</artifactId>
14             <version>2.9.0</version>
15         </dependency>
jsp:
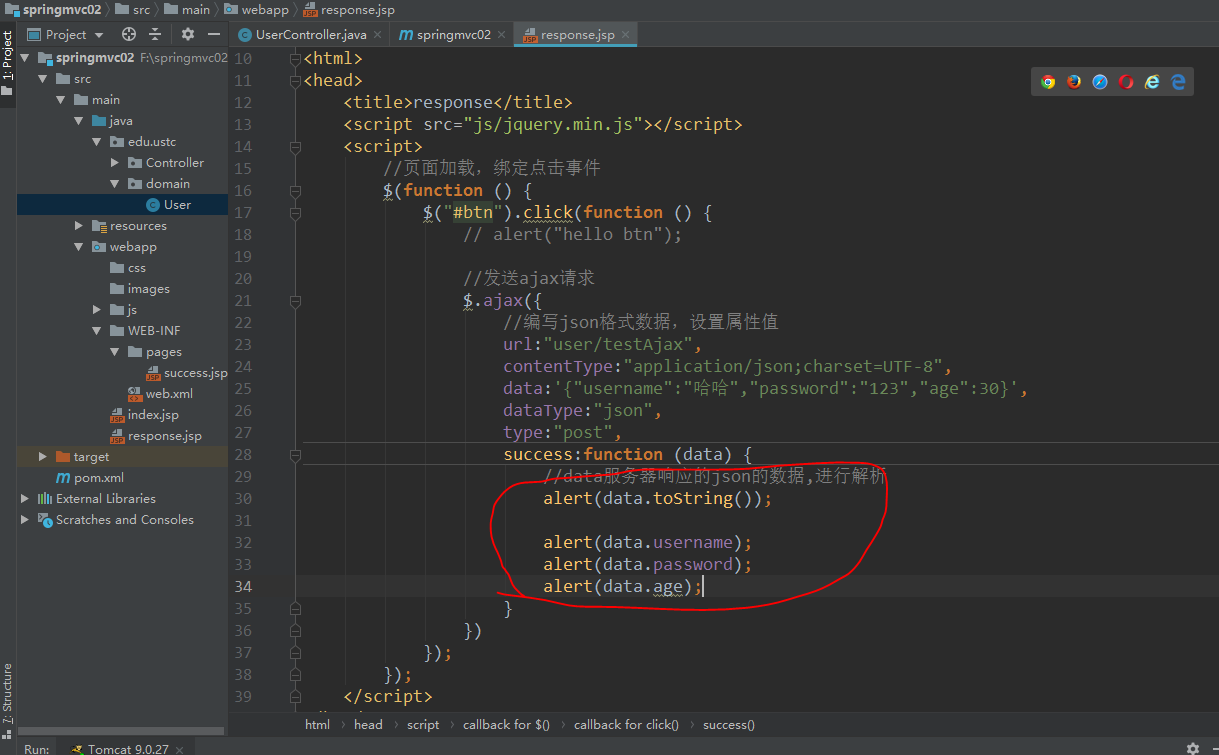
 1     <script>
 2         //页面加载,绑定点击事件
 3         $(function () {
 4             $("#btn").click(function () {
 5                 // alert("hello btn");
 6
 7                 //发送ajax请求
 8                 $.ajax({
 9                     //编写json格式数据,设置属性值
10                     url:"user/testAjax",
11                     contentType:"application/json;charset=UTF-8",
12                     data:'{"username":"哈哈","password":"123","age":30}',
13                     dataType:"json",
14                     type:"post",
15                     success:function (data) {
16                         //data服务器响应的json的数据,进行解析
17                         alert(data.toString());
18
19                         alert(data.username);
20                         alert(data.password);
21                         alert(data.age);
22                     }
23                 })
24             });
25         });
26     </script>
方法:

 1     /**
 2      * 模拟Ajax异步请求响应,RequestBody:获得请求体数据,ResponseBody:服务器响应数据
 3      *
 4      * @param user
 5      */
 6     @RequestMapping("/testAjax")
 7     public @ResponseBody User testAjax(@RequestBody User user) {
 8
 9         System.out.println("testAjax执行了...");
10
11         //客户端发送ajax请求的数据,通过导入jackson的jar包将json数据转换为JavaBean对象user
12         System.out.println(user.toString());
13
14         //模拟数据库查询
15         user.setUsername("小美");
16         user.setAge(55);
17
18         //服务器返回给客户端数据
19         return user;
20     }
展示:
