一.任务分类
二.异步任务
1.主要两个步骤
-
在异步方法上加上注解@Async
-
在springBoot的启动类中开启注解@EnableAsync
2.编写异步程序
-
编写一个Service层的异步方法并使用@Async
-
在控制层调用异步方法
-
在springBoot启动类中开启注解@EnableAsync
(1)编写一个Service层的异步方法并使用@Async
import org.springframework.scheduling.annotation.Async;
import org.springframework.stereotype.Service;

@Service
public class AsyncService {

    //告诉Spring这是一个异步方法
    @Async
    public void hello(){

        try {
            Thread.sleep(3000);
        } catch (InterruptedException e) {
            e.printStackTrace();
        }

        System.out.println("数据正在处理...");
    }
}
(2)在控制层调用异步方法
import org.springframework.beans.factory.annotation.Autowired;
import org.springframework.web.bind.annotation.RequestMapping;
import org.springframework.web.bind.annotation.RestController;
import ustc.wzh.service.AsyncService;

@RestController
public class AsyncController {

    @Autowired
    AsyncService asyncService;

    @RequestMapping("/hello")
    public String hello(){
        asyncService.hello(); //如果不设置为异步任务则会停止三秒卡住页面
        return "OK";
    }
}
(3)在springBoot启动类中开启注解@EnableAsync
import org.springframework.boot.SpringApplication;
import org.springframework.boot.autoconfigure.SpringBootApplication;
import org.springframework.scheduling.annotation.EnableAsync;

//开启异步注解功能
@EnableAsync
@SpringBootApplication
public class Springboot09TaskApplication {

    public static void main(String[] args) {
        SpringApplication.run(Springboot09TaskApplication.class, args);
    }

}
三.邮件发送任务
1.步骤
-
导入依赖
-
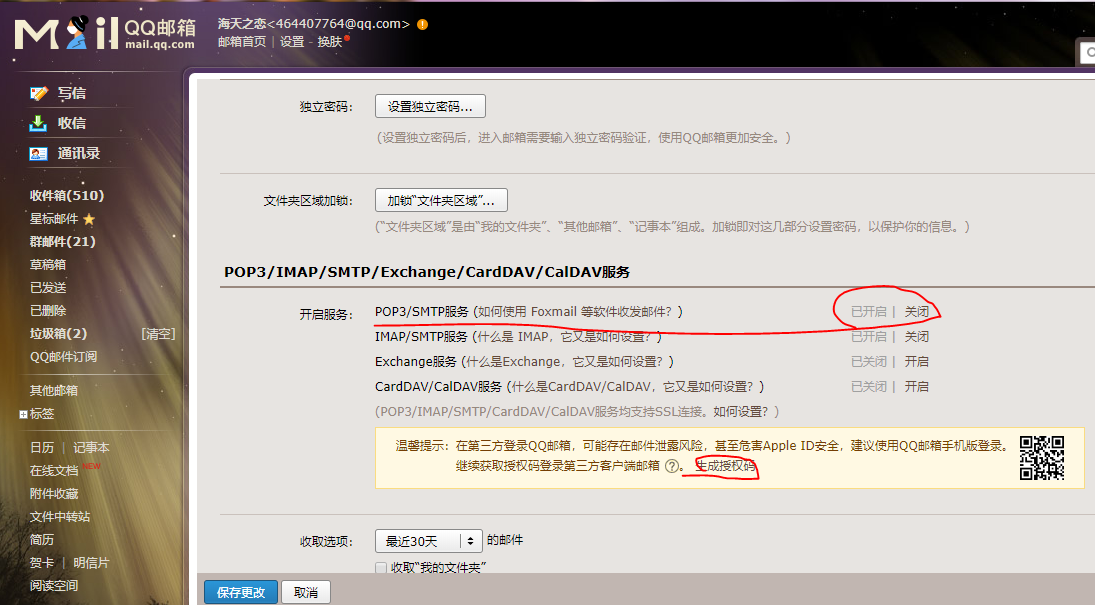
查看自己的邮箱打开POP3和SMTP服务以及拿到授权码
-
编写邮件发送类
-
测试
2.导入依赖
<!--邮件发送-->
<dependency>
    <groupId>org.springframework.boot</groupId>
    <artifactId>spring-boot-starter-mail</artifactId>
</dependency>
3.查看自己的邮箱打开POP3和SMTP服务以及拿到授权码
4.编写邮件发送类
import org.springframework.beans.factory.annotation.Autowired;
import org.springframework.mail.SimpleMailMessage;
import org.springframework.mail.javamail.JavaMailSenderImpl;
import org.springframework.mail.javamail.MimeMessageHelper;
import org.springframework.stereotype.Component;
import javax.annotation.PostConstruct;
import javax.mail.MessagingException;
import javax.mail.internet.MimeMessage;
import java.io.File;
import java.io.IOException;
@Component
public class SendMailTask {
private static JavaMailSenderImpl mailSender;
@Autowired
private JavaMailSenderImpl javaMailSender;
@PostConstruct
public void init(){
mailSender = javaMailSender;
}
//简单邮件发送(只有文字内容)
public static void testSendMailTask1(){
SimpleMailMessage mailMessage = new SimpleMailMessage();
mailMessage.setSubject("这是邮件的主题");
mailMessage.setText("这是邮件的内容");
mailMessage.setTo("18855162320@163.com");
mailMessage.setFrom("464407764@qq.com");
mailSender.send(mailMessage);
}
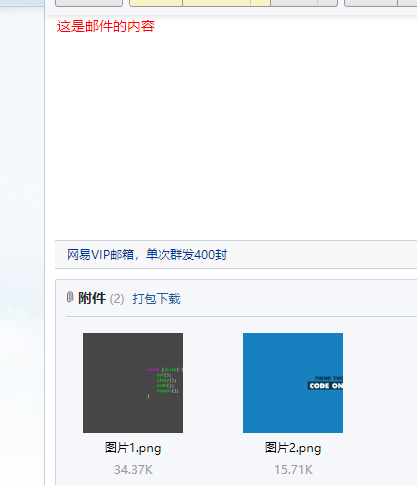
//复杂邮件的发送
public static void testSendMailTask2() throws MessagingException, IOException {
MimeMessage mimeMessage = mailSender.createMimeMessage();
// 组装
MimeMessageHelper helper = new MimeMessageHelper(mimeMessage,true,"utf-8");
// 发送的标题和文字内容(可以使用html标签需要true)
helper.setSubject("这是邮件的主题");
helper.setText("<p style='color:red'>这是邮件的内容</p>",true);
// 附件
helper.addAttachment("图片1.png", new File("C:\Users\DELL\Desktop\1.png"));
helper.addAttachment("图片2.png", new File("C:\Users\DELL\Desktop\2.png"));
helper.setTo("18855162320@163.com");
helper.setFrom("464407764@qq.com");
mailSender.send(mimeMessage);
}
}
5.测试发送成功
四.定时任务
- TaskScheduler:任务调度者
- TaskExecutor:任务执行者
- @EnableScheduling:开启定时功能注解
- @Scheduled:设置定时的时间执行
- cron表达式
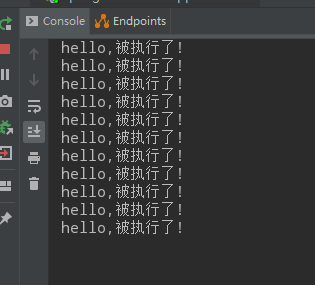
1.编写每两秒自动执行业务
import org.springframework.scheduling.annotation.Scheduled;
import org.springframework.stereotype.Service;

@Service
public class ScheduleService {


    //corn表达式:秒 分 时 日 月 周几(0~7从周日到周日) 年(一般省略)
    @Scheduled(cron = "0/2 * * * * ?")
    public void hello(){
        System.out.println("hello,被执行了!");
    }
}
2.配置Springboot启动类
import org.springframework.boot.SpringApplication;
import org.springframework.boot.autoconfigure.SpringBootApplication;
import org.springframework.scheduling.annotation.EnableAsync;
import org.springframework.scheduling.annotation.EnableScheduling;

@EnableAsync //开启异步注解功能
@EnableScheduling //开启定时功能注解
@SpringBootApplication
public class Springboot09TaskApplication {

    public static void main(String[] args) {
        SpringApplication.run(Springboot09TaskApplication.class, args);
    }

}
3.启动springboot后自动执行定时任务