一、在VMware Workstation安装Ubuntu
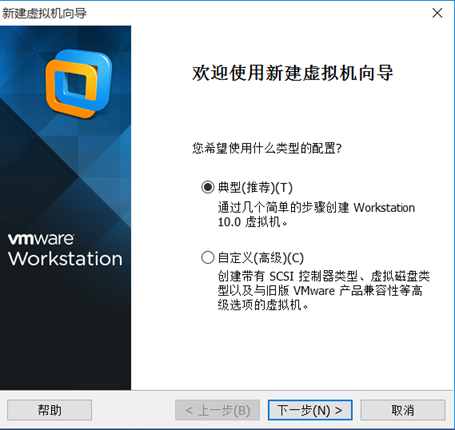
点击文件 ---> 新建虚拟机
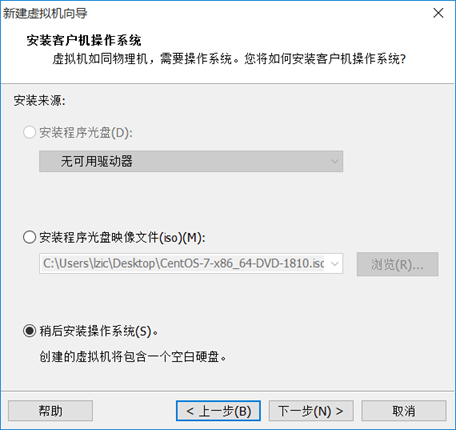
稍后才安装系统
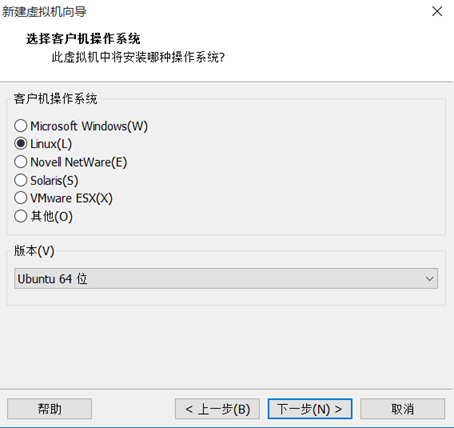
选择Linux的版本
指定磁盘容量

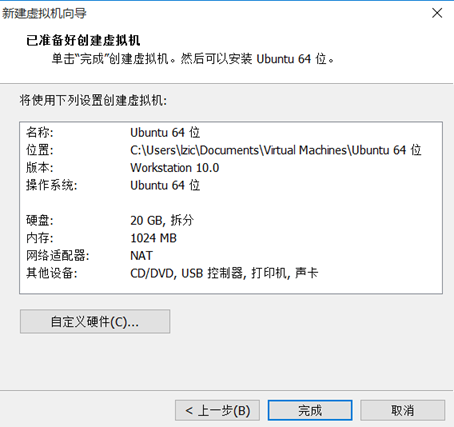
创建好虚拟机
使用ubuntu镜像文件安装系统
二、创建hadoop用户
创建

设密码

加入sudo权限

三、安装MySQL
更新软件资源库

安装mysql

开启mysql服务

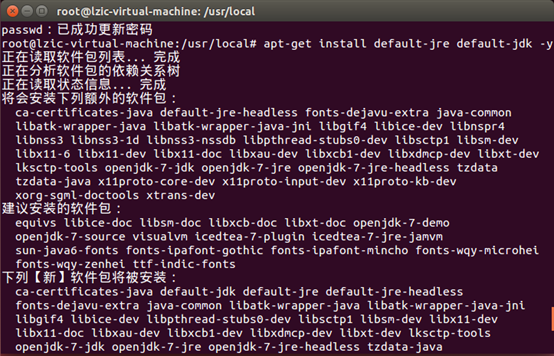
四、安装java环境
下载jdk
配置环境变量


检验环境变量

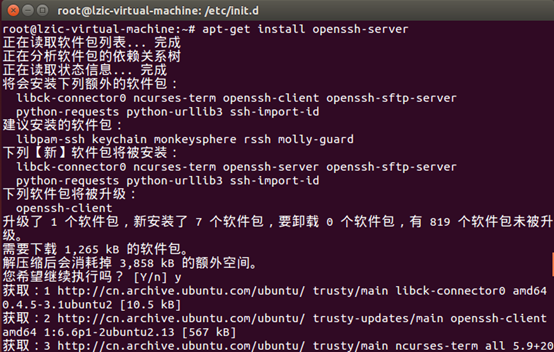
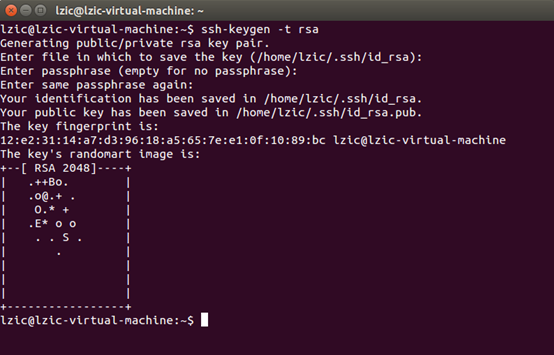
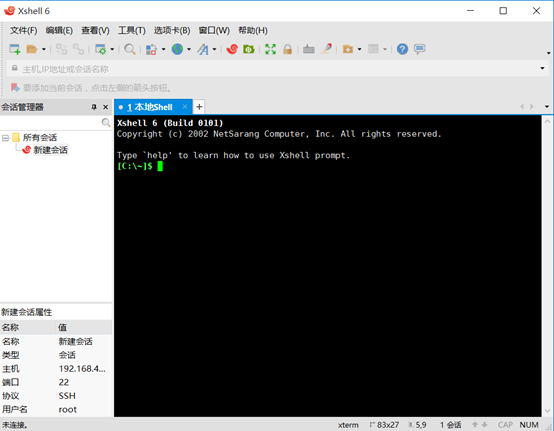
五、window使用xshell传文件到ubuntu
安装ssh
启动ssh和验证是否可以远程登录

生成密匙
配置ssh无密码登录

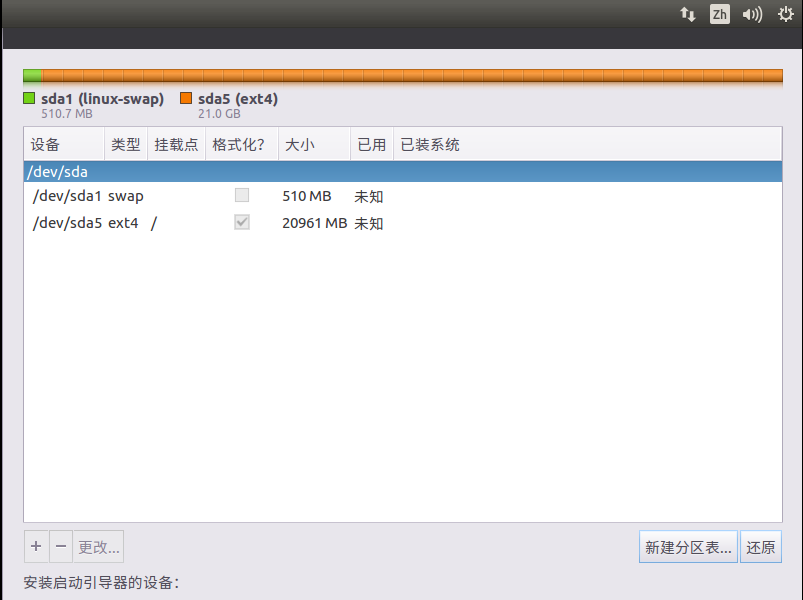
剩余空间作为过载点“/”的EXT4日志文件系统
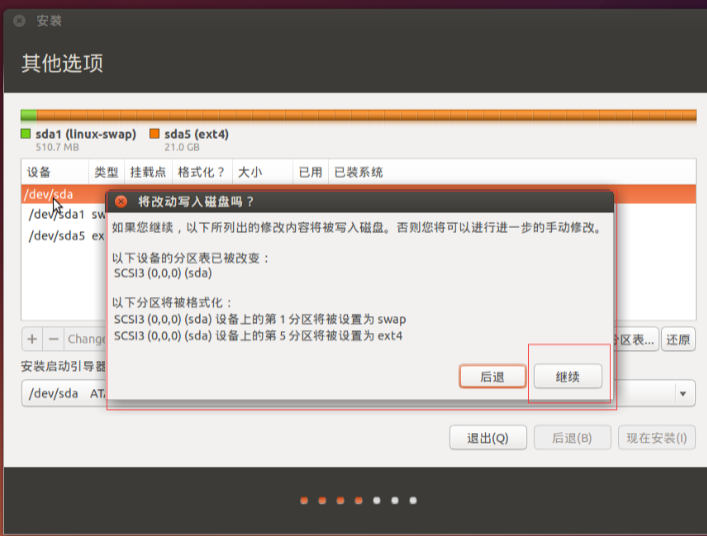
点击完成后继续
window安装xsehll6
六、安装hadoop
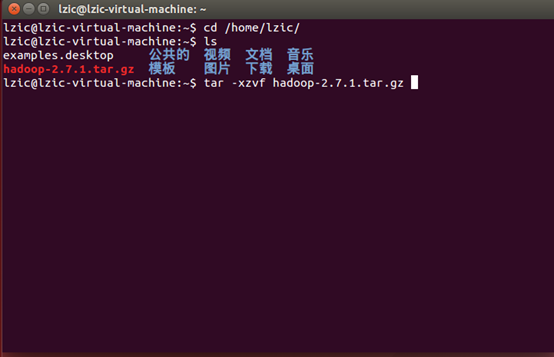
解压
移动文件到 /usr/local目录
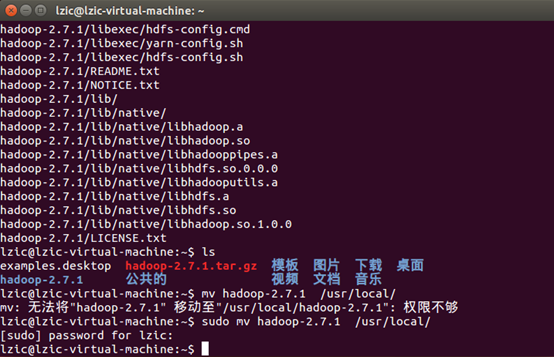
重命名文件夹
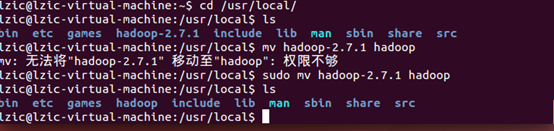
修改文件夹权限

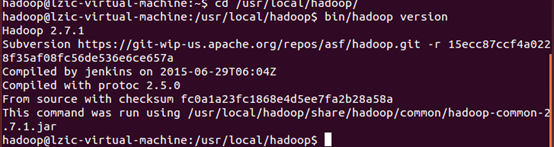
检查hadoop是否可用
七、运行单机模式
运行grep例子


运行结果

八、运行伪分布模式
配置文件参考:https://www.cnblogs.com/MissDu/p/8831525.html
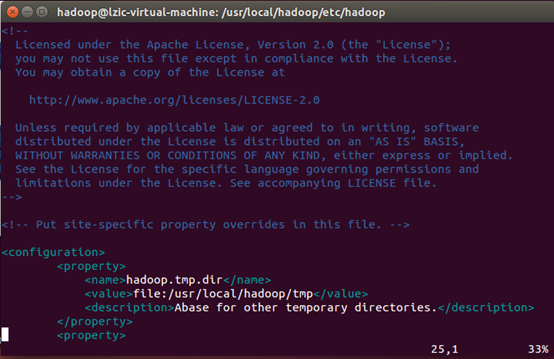
修改文件
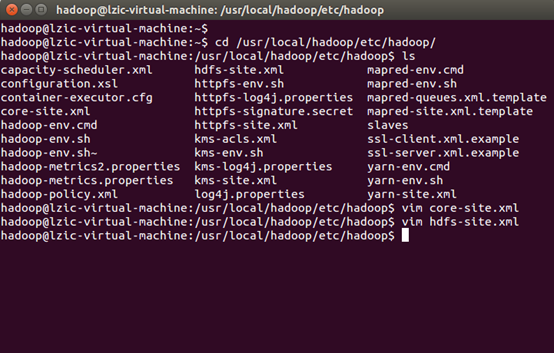
core-site.xml文件
hdfs-site.xml文件

格式化NameNode

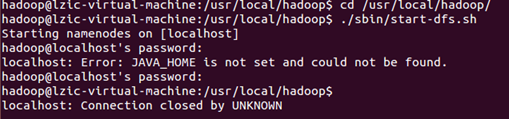
开启NameNode和DataNode失败,但是JAVA_HOME已经配置了
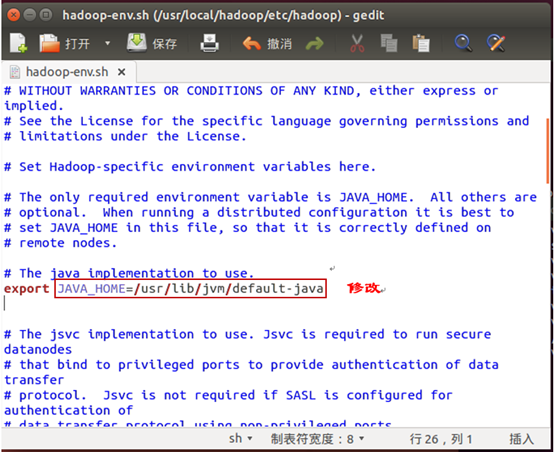
在网上找到原因,需要修改hadoop-env.sh文件


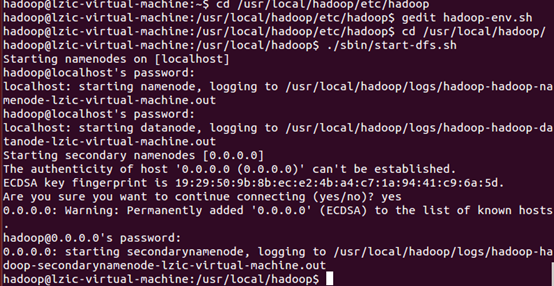
开启NameNode和DataNode成功
检测是否开启成功,成功则会出现下面进程

伪分布运行实例


运行结果

可把hdfs的output文件夹复制到本地
