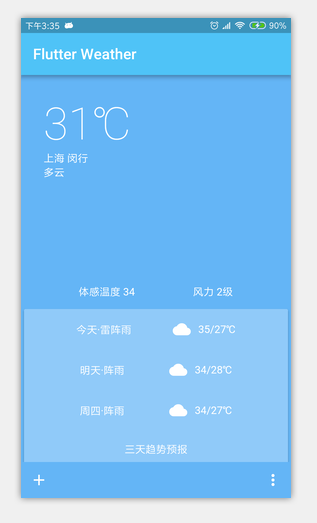
本文学习Flutter打包,打包环境,Android studio3.2,打包的程序就使用上文的酷炫天气预报
terminal执行下列命令:
1.生成key(如果有现成的Key跳过这一步)
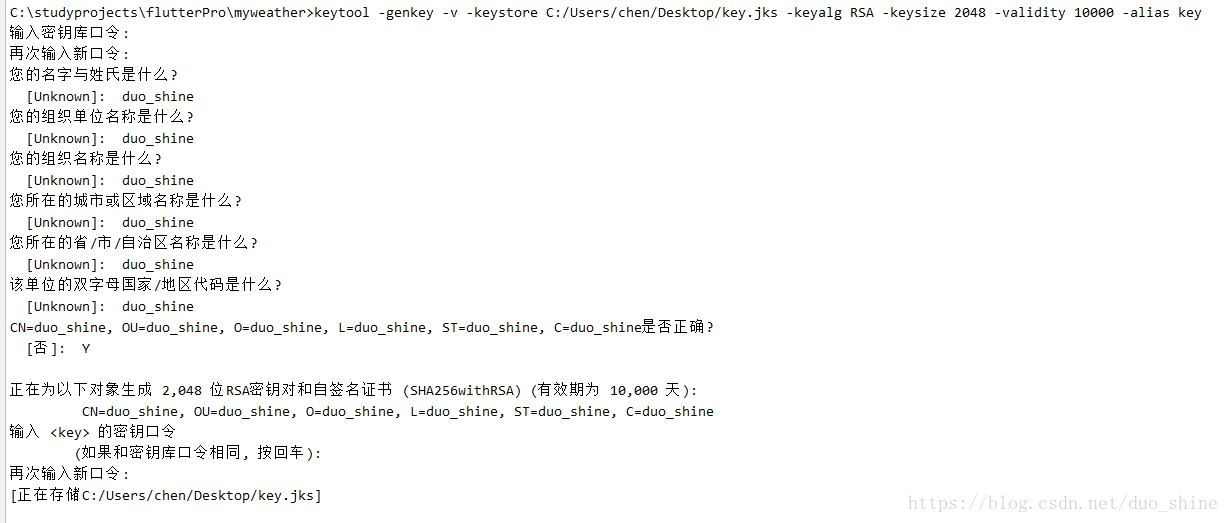
2.key.properties创建
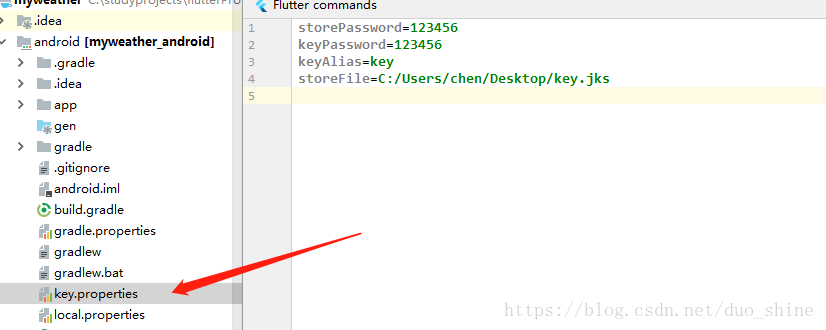
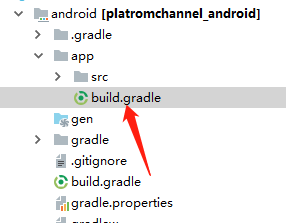
3.app的build.gradle中配置,这个文件位于这个位置
a:使用我们刚刚创建的配置文件
原
        android {
改为
        def keystorePropertiesFile = rootProject.file("key.properties")
        def keystoreProperties = new Properties()
        keystoreProperties.load(new FileInputStream(keystorePropertiesFile))
        android {

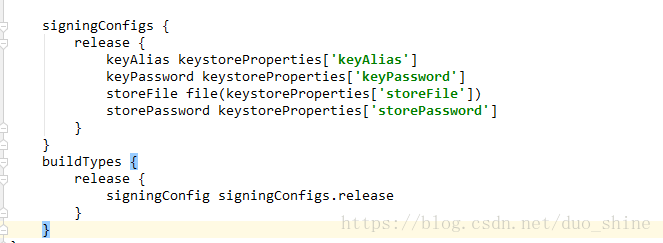
b:
原:
    buildTypes {
        release {
            // TODO: Add your own signing config for the release build.
            // Signing with the debug keys for now, so `flutter run --release` works.
            signingConfig signingConfigs.debug
        }
    }
改为
  signingConfigs {
    release {
        keyAlias keystoreProperties['keyAlias']
        keyPassword keystoreProperties['keyPassword']
        storeFile file(keystoreProperties['storeFile'])
        storePassword keystoreProperties['storePassword']
    }
    }
    buildTypes {
        release {
            signingConfig signingConfigs.release
        }
    }

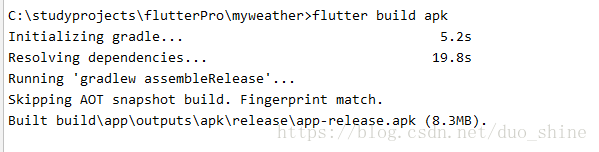
4.执行flutter build apk
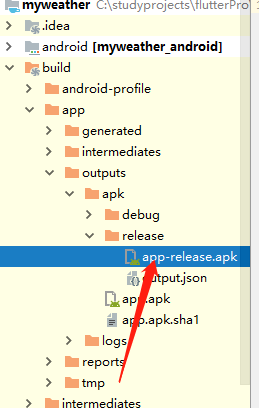
5.打包后的apk位置在
6.接下来安装到真机看下效果喽,复制apk所在的路径

7.修改所有的为/

8.打开命令行执行
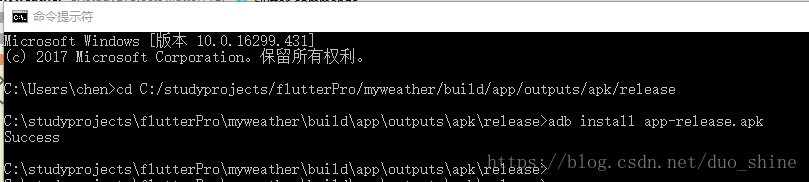
可以看到安装成功了… 注意安装需要真机usb连接
然后安装应用到真机看下效果