结构

1使用starter,访问maven仓库地址
http://mvnrepository.com
或者直接在pom.xml中添加依赖,注意,如果包不能被引用,把<scope>给注释掉
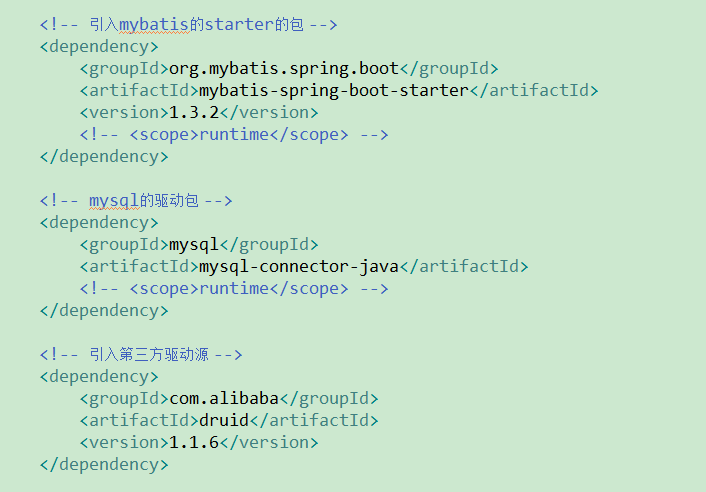
<!-- 引入mybatis的starter的包 -->
<dependency>
<groupId>org.mybatis.spring.boot</groupId>
<artifactId>mybatis-spring-boot-starter</artifactId>
<version>1.3.2</version>
<!-- <scope>runtime</scope> -->
</dependency>
<!-- mysql的驱动包 -->
<dependency>
<groupId>mysql</groupId>
<artifactId>mysql-connector-java</artifactId>
<!-- <scope>runtime</scope> -->
</dependency>
<!-- 引入第三方驱动源 -->
<dependency>
<groupId>com.alibaba</groupId>
<artifactId>druid</artifactId>
<version>1.1.6</version>
</dependency>
2在application.properties中新增mysql配置文件
#整合mysql的配置文件
#mysql加载驱动
spring.datasource.driver-class-name=com.mysql.cj.jdbc.Driver
#jdbc数据库连接
spring.datasource.url=jdbc:mysql://localhost:3306/mysql?useUnicode=true&characterEncoding=utf-8&serverTimezone=UTC
#mysql账号
spring.datasource.username=root
#mysql密码
spring.datasource.password=456789
#数据连接源,如果注释掉,数据源使用默认的(com.zaxxer.hikari.HikariDataSource)
#spring.datasource.type=com.alibaba.druid.pool.DruidDataSource

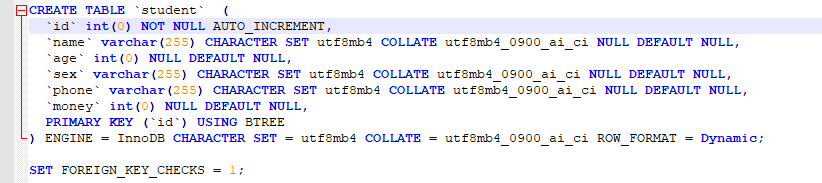
3在数据库mysql中创建对应的表student
CREATE TABLE `student` (
`id` int(0) NOT NULL AUTO_INCREMENT,
`name` varchar(255) CHARACTER SET utf8mb4 COLLATE utf8mb4_0900_ai_ci NULL DEFAULT NULL,
`age` int(0) NULL DEFAULT NULL,
`sex` varchar(255) CHARACTER SET utf8mb4 COLLATE utf8mb4_0900_ai_ci NULL DEFAULT NULL,
`phone` varchar(255) CHARACTER SET utf8mb4 COLLATE utf8mb4_0900_ai_ci NULL DEFAULT NULL,
`money` int(0) NULL DEFAULT NULL,
PRIMARY KEY (`id`) USING BTREE
) ENGINE = InnoDB CHARACTER SET = utf8mb4 COLLATE = utf8mb4_0900_ai_ci ROW_FORMAT = Dynamic;
SET FOREIGN_KEY_CHECKS = 1;
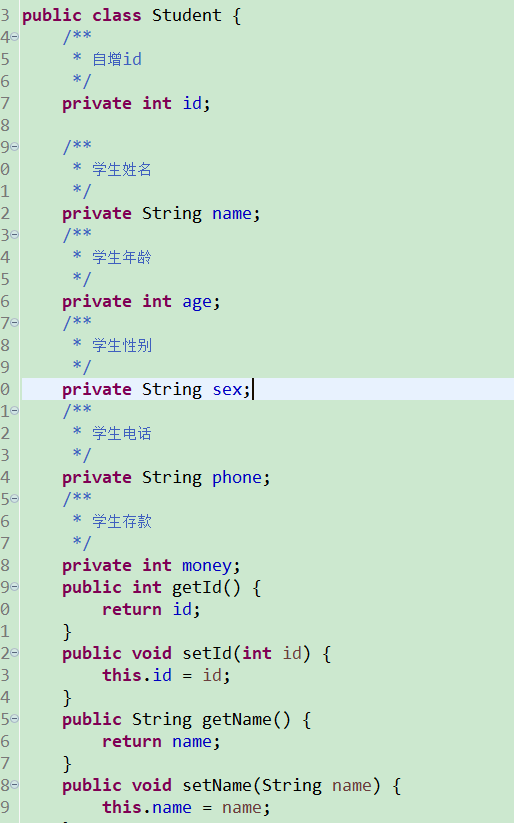
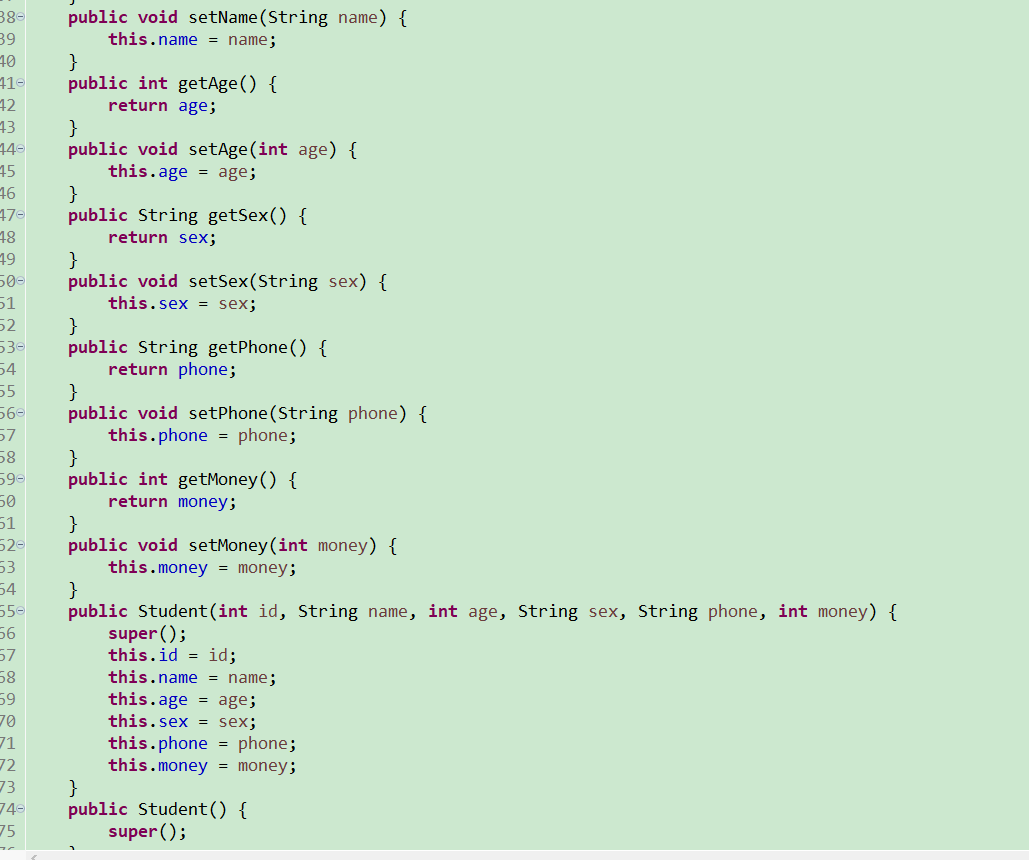
4创建student类
package springboot_mysql.bean;
public class Student {
/**
* 自增id
*/
private int id;
/**
* 学生姓名
*/
private String name;
/**
* 学生年龄
*/
private int age;
/**
* 学生性别
*/
private String sex;
/**
* 学生电话
*/
private String phone;
/**
* 学生存款
*/
private int money;
public int getId() {
return id;
}
public void setId(int id) {
this.id = id;
}
public String getName() {
return name;
}
public void setName(String name) {
this.name = name;
}
public int getAge() {
return age;
}
public void setAge(int age) {
this.age = age;
}
public String getSex() {
return sex;
}
public void setSex(String sex) {
this.sex = sex;
}
public String getPhone() {
return phone;
}
public void setPhone(String phone) {
this.phone = phone;
}
public int getMoney() {
return money;
}
public void setMoney(int money) {
this.money = money;
}
public Student(int id, String name, int age, String sex, String phone, int money) {
super();
this.id = id;
this.name = name;
this.age = age;
this.sex = sex;
this.phone = phone;
this.money = money;
}
public Student() {
super();
}
}
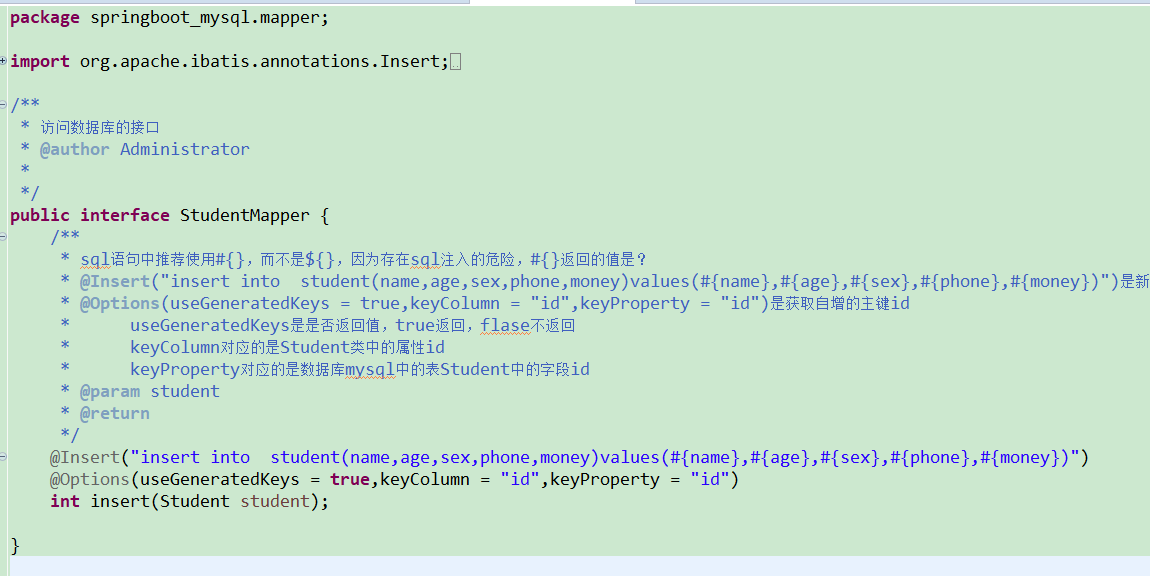
2创建mapper接口StudentMapper
package springboot_mysql.mapper;
import org.apache.ibatis.annotations.Insert;
import org.apache.ibatis.annotations.Options;
import springboot_mysql.bean.Student;
/**
* 访问数据库的接口
* @author Administrator
*
*/
public interface StudentMapper {
/**
* sql语句中推荐使用#{},而不是${},因为存在sql注入的危险,#{}返回的值是?
* @Insert("insert into student(name,age,sex,phone,money)values(#{name},#{age},#{sex},#{phone},#{money})")是新增的sql的方法
* @Options(useGeneratedKeys = true,keyColumn = "id",keyProperty = "id")是获取自增的主键id
* useGeneratedKeys是是否返回值,true返回,flase不返回
* keyColumn对应的是Student类中的属性id
* keyProperty对应的是数据库mysql中的表Student中的字段id
* @param student
* @return
*/
@Insert("insert into student(name,age,sex,phone,money)values(#{name},#{age},#{sex},#{phone},#{money})")
@Options(useGeneratedKeys = true,keyColumn = "id",keyProperty = "id")
int insert(Student student);
}
3创建service接口,
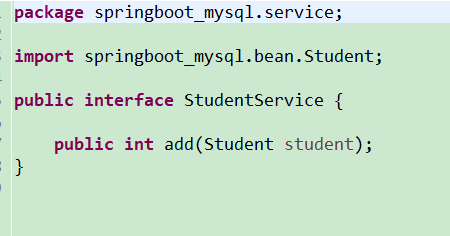
package springboot_mysql.service;
import springboot_mysql.bean.Student;
public interface StudentService {
public int add(Student student);
}
4创建service的实现类
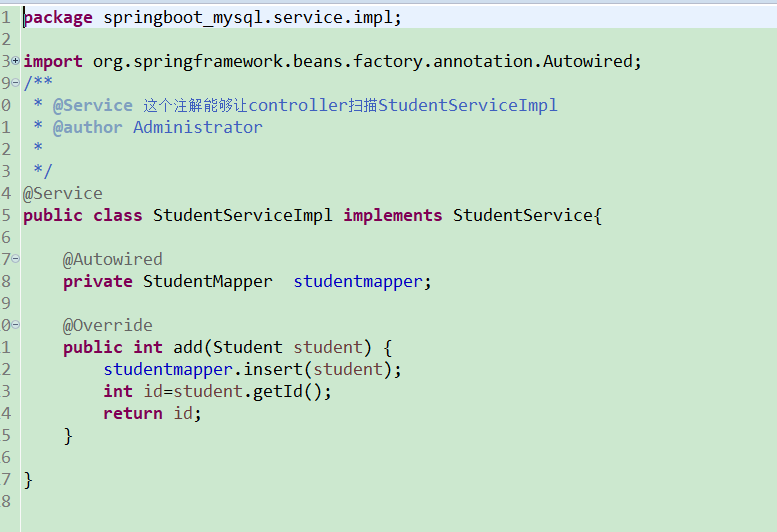
package springboot_mysql.service.impl;
import org.springframework.beans.factory.annotation.Autowired;
import org.springframework.stereotype.Service;
import springboot_mysql.bean.Student;
import springboot_mysql.mapper.StudentMapper;
import springboot_mysql.service.StudentService;
/**
* @Service 这个注解能够让controller扫描StudentServiceImpl
* @author Administrator
*
*/
@Service
public class StudentServiceImpl implements StudentService{
@Autowired
private StudentMapper studentmapper;
@Override
public int add(Student student) {
studentmapper.insert(student);
int id=student.getId();
return id;
}
}
5创建controller
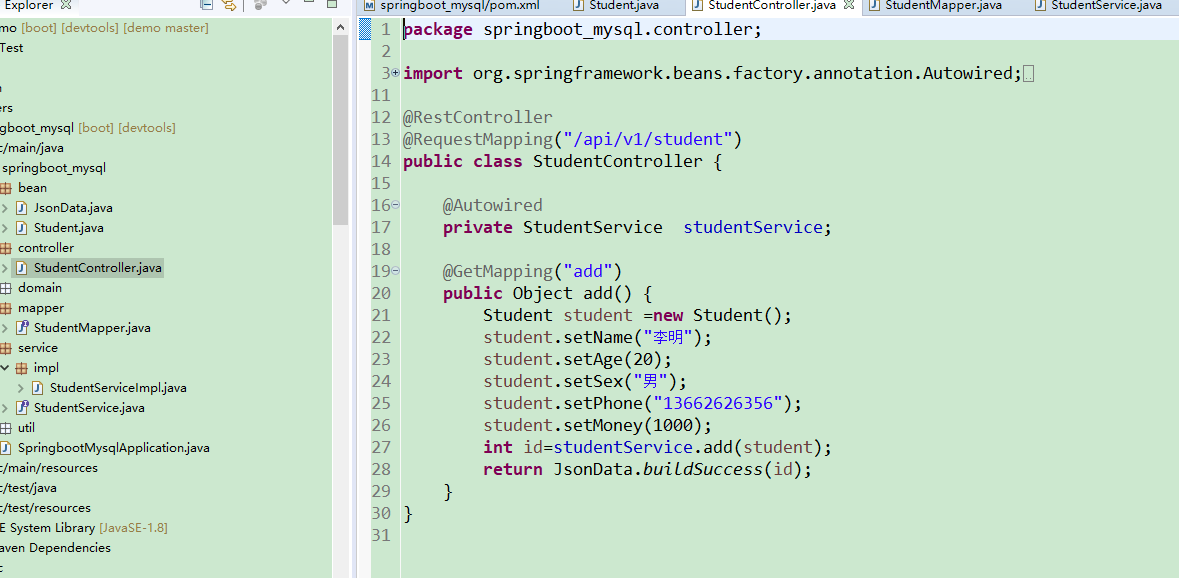
package springboot_mysql.controller;
import org.springframework.beans.factory.annotation.Autowired;
import org.springframework.web.bind.annotation.GetMapping;
import org.springframework.web.bind.annotation.RequestMapping;
import org.springframework.web.bind.annotation.RestController;
import springboot_mysql.bean.JsonData;
import springboot_mysql.bean.Student;
import springboot_mysql.service.StudentService;
@RestController
@RequestMapping("/api/v1/student")
public class StudentController {
@Autowired
private StudentService studentService;
@GetMapping("add")
public Object add() {
Student student =new Student();
student.setName("李明");
student.setAge(20);
student.setSex("男");
student.setPhone("13662626356");
student.setMoney(1000);
int id=studentService.add(student);
return JsonData.buildSuccess(id);
}
}
6创建JsonData类
package springboot_mysql.bean;
import java.io.Serializable;
public class JsonData implements Serializable{
private static final long serialVersionUID = 1L;
//状态码,0表示成功,-1表示失败
private int code;
//结果
private Object data;
//返回错误消息
private String msg;
public int getCode() {
return code;
}
public void setCode(int code) {
this.code = code;
}
public Object getData() {
return data;
}
public void setData(Object data) {
this.data = data;
}
public String getMsg() {
return msg;
}
public void setMsg(String msg) {
this.msg = msg;
}
public JsonData(int code, Object data, String msg) {
super();
this.code = code;
this.data = data;
this.msg = msg;
}
public static Object buildSuccess(int id) {
return id;
}
}
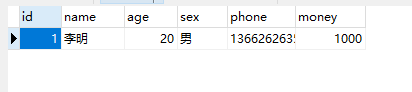
7run application ,然后访问http://localhost:8080//api/v1/student/add
返回数据库表中新建数据的id,数据库中的数据会新增