上一篇我讲解到了如何在Visual Studio 2010中编写自定义的BCS连接器来实现更加灵活的应用程序集成。在那篇文章,我主要讲解了有关的概念,并且做了一个最简单的模型,发布之后能够使用它。
这一篇,我们继续来实现一个更加有现实意义的 BCS 连接器。我们需要读取的数据仍然是有关员工信息的。
我们希望员工实体拥有如下的信息
- ID
- FirstName
- LastName
- Age
【提示】通过跟随本文做练习,你将学会如何设计一个自己的业务实体模型。
【注意】不要小看这个步骤,我之前就提到过,自定义BCS模型这个小工具其实还有值得改进的地方。目前的情况是一不小心就会出错。所以,最好按照我的步骤来做练习。这个步骤是我总结出来的最佳实践,你可以先做完练习,然后对某些步骤的细节做一些进一步的学习
1. 创建一个空白SharePoint项目
2. 添加一个BDC模型
3. 修改业务实体(Entity)
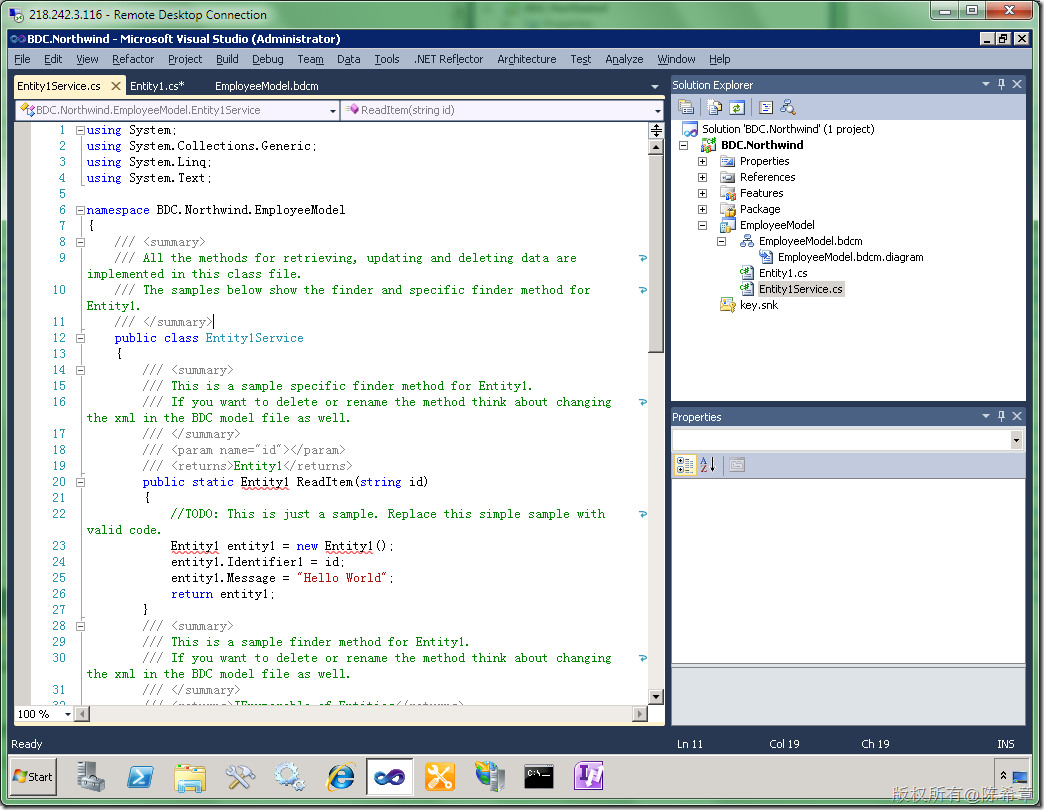
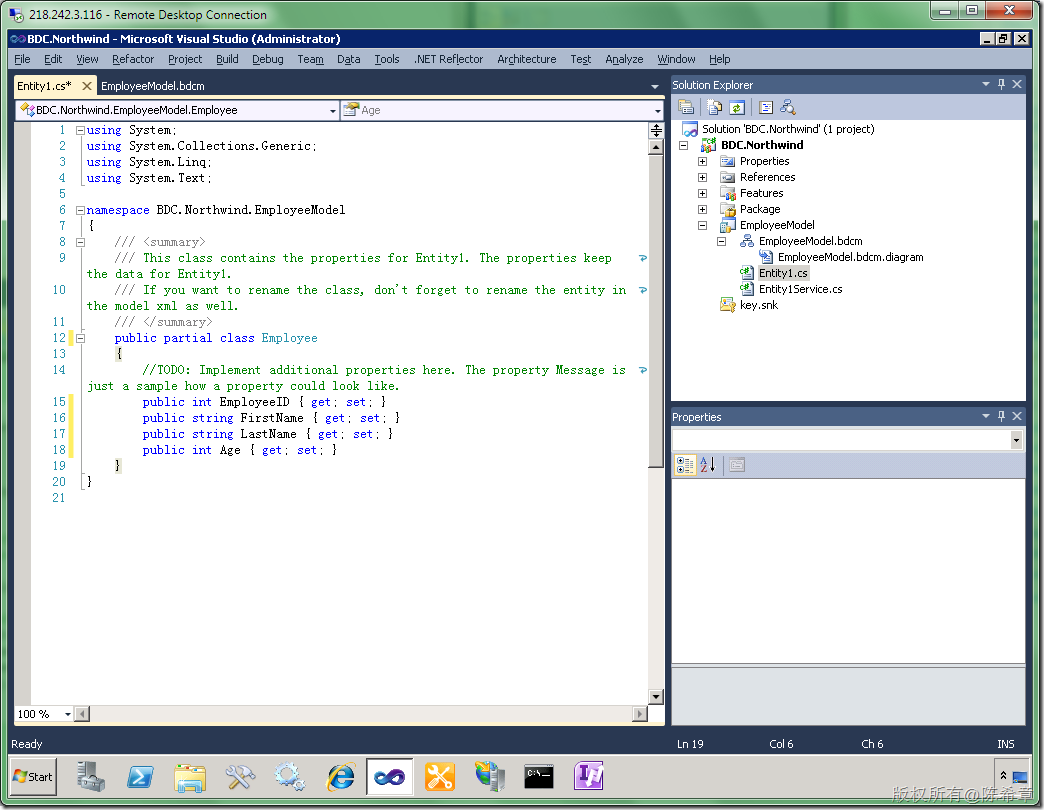
所谓实体就是在BDC服务中交换的数据格式。例如我们要处理员工数据,这就是一个实体。项目模板默认生成的实体类型如下(Entity1.cs)
将代码修改为下面这样
using System;
using System.Collections.Generic;
using System.Linq;
using System.Text;

namespace BDC.Northwind.EmployeeModel
{
    ///
    /// This class contains the properties for Entity1. The properties keep the data for Entity1.
    /// If you want to rename the class, don't forget to rename the entity in the model xml as well.
    ///
    public partial class Employee
    {
        //TODO: Implement additional properties here. The property Message is just a sample how a property could look like.
        public int EmployeeID { get; set; }
        public string FirstName { get; set; }
        public string LastName { get; set; }
        public int Age { get; set; }
    }
}
4. 修改服务类型(Service)
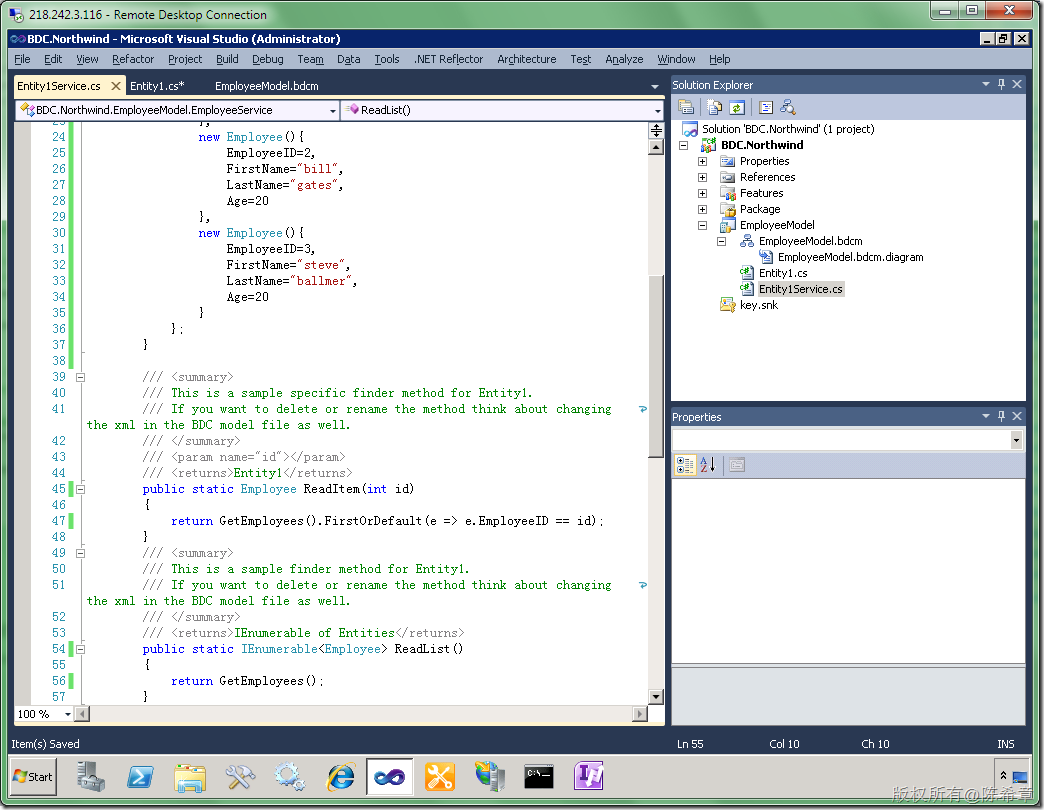
实体只是数据,但谁来接受请求并且处理,然后返回数据呢?这就是服务的概念. 默认生成的那个 Entity1Service.cs就是服务所在的文件。它现在看起来是下面这样的
将代码修改如下
using System;
using System.Collections.Generic;
using System.Linq;
using System.Text;

namespace BDC.Northwind.EmployeeModel
{
    ///
    /// All the methods for retrieving, updating and deleting data are implemented in this class file.
    /// The samples below show the finder and specific finder method for Entity1.
    ///
    public class EmployeeService
    {

        static List GetEmployees()
        {
            return new List(){
                new Employee(){
                    EmployeeID=1,
                    FirstName="ares",
                    LastName="chen",
                    Age=20
                },
                new Employee(){
                    EmployeeID=2,
                    FirstName="bill",
                    LastName="gates",
                    Age=20
                },
                new Employee(){
                    EmployeeID=3,
                    FirstName="steve",
                    LastName="ballmer",
                    Age=20
                }
            };
        }

        ///
        /// This is a sample specific finder method for Entity1.
        /// If you want to delete or rename the method think about changing the xml in the BDC model file as well.
        ///
        ///
        /// Entity1
        public static Employee ReadItem(int id)
        {
            return GetEmployees().FirstOrDefault(e => e.EmployeeID == id);
        }
        ///
        /// This is a sample finder method for Entity1.
        /// If you want to delete or rename the method think about changing the xml in the BDC model file as well.
        ///
        /// IEnumerable of Entities
        public static IEnumerable ReadList()
        {
            return GetEmployees();
        }
    }
}
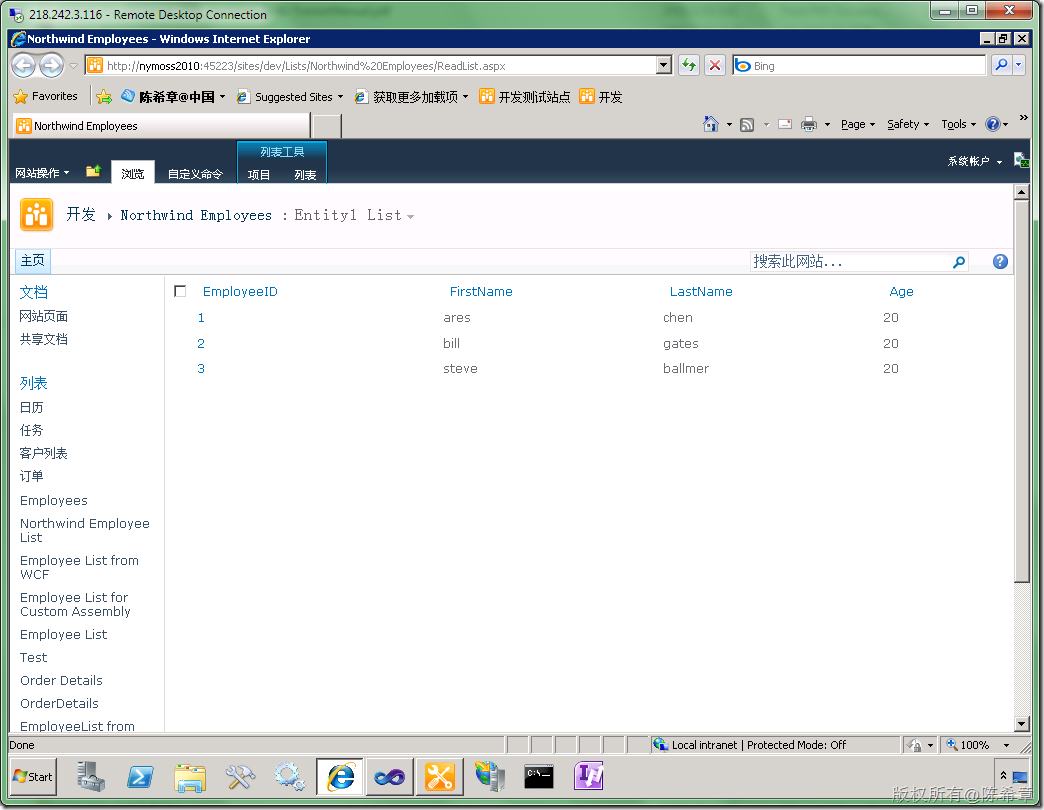
上述代码中,我们先用一个静态的函数模拟了一个读取所有员工的操作,它是返回了三个员工的数据。很明显,这三位都是赫赫有名的大人物
然后,我们让ReadItem和ReadList方法有了更加好的实现。
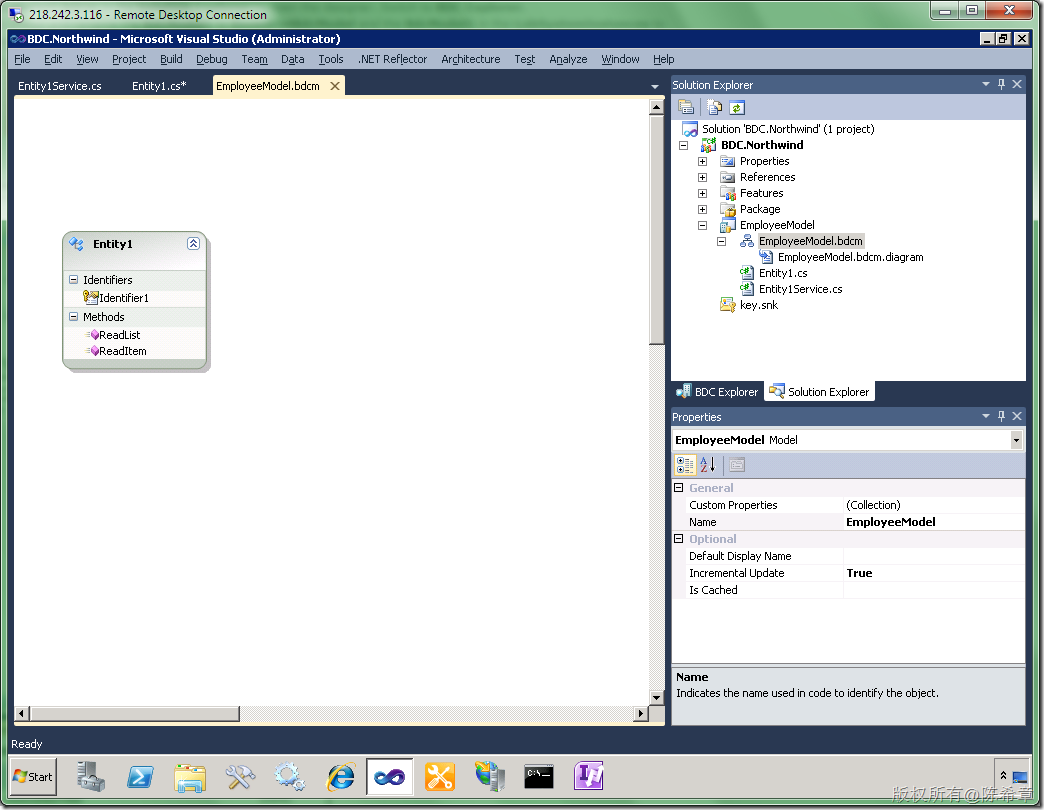
5. 修改模型定义(EmployeeModel.bdcm)
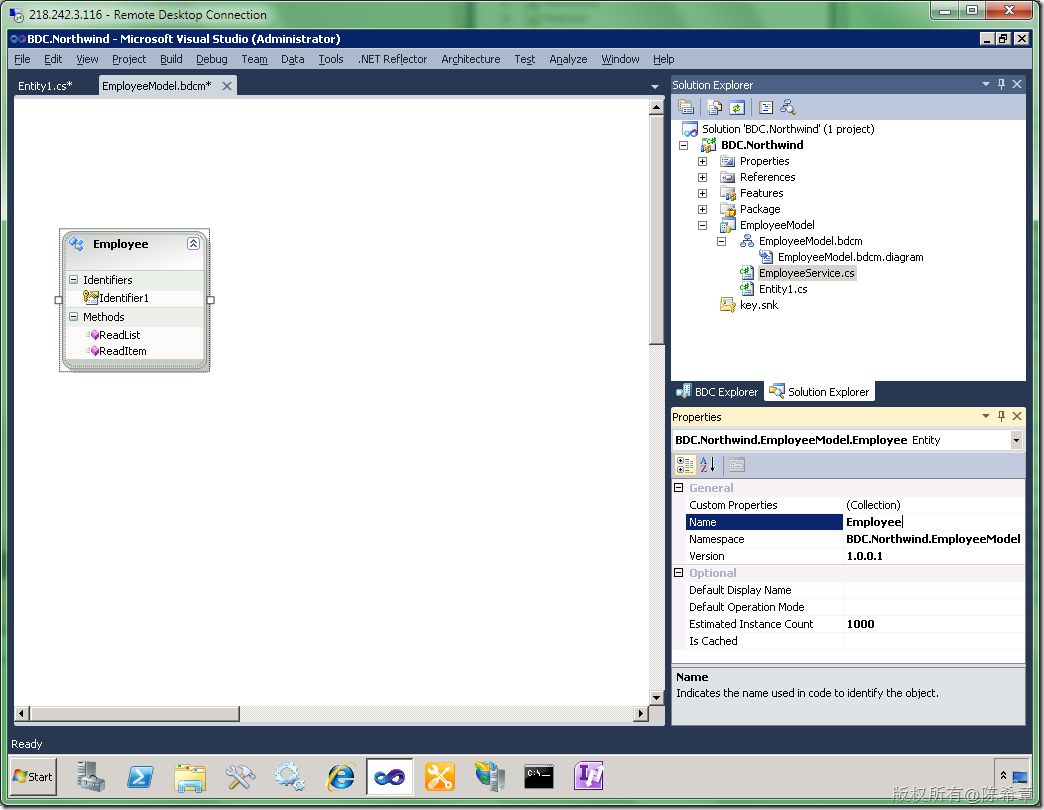
首先将Entity1重命名为Employee
【注意】如果你注意观察的话,原先的那个Entity1Service.cs文件也被重命名为了EmployeeService.cs
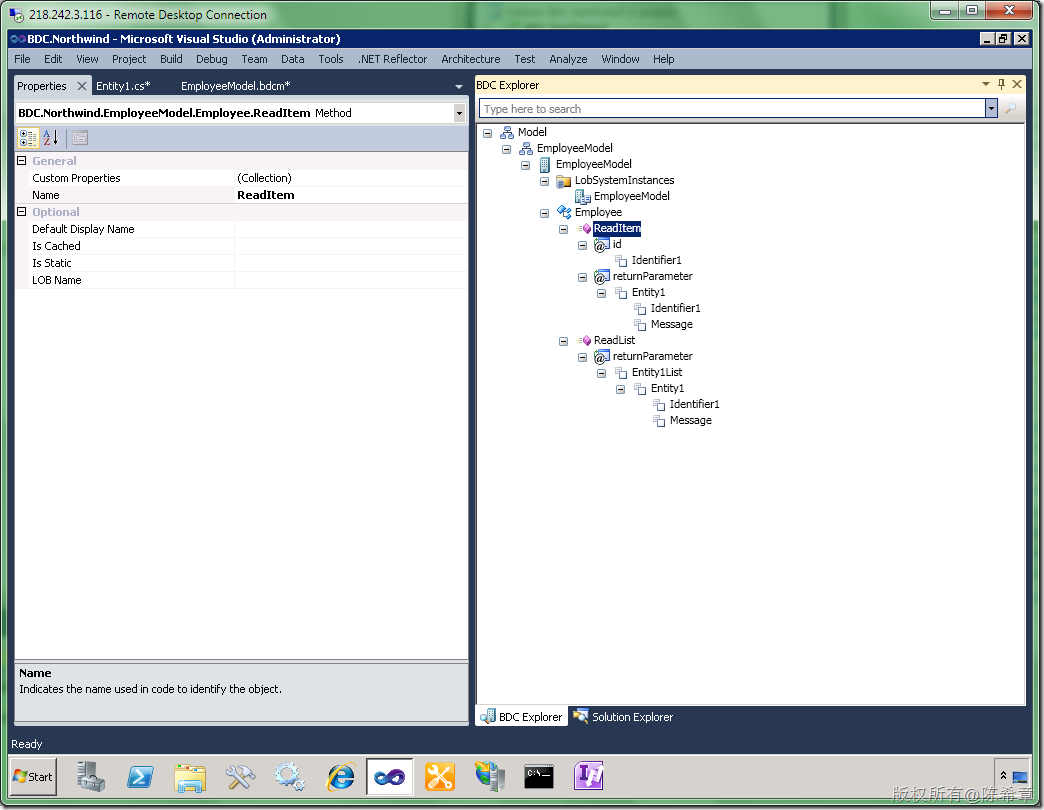
接下来,我们需要将它的Identifier1修改为EmployeeID
接下来,我们需要切换到BDC Explorer来完成进一步的修改。如果你没有看到BDC Explorer,那么可以通过View==>Other Window==>BDC Explorer打开它
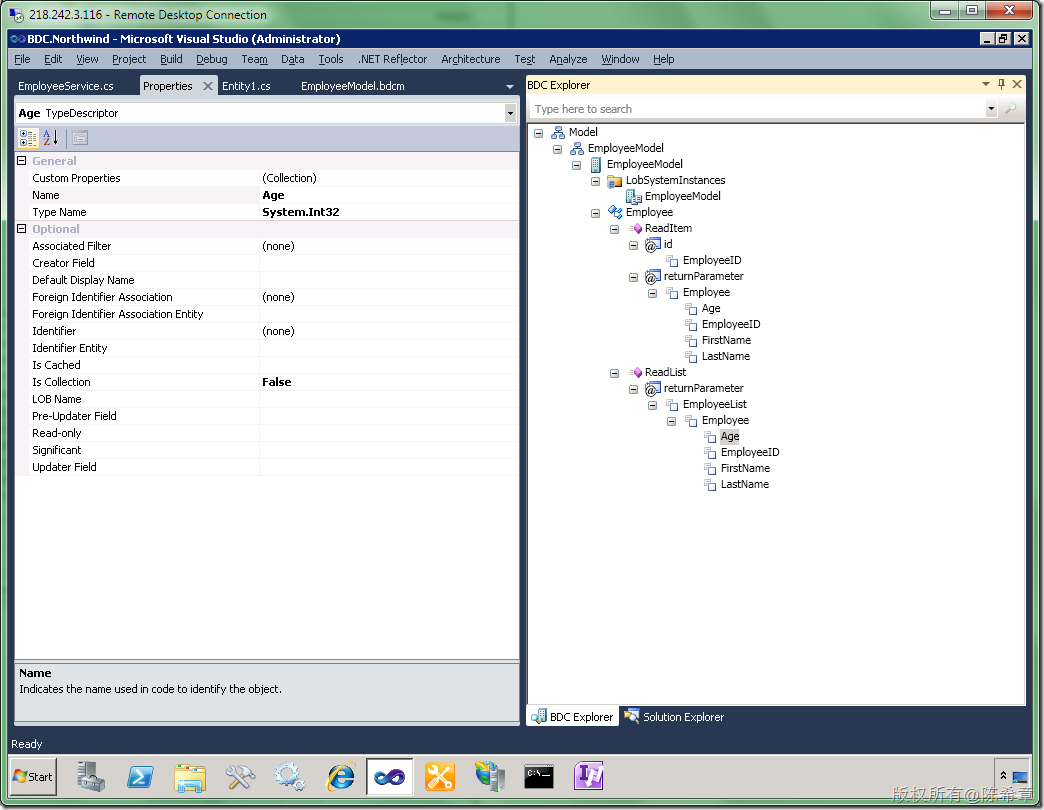
为了方便修改,请将IDE调整为下面这样
我们要将它修改成下面这样。(这里的步骤很繁琐,我就不全部截图了。基本上都是在属性窗口中做设置,要特别注意的是TypeName的设置)
【注意】原先的Message直接修改Name为FirstName
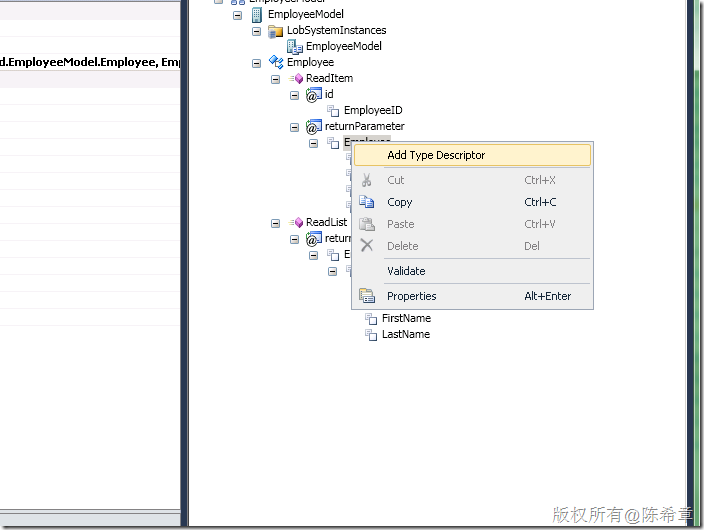
而LastName和Age是我们通过下面的方式添加的
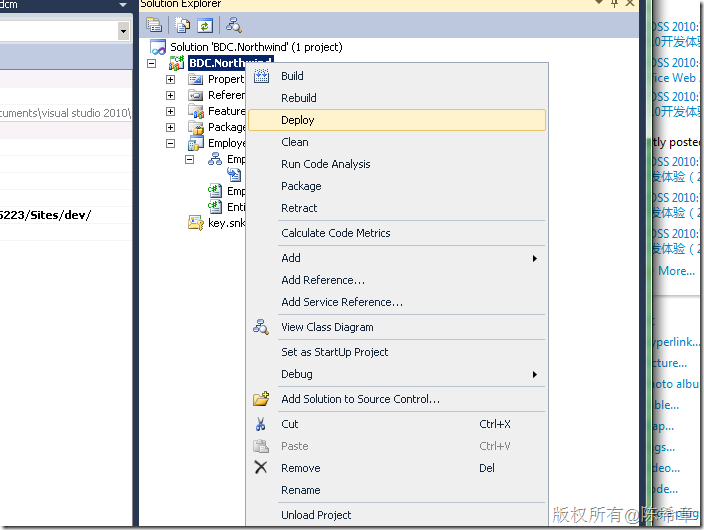
6. 编译项目并且部署(确保没有任何错误)
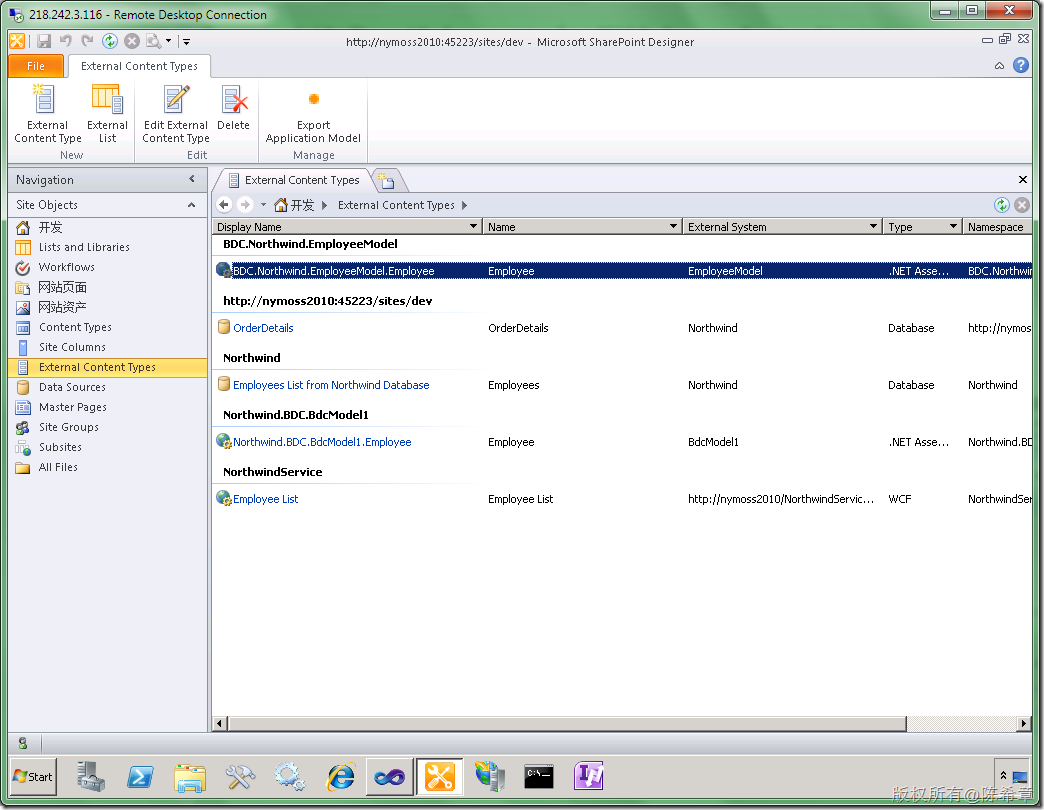
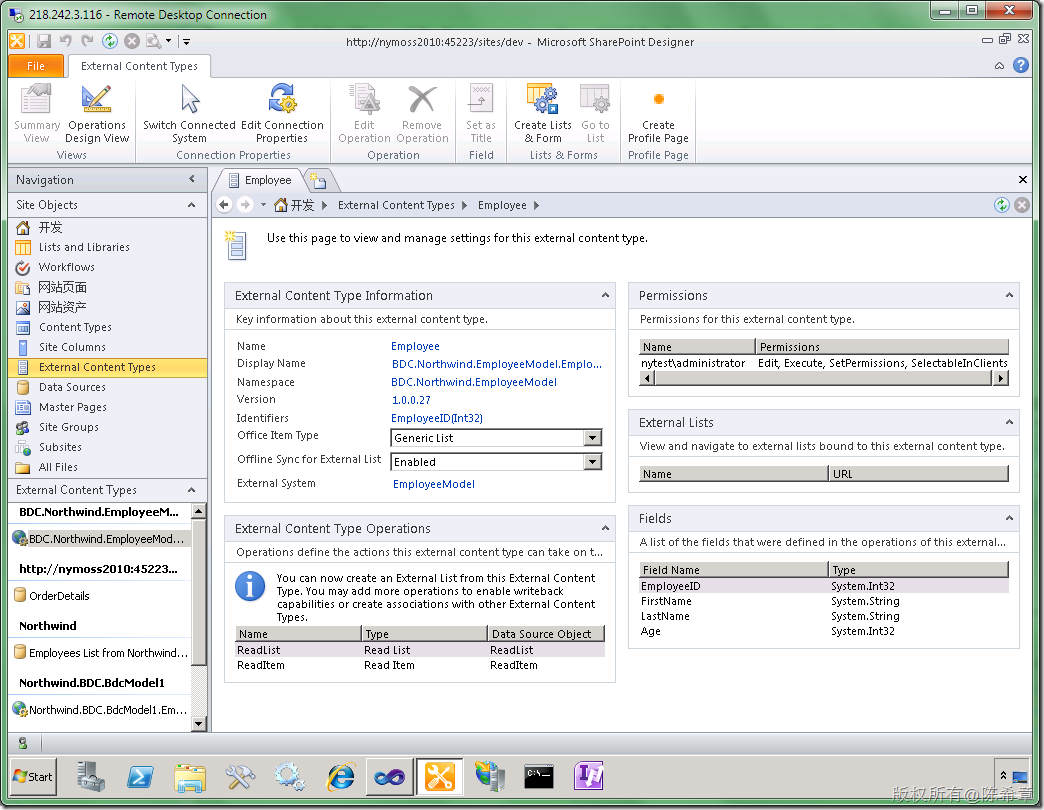
7. 验证和使用该模型
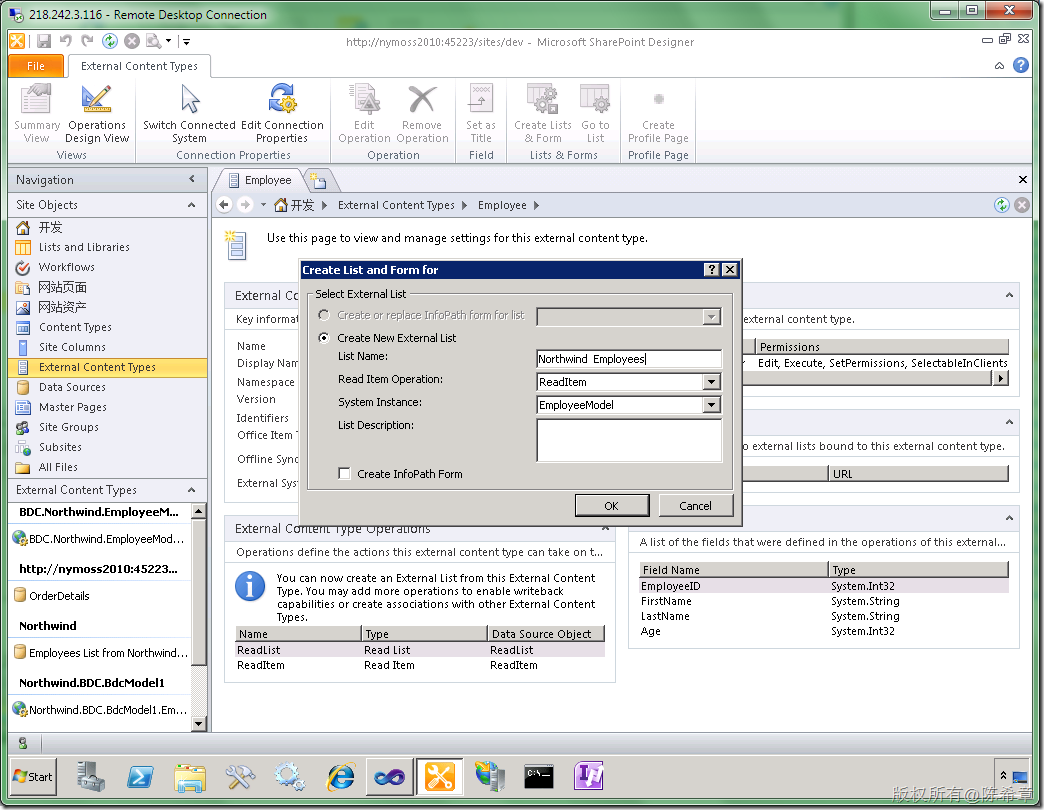
点击“Create Lists & Form”按钮
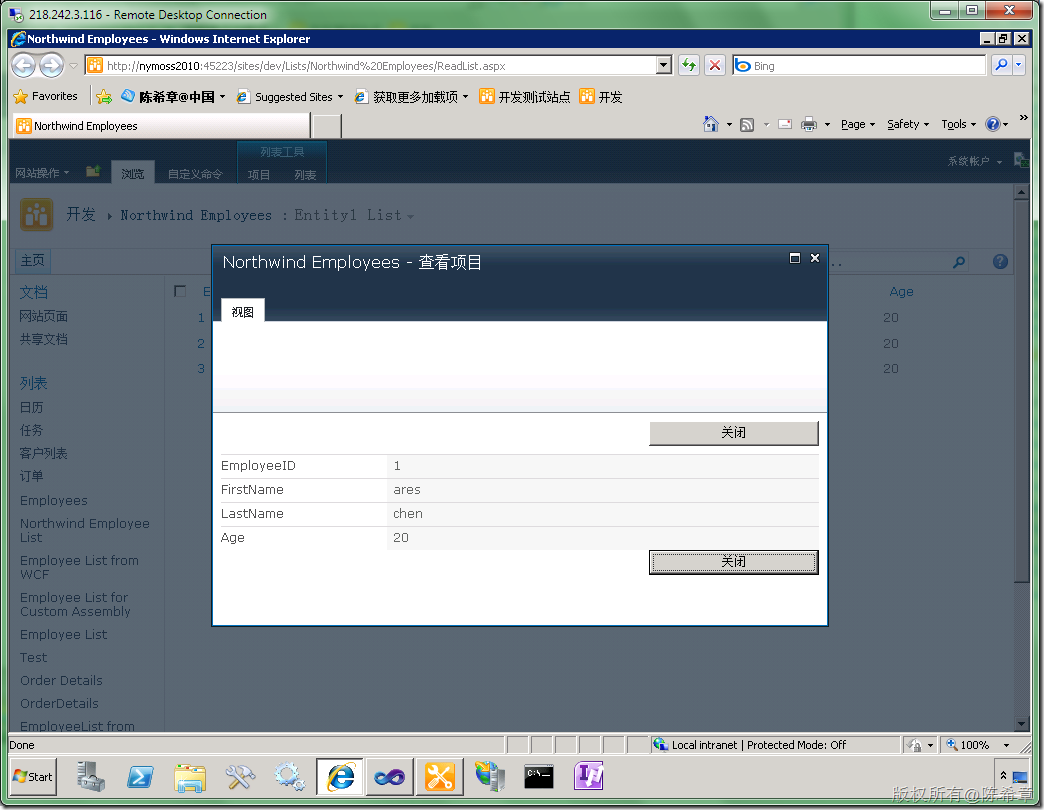
最后,我们就可以在网站中看到下面这个列表了
总结:这一篇文章我讲解了如何实现自定义BDC模型。其实这个工作并不难,但却是比较繁琐的,而且容易出错。
我不确信每个人都能通过看一遍就学会如何做,所以如果你实在遇到了问题,也可以通过下面地址下载范例代码
https://files.cnblogs.com/chenxizhang/BDC_Northwind.rar
转载自:http://blog.csdn.net/chen_xizhang/article/details/5953737


