首先安装一个需要用到的模块
pip install social-auth-app-django
安装完后在终端输入pip list会看到
social-auth-app-django 3.1.0
social-auth-core       3.0.0
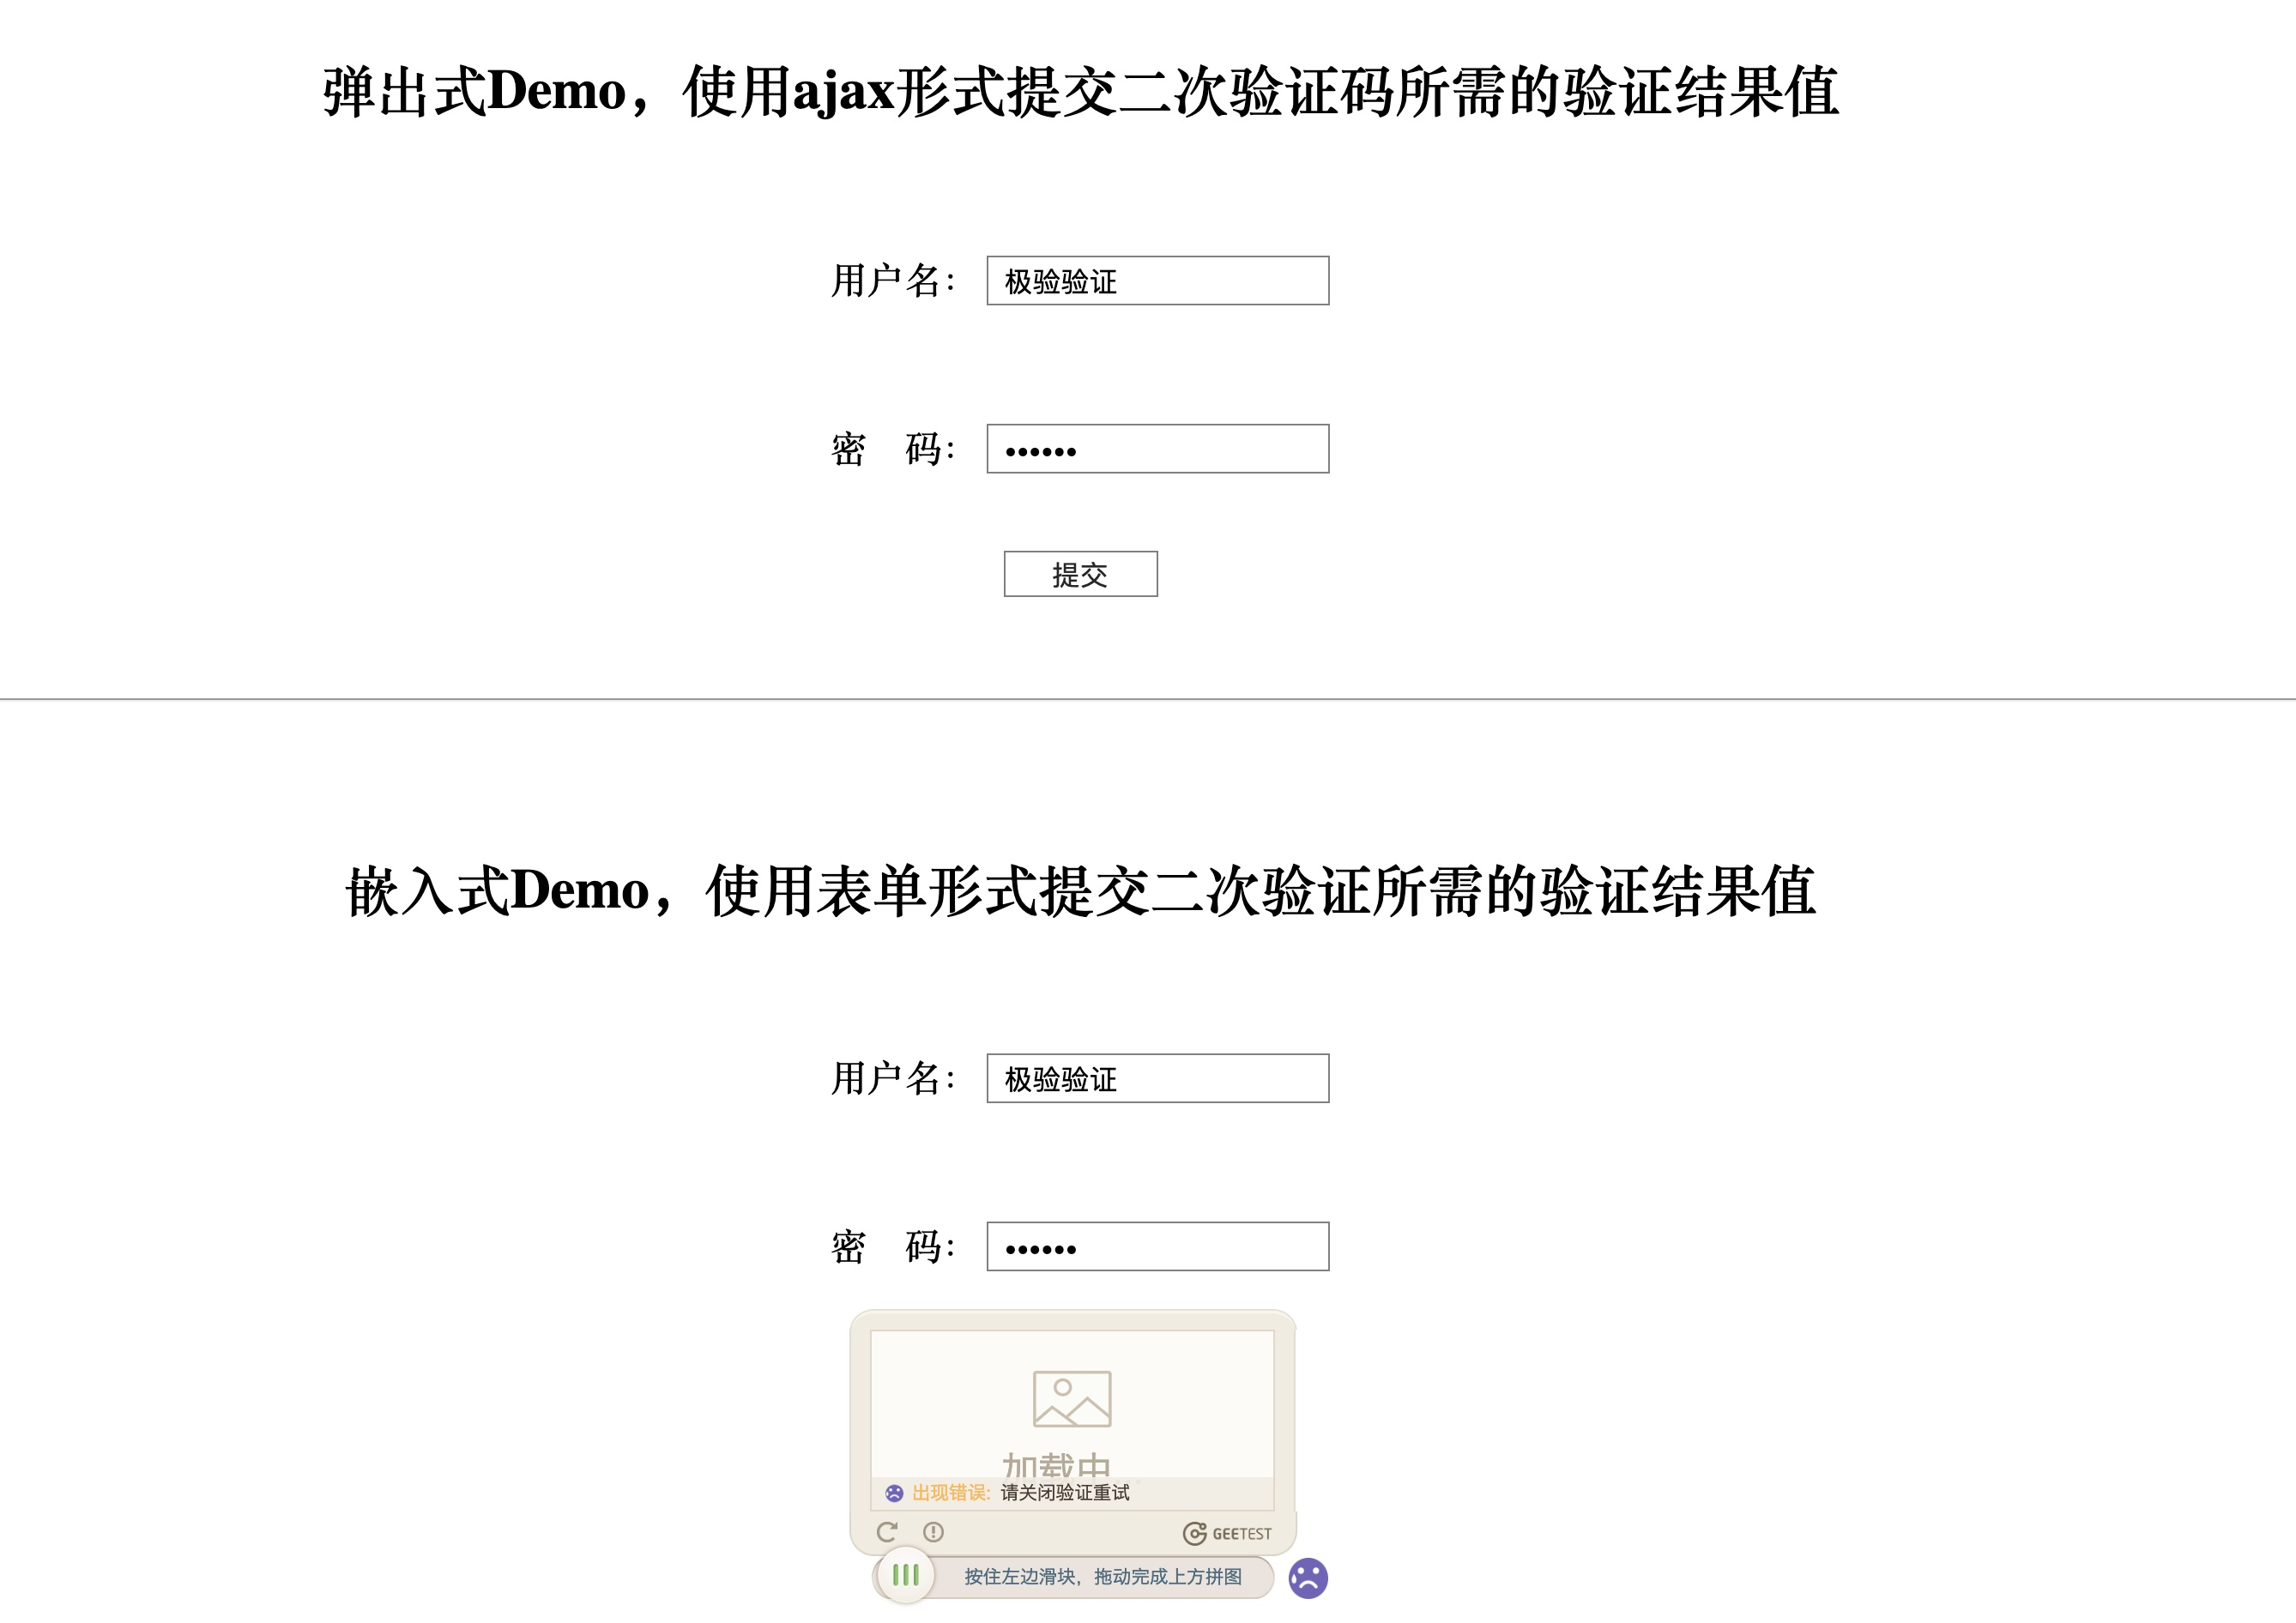
然后可以来我的github,下载关于滑动验证码的这个demo:https://github.com/Edward66/slide_auth_code
下载完后启动项目
python manage.py runserver
启动这个项目后,在主页就能看到示例

前端部分
随便选择一个(最下面的是移动端,不做移动端不要选)把html和js代码复制过来,我选择的是弹出式的。这里面要注意他的ajax请求发送的网址,你可以把这个网址改成自己视图函数对应的网址,自己写里面的逻辑,比如我是为了做用户登陆验证,所以我是写的逻辑是拿用户输入的账号、密码和数据库里的做匹配。
login.html
<!DOCTYPE html>
<html lang="en">
<head>
    <meta charset="UTF-8">
    <title>登陆页面</title>
    <link rel="stylesheet" href="/static/blog/css/slide_auth_code.css">
    <link rel="stylesheet" href="/static/blog/bs/css/bootstrap.css">
</head>

<body>

<h3>登陆页面</h3>

<div class="container">
    <div class="row">
        <div class="col-md-6 col-md-offset-3">
            <div class="popup">
                <form id="fm">
                    {% csrf_token %}
                    <div class="form-group">
                        <label for="id_user">用户名:</label>
                        <input name="user" id="id_user" class="form-control" type="text">
                    </div>

                    <div class="form-group">
                        <label for="id_pwd">密码:</label>
                        <input name="pwd" id="id_pwd" class="form-control" type="password">
                    </div>

                    <input class="btn btn-default" id="popup-submit" type="button" value="提交">
                    <span id="error-info"></span>

                    <a href="{% url 'blog:register' %}" class="btn btn-success pull-right">注册</a>
                </form>
                <div id="popup-captcha"></div>
            </div>
        </div>
    </div>
</div>

<script src="/static/blog/js/jquery-3.3.1.js"></script>
<script src="/static/blog/js/gt.js"></script>
<script src="/static/blog/js/slide_auth_code.js"></script>
login.js
let handlerPopup = function (captchaObj) {
    // 成功的回调
    captchaObj.onSuccess(function () {
        let validate = captchaObj.getValidate();
        $.ajax({
            url: "", // 进行二次验证
            type: "post",
            dataType: "json",
            data: $('#fm').serialize(),

            success: function (data) {
                if (data.user) {
                    location.href = '/index/'
                } else {
                    $('#error-info').text(data.msg).css({'color': 'red', 'margin-left': '10px'});
                    setTimeout(function () {
                        $('#error-info').text('');
                    }, 3000)
                }
            }
        });
    });
    $("#popup-submit").click(function () {
        captchaObj.show();
    });
    // 将验证码加到id为captcha的元素里
    captchaObj.appendTo("#popup-captcha");
    // 更多接口参考:http://www.geetest.com/install/sections/idx-client-sdk.html
};
// 验证开始需要向网站主后台获取id,challenge,success(是否启用failback)
$.ajax({
    url: "/pc-geetest/register?t=" + (new Date()).getTime(), // 加随机数防止缓存
    type: "get",
    dataType: "json",
    success: function (data) {
        // 使用initGeetest接口
        // 参数1:配置参数
        // 参数2:回调,回调的第一个参数验证码对象,之后可以使用它做appendTo之类的事件
        initGeetest({
            gt: data.gt,
            challenge: data.challenge,
            product: "popup", // 产品形式,包括:float,embed,popup。注意只对PC版验证码有效
            offline: !data.success // 表示用户后台检测极验服务器是否宕机,一般不需要关注
            // 更多配置参数请参见:http://www.geetest.com/install/sections/idx-client-sdk.html#config
        }, handlerPopup);
    }
});
注意:我是把ajax请求的url改成了当前页面的视图函数。另外原生代码是全部写在html里的,我把它做了解耦。还有原生代码用的是jquery-1.12.3,我改成了jquery-3.3.1,也可以正常使用。
后端部分
urls.py
由于后端的逻辑是自己写的,这里只需要用到pcgetcaptcha这部分代码,来处理验证部分。
首先在urls.py里加入路径
from django.urls import path, re_path

from blog.views import slide_code_auth

# 滑动验证码
path('login/', views.login),
re_path(r'^pc-geetest/register', slide_code_auth, name='pcgetcaptcha'),

# slide_auth_code是我自己写的名字,原名是pcgetcaptcha
我把pcgetcaptcha的逻辑部分放到了utils/slide_auth_code.py里面,当做工具使用
utils/slide_auth_code.py
from blog.geetest import GeetestLib

pc_geetest_id = "b46d1900d0a894591916ea94ea91bd2c"
pc_geetest_key = "36fc3fe98530eea08dfc6ce76e3d24c4"


def pcgetcaptcha(request):
    user_id = 'test'
    gt = GeetestLib(pc_geetest_id, pc_geetest_key)
    status = gt.pre_process(user_id)
    request.session[gt.GT_STATUS_SESSION_KEY] = status
    request.session["user_id"] = user_id
    response_str = gt.get_response_str()

    return response_str


# pc_geetest_id和pc_geetest_key不可省略,如果做移动端要加上mobile_geetest_id和mobile_geetest_key
views.py
from django.contrib import auth
from django.shortcuts import render, HttpResponse
from django.http import JsonResponse

from blog.utils.slide_auth_code import pcgetcaptcha


def login(request):
    if request.method == "POST":
        response = {'user': None, 'msg': None}
        user = request.POST.get('user')
        pwd = request.POST.get('pwd')

        user = auth.authenticate(username=user, password=pwd)

        if user:
            auth.login(request, user)
            response['user'] = user.username
        else:
            response['msg'] = '用户名或密码错误'
        return JsonResponse(response)
    return render(request, 'login.html')


# 滑动验证码
def slide_code_auth(request):
    response_str = pcgetcaptcha(request)
    return HttpResponse(response_str)


def index(request):
    return render(request, 'index.html')
注意:不一定非要按照我这样,根据自己的需求选择相应的功能并做出相应的修改
**修改相应代码,把滑动验证用到注册页面**
register.js
// 头像预览功能
$('#id_avatar').change(function () {   // 图片发生了变化,所以要用change事件
    // 获取用户选中的文件对象
    let file_obj = $(this)[0].files[0];

    // 获取文件对象的路径
    let reader = new FileReader();  // 等同于在python里拿到了实例对象
    reader.readAsDataURL(file_obj);

    reader.onload = function () {
        // 修改img的src属性,src = 文件对象的路径
        $("#avatar_img").attr('src', reader.result);  // 这个是异步,速度比reader读取路径要快,
                                                      // 所以要等reader加载完后在执行。
    };
});

// 基于Ajax提交数据
let handlerPopup = function (captchaObj) {
    // 成功的回调
    captchaObj.onSuccess(function () {
        let validate = captchaObj.getValidate();
        let formdata = new FormData();  // 相当于python里实例化一个对象
        let request_data = $('#fm').serializeArray();
        $.each(request_data, function (index, data) {
            formdata.append(data.name, data.value)
        });
        formdata.append('avatar', $('#id_avatar')[0].files[0]);

        $.ajax({
            url: '',
            type: 'post',
            contentType: false,
            processData: false,
            data: formdata,
            success: function (data) {
                if (data.user) {
                    // 注册成功
                    location.href = '/login/'
                } else {
                    // 注册失败

                    // 清空错误信息,每次展示错误信息前,先把之前的清空了。
                    $('span.error-info').html("");
                    $('.form-group').removeClass('has-error');
                    // 展示此次提交的错误信息
                    $.each(data.msg, function (field, error_list) {
                        if (field === '__all__') {  // 全局错误信息,在全局钩子里自己定义的
                            $('#id_re_pwd').next().html(error_list[0]);
                        }
                        $('#id_' + field).next().html(error_list[0]);
                        $('#id_' + field).parent().addClass('has-error');  // has-error是bootstrap提供的
                    });
                }
            }
        })

    });
    $("#popup-submit").click(function () {
        captchaObj.show();
    });
    // 将验证码加到id为captcha的元素里
    captchaObj.appendTo("#popup-captcha");
    // 更多接口参考:http://www.geetest.com/install/sections/idx-client-sdk.html
};
// 验证开始需要向网站主后台获取id,challenge,success(是否启用failback)
$.ajax({
    url: "/pc-geetest/register?t=" + (new Date()).getTime(), // 加随机数防止缓存
    type: "get",
    dataType: "json",
    success: function (data) {
        // 使用initGeetest接口
        // 参数1:配置参数
        // 参数2:回调,回调的第一个参数验证码对象,之后可以使用它做appendTo之类的事件
        initGeetest({
            gt: data.gt,
            challenge: data.challenge,
            product: "popup", // 产品形式,包括:float,embed,popup。注意只对PC版验证码有效
            offline: !data.success // 表示用户后台检测极验服务器是否宕机,一般不需要关注
            // 更多配置参数请参见:http://www.geetest.com/install/sections/idx-client-sdk.html#config
        }, handlerPopup);
    }
});
