.net 这几年国内确实不好过。 很多都选择转行。不过.net Core跨平台 开源之后 。社区的生态在慢慢建立。往好的趋势发展。 对于坚守在.NET战线的开发者来说 是个挺不错的消息。
特别是微软收购75亿美金GitHub。.net 生态 社区圈子。肯定会有所上升。 发展趋势越来越好。(当然 这只是我个人祈愿)
最近也比较懒。也有段时间没有写过文章了。 但对于追寻新技术渴望学习 是不会断的
最近微服务比较火热。 将以个大型项目根据业务可以拆分成一个个的较小的独立项目。便于管理 且互相协作
Ocelot是一个用.NET Core实现并且开源的API网关,它功能强大,包括了:路由、请求聚合、服务发现、认证、鉴权、限流熔断、并内置了负载均衡器与Service Fabric、Butterfly Tracing集成。这些功能只都只需要简单的配置即可完成
但是现在网上关于Ocelot的文章还是有限。
首先感谢几位大佬 Ocelot的文章
https://www.cnblogs.com/shanyou/p/7787183.html(张友善 大神)
https://www.cnblogs.com/Leo_wl/p/7852311.html (HackerVirus 大神)
https://www.cnblogs.com/jesse2013/p/net-core-apigateway-ocelot-docs.html(腾飞(Jesse) 大神)
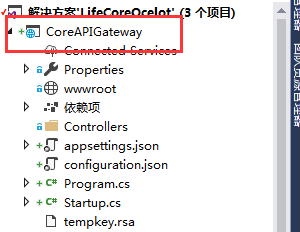
首先用VS2017 新建一个 .NET Core Api
1.NuGet控制台 安装Ocelot
PM> Install-Package Ocelot
2.在项目 Startup.cs 修改
这里需要用到两个比较重要的命名空间
using Ocelot.DependencyInjection;
using Ocelot.Middleware;
 public Startup(IHostingEnvironment environment)
        {
            var builder = new Microsoft.Extensions.Configuration.ConfigurationBuilder();
            builder.SetBasePath(environment.ContentRootPath)
                   .AddJsonFile("appsettings.json", false, reloadOnChange: true)
                   .AddJsonFile($"appsettings.{environment.EnvironmentName}.json", optional: false, reloadOnChange: true)
                   .AddJsonFile("configuration.json", optional: false, reloadOnChange: true)
                   .AddEnvironmentVariables();


            Configuration = builder.Build();
        }
 /// <summary>
        ///配置
        /// </summary>
        public IConfigurationRoot Configuration { get; }

        /// <summary>
        /// 配置服务
        /// </summary>
        /// <param name="services"></param>
        public void ConfigureServices(IServiceCollection services)
        {
            Action<ConfigurationBuilderCachePart> settings = (x) =>
            {
                x.WithMicrosoftLogging(log =>
                {
                    log.AddConsole(LogLevel.Debug);

                }).WithDictionaryHandle();
            };
            services.AddOcelot(Configuration, settings);
            //services.AddMvc();
        }
 /// <summary>
        /// 配置Ocelot
        /// </summary>
        /// <param name="app"></param>
        /// <param name="env"></param>
        public async void Configure(IApplicationBuilder app, IHostingEnvironment env)
        {
            //if (env.IsDevelopment())
            //{
            //    app.UseDeveloperExceptionPage();
            //}
            await app.UseOcelot();
            //app.UseMvc();
        }
然后是入口程序Main
       public static void Main(string[] args)
        {
            IWebHostBuilder builder = new WebHostBuilder();
            builder.ConfigureServices(s =>
            {
                s.AddSingleton(builder);
            });
            builder.UseKestrel()
                   .UseContentRoot(Directory.GetCurrentDirectory())
                   .UseIISIntegration()
                   .UseStartup<Startup>()
                   .UseApplicationInsights();
            var host = builder.Build();
            host.Run();
        }
3. 新建一个命名为configuration的Json 文件

增加配置 如下
{
  "ReRoutes": [
    {
      "DownstreamPathTemplate": "/api/values",
      "DownstreamScheme": "http",
      "DownstreamHost": "localhost",
      "DownstreamPort": 1001,
      "UpstreamPathTemplate": "/api/values",
      "UpstreamHttpMethod": [ "Get" ],
      "QoSOptions": {
        "ExceptionsAllowedBeforeBreaking": 3,
        "DurationOfBreak": 10,
        "TimeoutValue": 5000
      },
      "HttpHandlerOptions": {
        "AllowAutoRedirect": false,
        "UseCookieContainer": false
      },
      "AuthenticationOptions": {

      }
    },
    {
      "DownstreamPathTemplate": "/api/product",
      "DownstreamScheme": "http",
      "DownstreamPort": 1002,
      "DownstreamHost": "localhost",
      "UpstreamPathTemplate": "/api/product",
      "UpstreamHttpMethod": [ "Get" ],
      "QoSOptions": {
        "ExceptionsAllowedBeforeBreaking": 3,
        "DurationOfBreak": 10,
        "TimeoutValue": 5000
      },
      "AuthenticationOptions": {

      }
    }
  ],
  "GlobalConfiguration": {
    "RequestIdKey": "OcRequestId",
    "AdministrationPath": "/admin"
  }
}
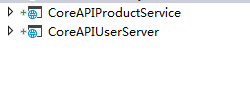
然后新建两个APi项目
并设置他们端口号为1001 1002
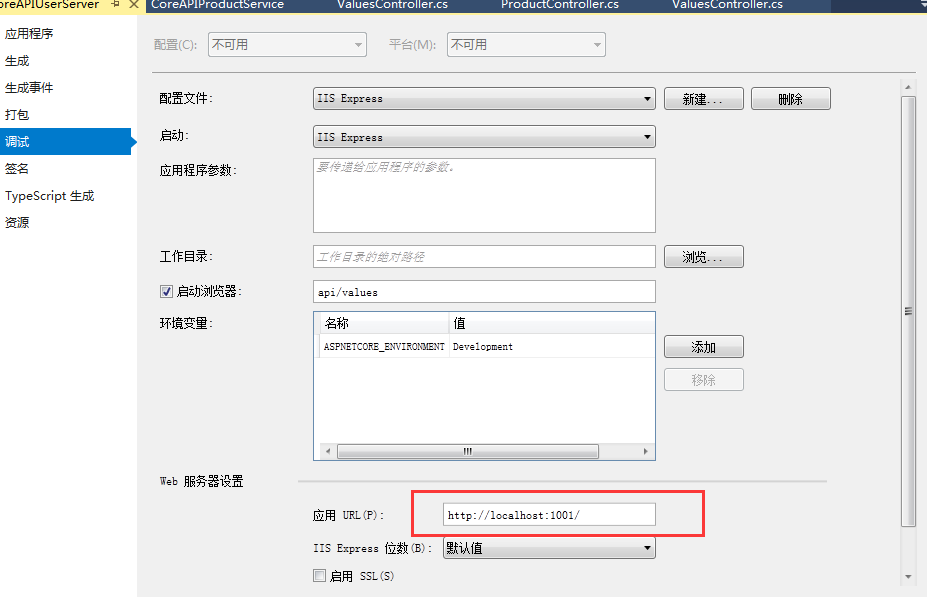
另一个类似
上面Json配置体现了上游请求和下游服务间的映射关系 上游是客户端直接调用的URL ,下游,则是对应我们开发的服务。
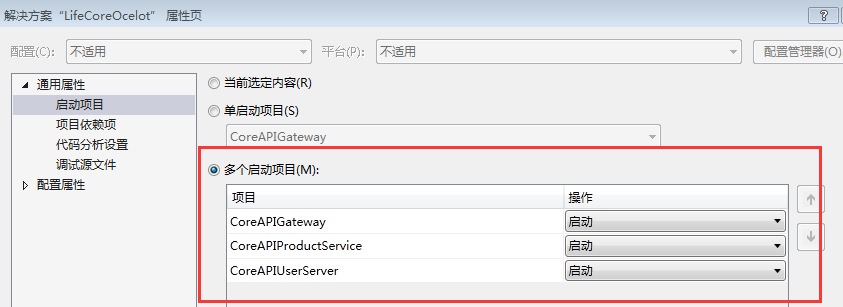
然后 你可以设置多项目启动 也可以单独开启新实例
接下 F5启动项目


最后附上Ocelot在GitHub上源码地址