一、Nginx环境部署
1、部署说明
1)确保系统安装GCC编译器及相关工具。上篇文章中已说明,使用 rpm包 安装部署。
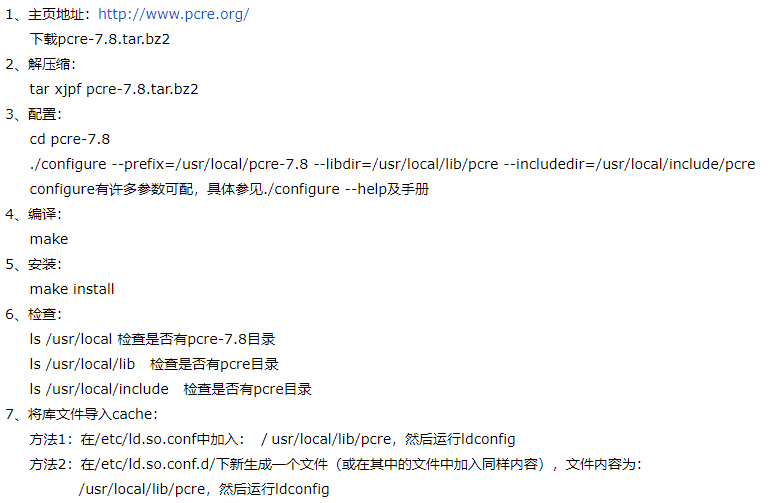
2)rewrite 模块需要 pcre 库。楼主使用的是 pcre-8.42.zip。
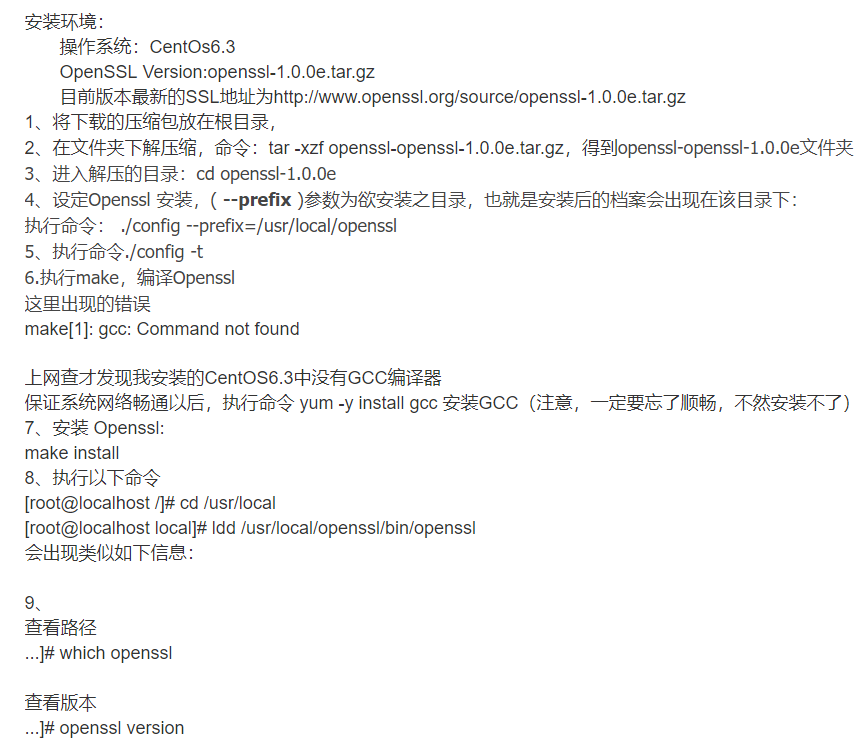
3)ssl 功能需要 openssl 库。楼主使用的是 openssl-1.0.2o.tar.gz。
2、使用源包安装 pcre,注意解压后的源包不要删除
参考文档:https://www.cnblogs.com/LiuYanYGZ/p/5903954.html
3、使用源包安装 openssl,注意解压后的源包不要删除
参考文档:https://www.landui.com/help/show-1586.html
4、安装Nginx
1)官网下载最新的软件包
2)上传至服务器
3)解压,进入源包文件夹,执行步骤4~6进行安装
4)./configure --prefix=/usr/local/nginx --user=nginx --group=nginx --with-http_ssl_module --with-http_flv_module --with-http_stub_status_module --with-http_image_filter_module --with-http_gzip_static_module --with-pcre=/usr/local/src/pcre-8.42 --with-openssl=/usr/local/src/openssl-1.0.2o
注意:pcre 和 openssl 的路径都是解压后的源包路径!!!
遇到问题:
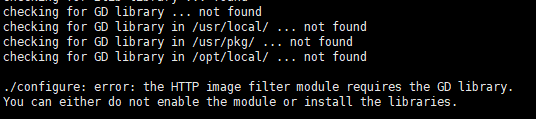
解决方法:
在线:yum -y install gd-devel
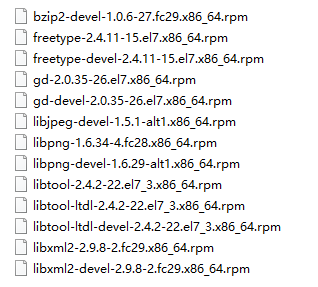
离线:安装以下的rpm
gd-2.0.35-26.el7.x86_64.rpm
gd-devel-2.0.35-26.el7.x86_64.rpm

5)编译 make
6)安装 make install
7)安装nginx用户
useradd -s /sbin/nologin -M nginx
id nginx

8)启动 nginx,执行命令:/usr/local/nginx/sbin/nginx -c /usr/local/nginx/conf/nginx.conf
9)查看进程,ps aux | grep nginx

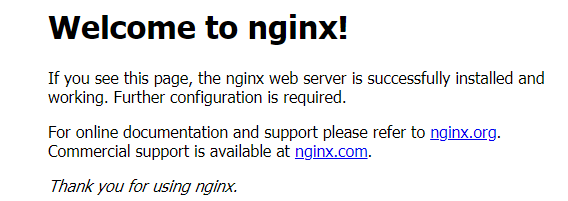
5、测试页面
1)测试页面前需要给防火墙添加80端口,否则无法打开测试页面。
2)执行以下命令后,即可使用浏览器打开测试页面了(http://X.X.X.X)
systemctl stop firewalld.service
firewall-cmd --zone=public --add-port=80/tcp --permanent
systemctl restart firewalld.service
6、开机自启动设置
参考文档:https://www.cnblogs.com/whatmiss/p/7091220.html
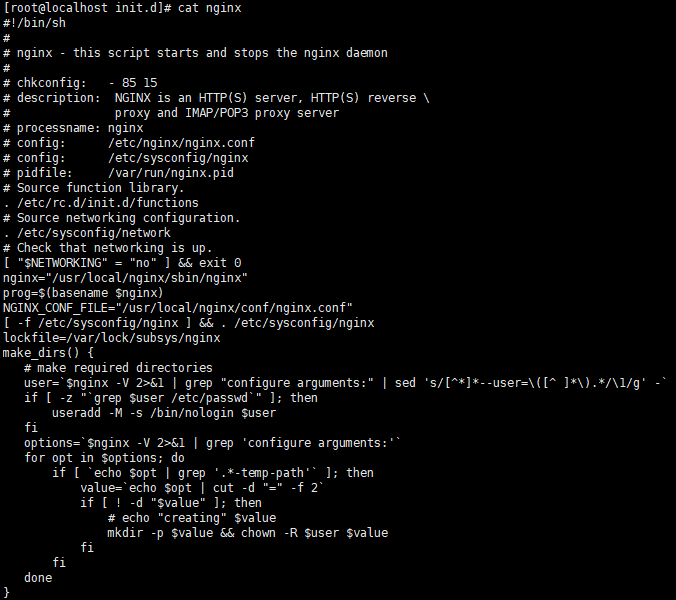
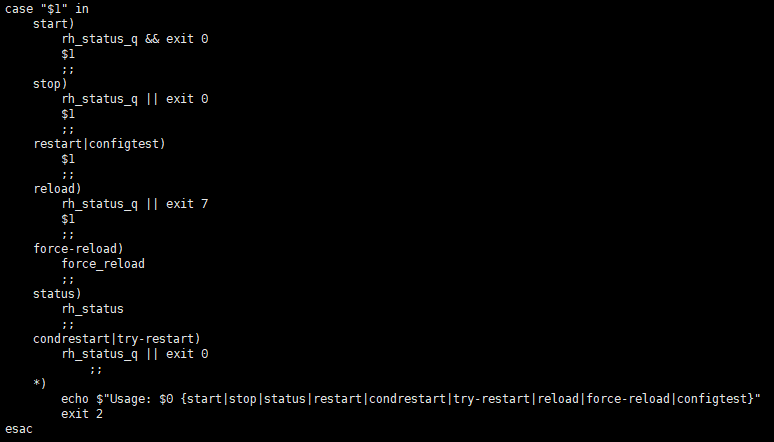
脚本内容:

二、PHP 环境部署
1、确保安装之前有安装gd,png,curl,xml等等lib开发库。楼主使用 rpm包的方式安装。
2、下载PHP。官网下载:http://www.php.net。楼主使用的是php-7.2.7.tar.gz
3、上传至服务器,解压,进入源包文件夹。执行4~6步骤。
4、Configure配置
./configure --prefix=/usr/local/php-7.2.7 --with-config-file-path=/usr/local/php-7.2.7/etc --with-bz2 --with-curl --enable-ftp --enable-sockets --disable-ipv6 --with-gd --with-jpeg-dir --with-png-dir --with-freetype-dir --with-iconv-dir --enable-mbstring --enable-calendar --with-gettext --with-libxml-dir --with-zlib --with-pdo-mysql=mysqlnd --with-mysqli=mysqlnd --enable-dom --enable-xml --enable-fpm --with-libdir=lib64 --enable-bcmath
问题1:
解决方法:重新安装gcc、gcc-g++
解决方法:
解决方法:参考链接 https://blog.csdn.net/dengwenwei121/article/details/47010921
# yum erase zlib-devel
# yum install zlib-devel
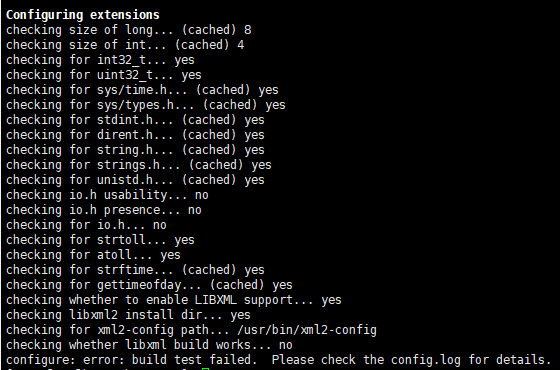
# yum install libxml2-devel
问题2:
解决方法:
libcurl-7.29.0-46.el7.x86_64.rpm
libcurl-devel-7.29.0-46.el7.x86_64.rpm
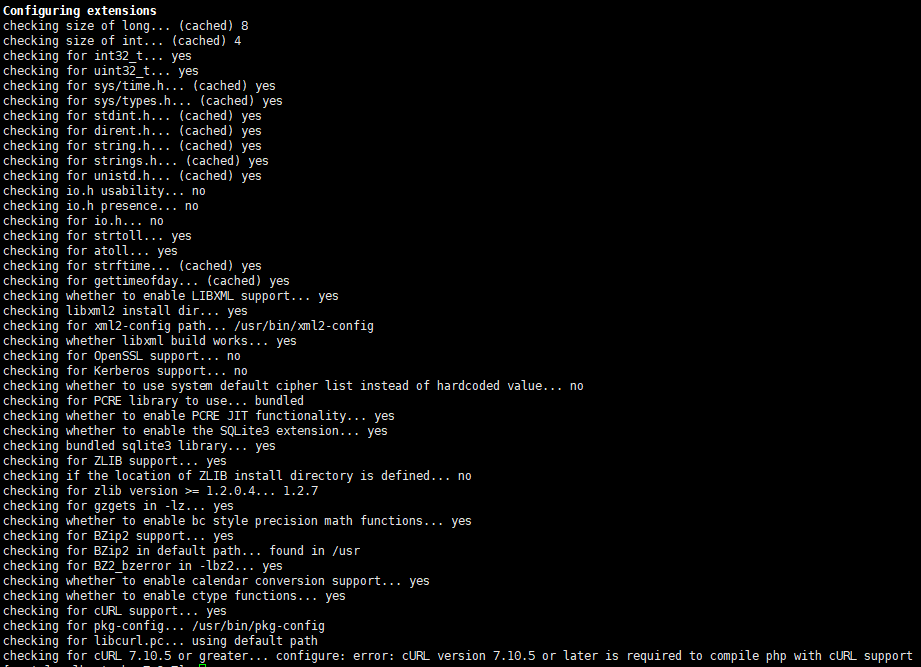
问题3:
checking for jpeg_read_header in -ljpeg... no
configure: error: Problem with libjpeg.(a|so). Please check config.log for more information.
解决方法:
https://www.cnblogs.com/sybblogs/p/6085314.html
https://www.aliyun.com/jiaocheng/202425.html
5、make
6、make test
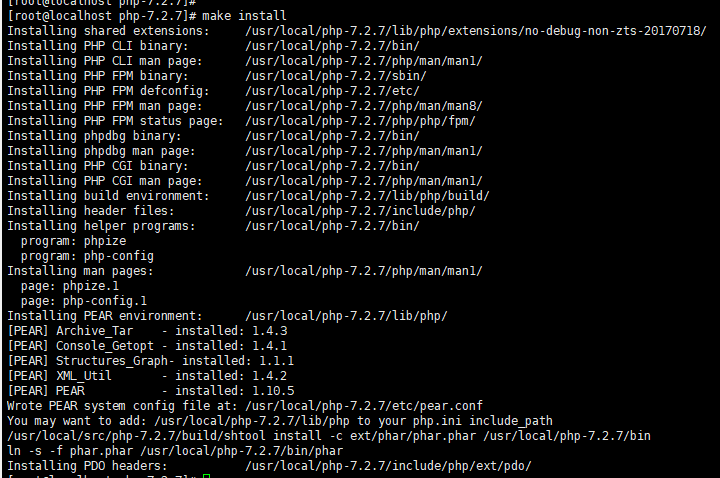
7、make install
8、配置PHP
cp php.ini-production /usr/local/php-7.2.7/etc/php.ini
cp /usr/local/php-7.2.7/etc/php-fpm.conf.default /usr/local/php-7.2.7/etc/php-fpm.conf
cd /usr/local/php-7.2.7/etc/php-fpm.d
cp www.conf.default www.conf
9、启动 php-fpm
执行命令:/usr/local/php-7.2.7/sbin/php-fpm
关于如何启动和关闭php-fpm,可参考:https://blog.csdn.net/u010716097/article/details/71908096/

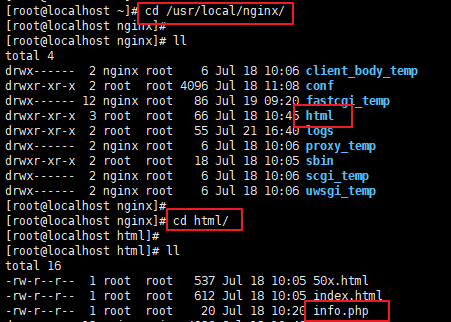
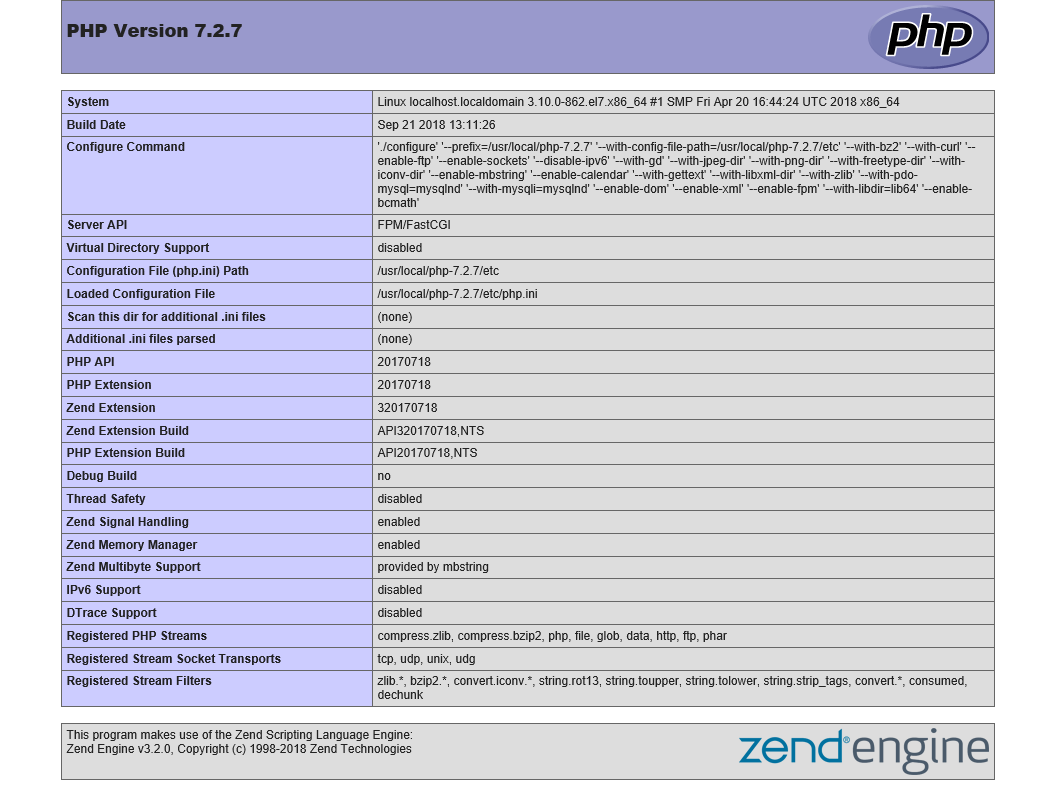
10、测试页面
1)进入nginx的html目录,创建文件info.php,输入内容如图所示。

2)设置nginx的配置文件

cat nginx.conf,修改成如图所示内容。

3)重启nginx
4)浏览器打开http://X.X.X.X/info.php,显示如下页面即PHP与nginx安装配置成功。
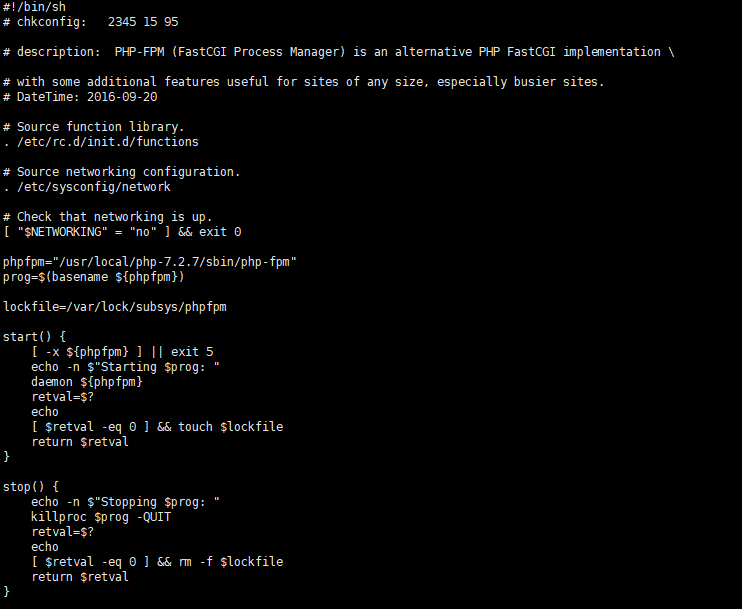
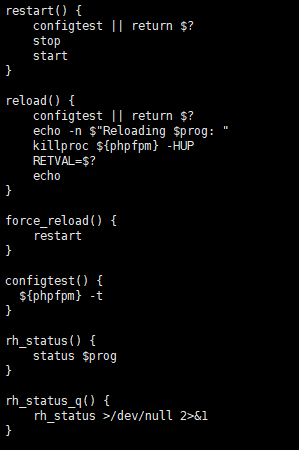
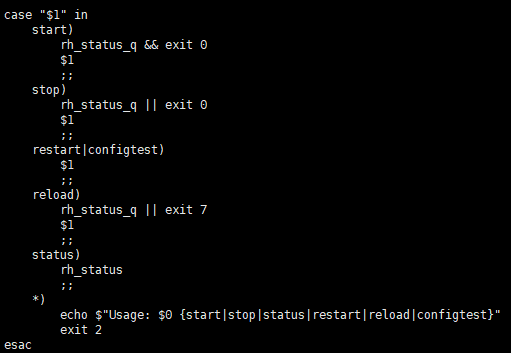
11、开机自启动设置
参考文档:https://www.cnblogs.com/tongl/p/7217283.html
脚本内容:
12、php.ini
打开php.ini配置文件,修改如下参数为如下值,否则zabbix安装不了。
 max_execution_time = 300
 memory_limit = 128M
 post_max_size = 16M
 upload_max_filesize = 2M
 max_input_time = 300
 date.timezone = "Asia/Shanghai"