KVM 虚拟化已经是一个工业级的虚拟化解决方案了,以前都是直接下载 VMware,然后安装其他操作系统的,今天我们来体验一下自己动手创建一台虚拟机,这样你就会知道在KVM下创建一台虚拟机,是多么简单的一件事情了,哈哈
step 1 : 首先我们需要检查一下我们的当前主机是否支持cpu虚拟化(如果出现下图,就是支持cpu虚拟化了):

step 2 : 然后我们需要安装一些必要的包:


step 3: 然后我们需要一个虚拟磁盘,相当于我们的系统盘(可以直接用 qemu-img 工具制作,具体使用方式可以用 qemu-img --help 查看,这个工具在上面的包安装过程中已被默认安装):

step 4 : 然后我们需要一个定义虚拟机配置的文件,一般用 xml 文件来描述(示例文件,配置不是很详细和充分):


<name>centos</name>
        <memory>1048576</memory>
        <currentMemory>1048576</currentMemory>
        <vcpu>2</vcpu>

        <os>
                <type arch='x86_64' machine='pc'>hvm</type>
                <boot dev='ha'/>
        </os>

        <features>
                <acpi/>
                <apic/>
                <pae/>
        </features>

        <clock offset='localtime'/>
        <on_poweroff>destroy</on_poweroff>
        <on_reboot>restart</on_reboot>
        <on_crash>destroy</on_crash>

        <devices>
                <emulator>/usr/bin/kvm</emulator>
                <disk type='file' device='disk'>
                        <driver name='qemu' type='qcow2'/>
                        <source file='/home/zhangpeng/test.qcow2'/>
                        <target dev='hda' bus='ide'/>
                </disk>

                <disk type='file' device='cdrom'>
                        <source file='/home/zhangpeng/centos.iso'/>
                        <target dev='hdb' bus='ide'/>
                </disk>

                <interface type='bridge'>
                        <source bridge='default'/>
                        <mac address="00:16:3e:5d:aa:a8"/>
                </interface>

                <input type='mouse' bus='ps2'/>
                <graphics type='vnc' port='-1' autoport='yes' listen='0.0.0.0' keymap='en-us'/>
        </devices>
</domain>


centos_config.xml
step 5 : 执行 virsh 命令定义一台虚机:

step 6 : 执行 virsh 命令启动一台虚机:

此时可以用 virsh 查看当前该宿主机所管理的虚机:

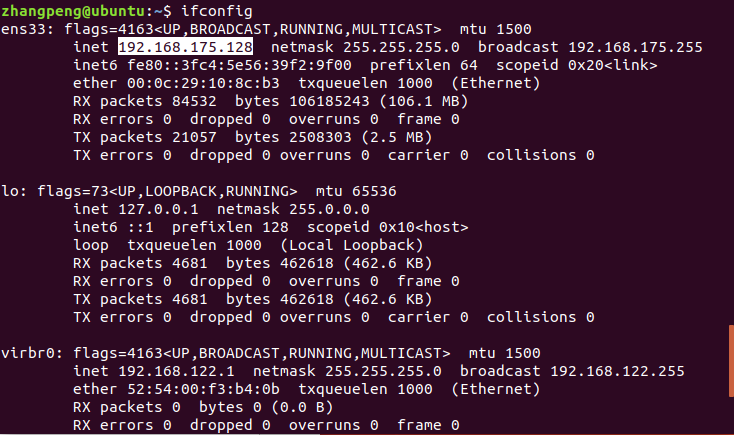
step 7 : 此时我们就可以用一些可视化软件连接到创建的该台虚拟机上进行操作了,本文用的是 vncViewer,点击进入下载页面;连接的 ip 地址为宿主机的 ip 地址,可以通过 ifconfig 进行查看:

step 8 : 由于第一次进入系统,显示出安装系统的界面,我们像在物理机上相同的安装操作进行安装就可以了

note: 安装完成后,系统就写入对应的虚拟磁盘中了,这时我们需要更改配置文件(xml) 中的启动项,将其从 cdrom 启动改为从磁盘启动就可以启动系统了:
更改前:
        <os>
                <type arch='x86_64' machine='pc'>hvm</type>
                <boot dev='cdrom'/>
        </os>
更改后:
        <os>
                <type arch='x86_64' machine='pc'>hvm</type>
                <boot dev='hd'/>
        </os>
注:如果进入虚机之后发现网络不通,请参考这篇博客
可能出错的地方:
1:定义一个主机的时候,可能提示找不到 kvm 目录,有的系统可能目录是/usr/bin/qemu或者是/usr/libexec/qemu-kvm
2:启动过程中可能出现权限不够的错误提示
3:可能会出现某些 cpu 特征不支持的警告,点击这里查看
参考资料:
https://blog.csdn.net/qq_24369113/article/details/52929439