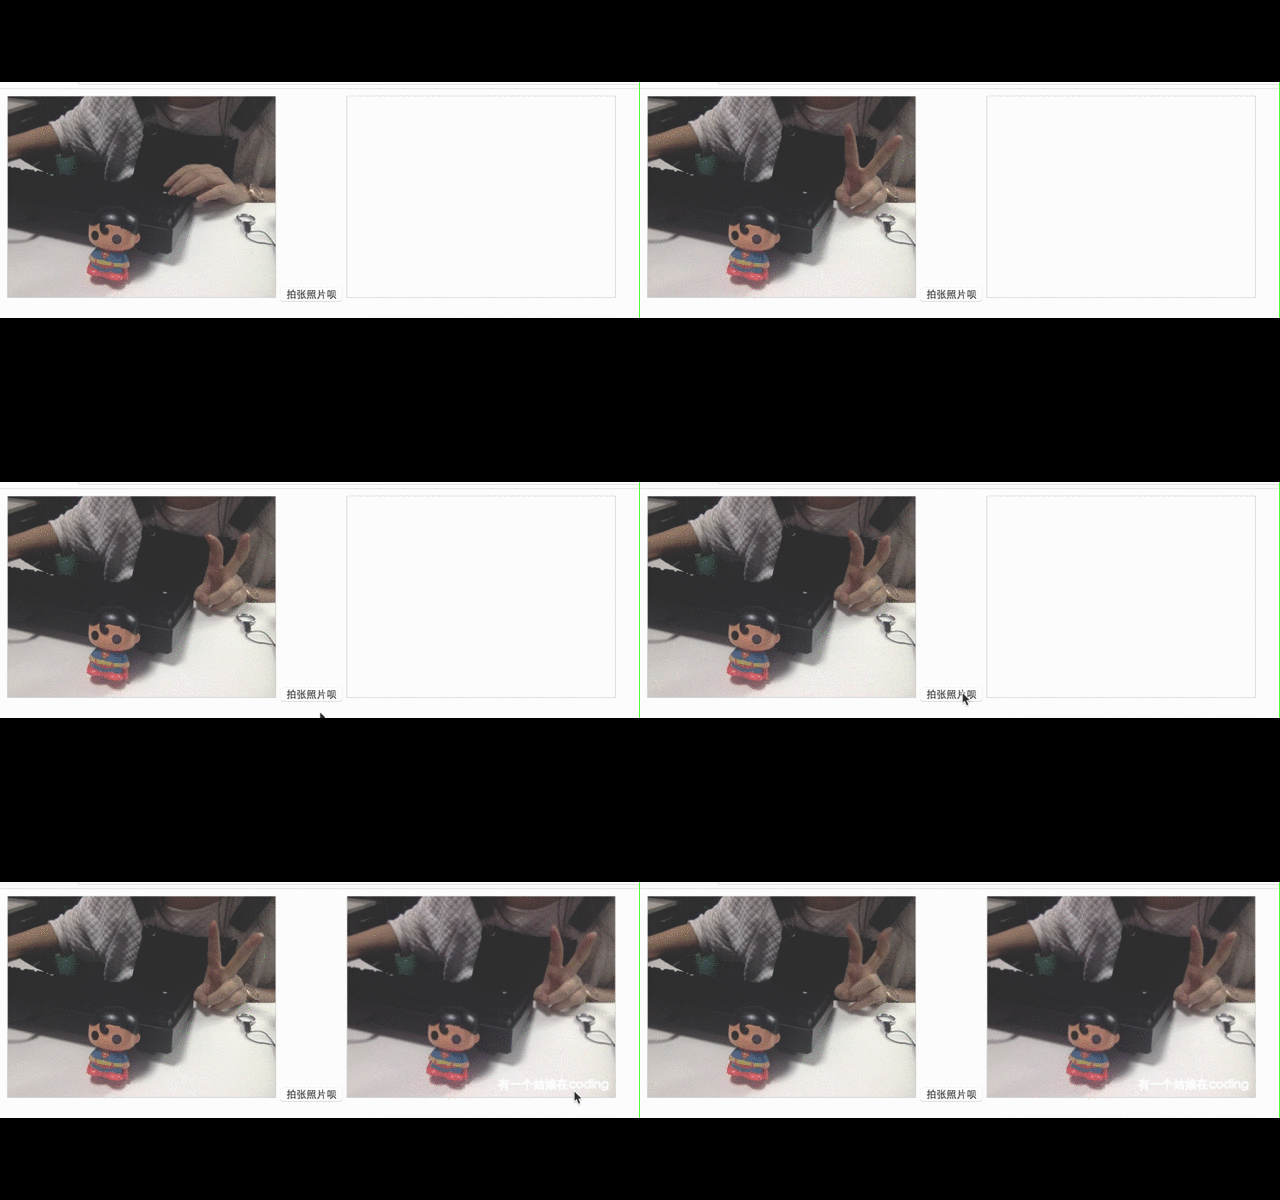
来一个简单粗暴的gif演示图
先来html 内容
<video id="video" width="320" height="240" autoplay></video>
<button id="snap">拍张照片呗</button>
<canvas id="canvas" width="320" height="240" ></canvas>
一个video 一个canvas
然后js内容
把设备启动下
init: function(){
    var video = this.video;
    if(navigator.mediaDevices && navigator.mediaDevices.getUserMedia) {
        navigator.mediaDevices.getUserMedia({ video: true }).then(function(stream) {
            video.src = window.URL.createObjectURL(stream);
            video.play();
        });
    }
    this.bind();
}
绑定下按钮
按钮获取点击时的帧,和添加一下水印
font: "14px microsoft yahei",
style: "rgba(255,255,255,0.9)",
text: "有一个姑娘在coding",
height: 240,
 320,
draw_pic: function(){
    var self = this;
    var context = self.canvas.getContext('2d');
    context.drawImage(self.video, 0, 0, self.width, self.height);
    context.font = self.font;
    context.fillStyle = self.style;
    context.fillText(self.text, self.width - 140 , self.height - 10);
}
这样就结束了
附上全部代码
<!DOCTYPE html>
<html>
<head>
    <meta charset="utf-8" />
    <title>要多简单就有多简单的H5拍照加水印</title>
</head>
<style type="text/css">
video,canvas{
  border: 1px solid #ccc;
}
</style>
<body>
    <video id="video" width="320" height="240" autoplay></video>
    <button id="snap">拍张照片呗</button>
    <canvas id="canvas" width="320" height="240" ></canvas>
</body>
<script type="text/javascript">

var camera = {
    video: document.getElementById('video'),
    canvas:  document.getElementById('canvas'),
    btn: document.getElementById("snap"),
    font: "14px microsoft yahei",
    style: "rgba(255,255,255,0.9)",
    text: "有一个姑娘在coding",
    height: 240,
     320,
    draw_pic: function(){
        var self = this;
        var context = self.canvas.getContext('2d');
        context.drawImage(self.video, 0, 0, self.width, self.height);
        context.font = self.font;
        context.fillStyle = self.style;
        context.fillText(self.text, self.width - 140 , self.height - 10);
    },
    bind: function(){
        var self = this;
        self.btn.addEventListener("click", function() {
            self.draw_pic();
        });
    },
    init: function(){
        var video = this.video;
        if(navigator.mediaDevices && navigator.mediaDevices.getUserMedia) {
            navigator.mediaDevices.getUserMedia({ video: true }).then(function(stream) {
                video.src = window.URL.createObjectURL(stream);
                video.play();
            });
        }
        this.bind();
    }
};

camera.init();

</script>
</html>
附上我的订阅号二维码,持续分享内容哦

