一、算术运算:这个主要包括---------加、减 、乘、除;
1、进行两张照片相加处理,利用它自带的add()函数处理:
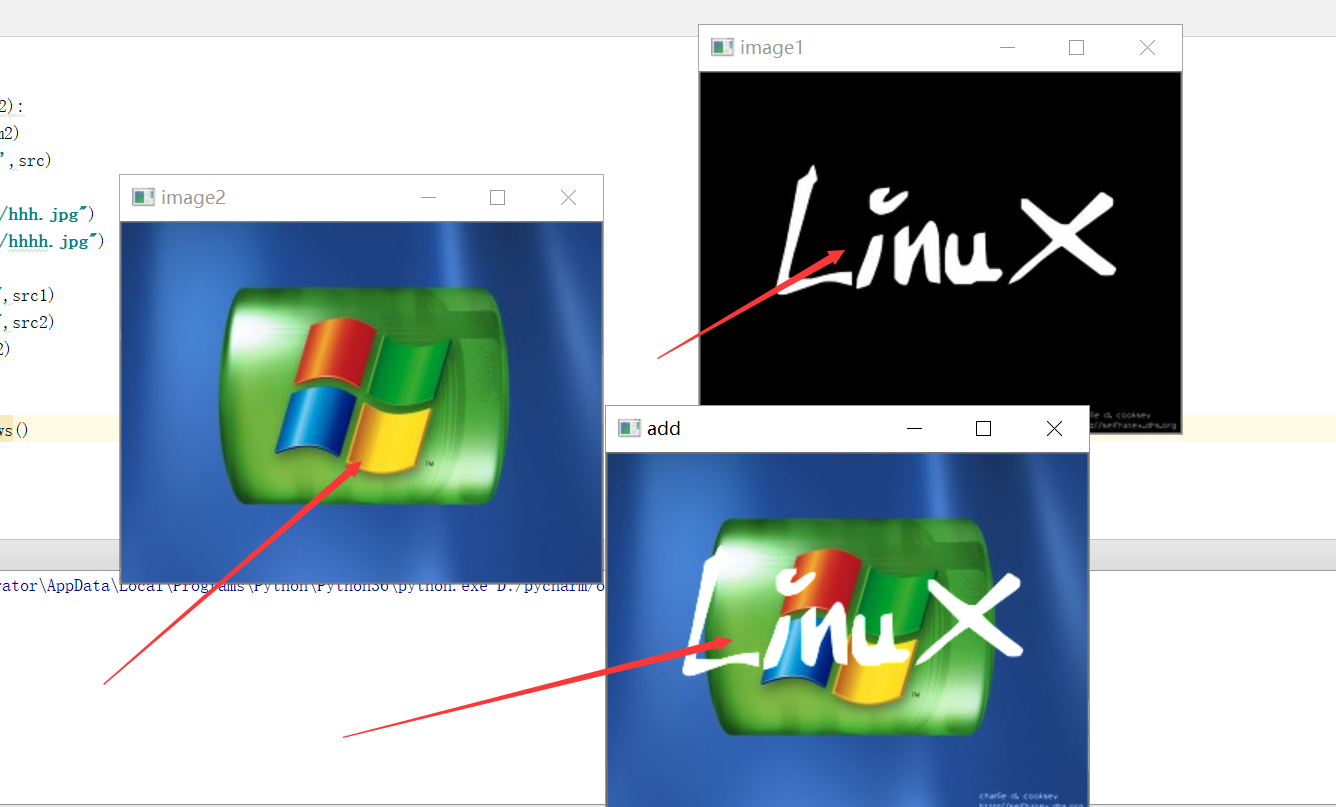
 1 import cv2 as cv
 2
 3 def shu_image(m1,m2):
 4     src=cv.add(m1,m2)  #进行相加处理
 5     cv.imshow('add',src)
 6
 7 src1=cv.imread("D:/hhh.jpg")
 8 src2=cv.imread("D:/hhhh.jpg")
 9
10 cv.imshow("image1",src1)
11 cv.imshow("image2",src2)
12 shu_image(src1,src2)
13
14 cv.waitKey(-1)
15 cv.destoryAllWindows()
实现效果 如下(这里解释一下add这个窗口结果显示,这个是因为imga1窗口照片黑色部分它的色彩位数是0,而image2窗口照片除微软那个logo 外其余部分色彩在0----255之间,所以结果就是这部分颜色了,其余部分都是按照相加即可):
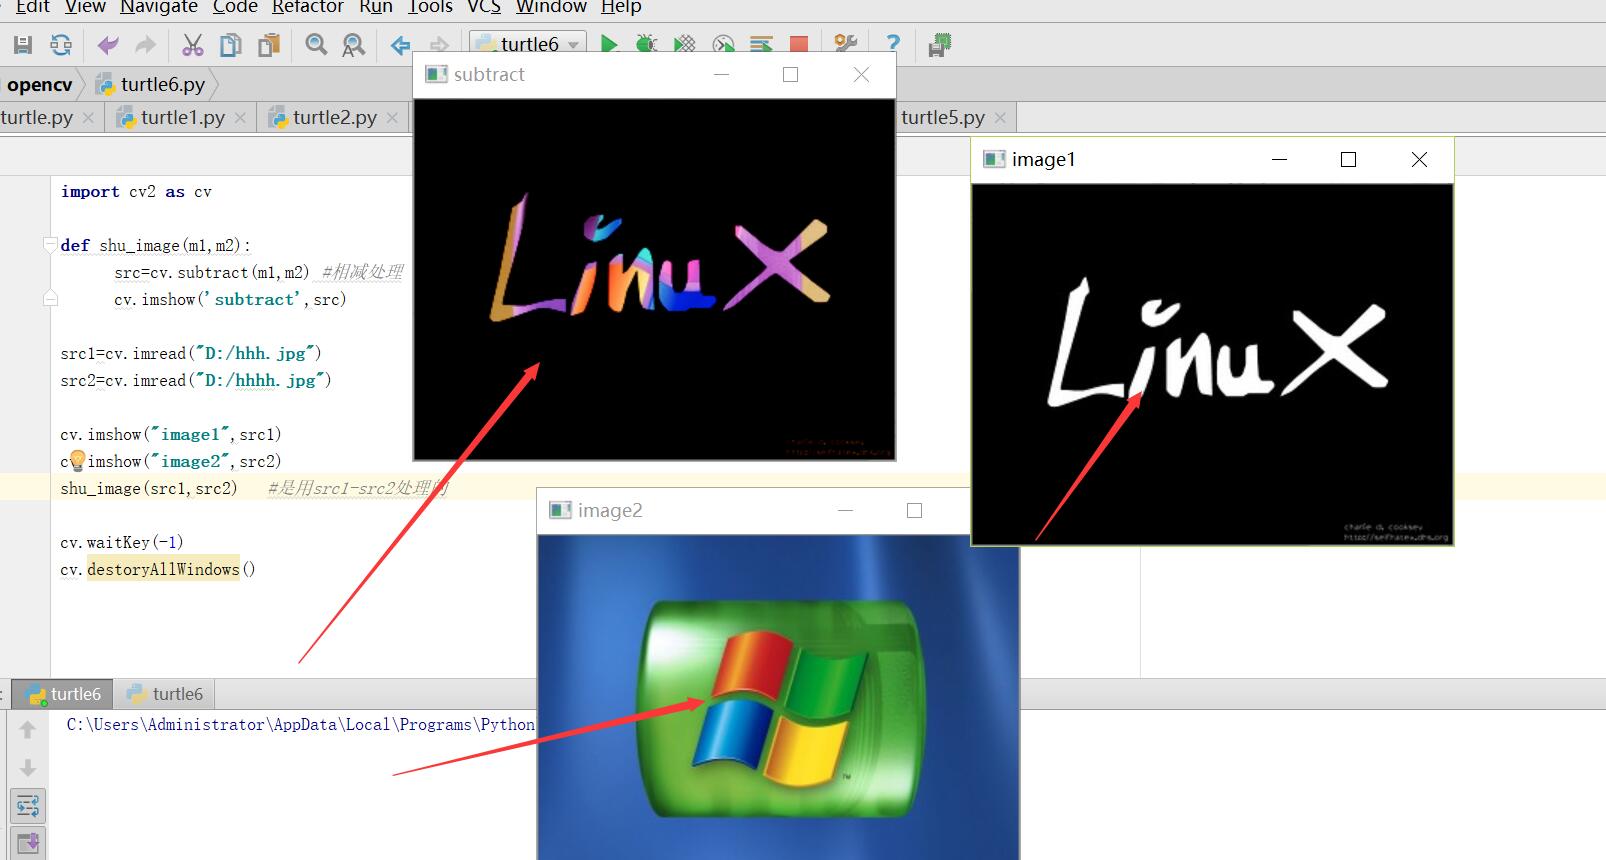
2、进行相减处理,用subtract()函数处理:
 1 import cv2 as cv
 2
 3 def shu_image(m1,m2):
 4       src=cv.subtract(m1,m2) #相减处理
 5       cv.imshow('subtract',src)
 6
 7 src1=cv.imread("D:/hhh.jpg")
 8 src2=cv.imread("D:/hhhh.jpg")
 9
10 cv.imshow("image1",src1)
11 cv.imshow("image2",src2)
12 shu_image(src1,src2)   #是用src1-src2处理的
13
14 cv.waitKey(-1)
15 cv.destoryAllWindows()
实现效果如下:
3、进行相乘处理,使用函数mutiply()处理:
 1 import cv2 as cv
 2
 3 def shu_image(m1,m2):
 4      src=cv.multiply(m1,m2)
 5      cv.imshow('mutiply',src)
 6
 7 src1=cv.imread("D:/hhh.jpg")
 8 src2=cv.imread("D:/hhhh.jpg")
 9
10 cv.imshow("image1",src1)
11 cv.imshow("image2",src2)
12 shu_image(src1,src2)
13
14 cv.waitKey(-1)
15 cv.destoryAllWindows()
实现效果如下: 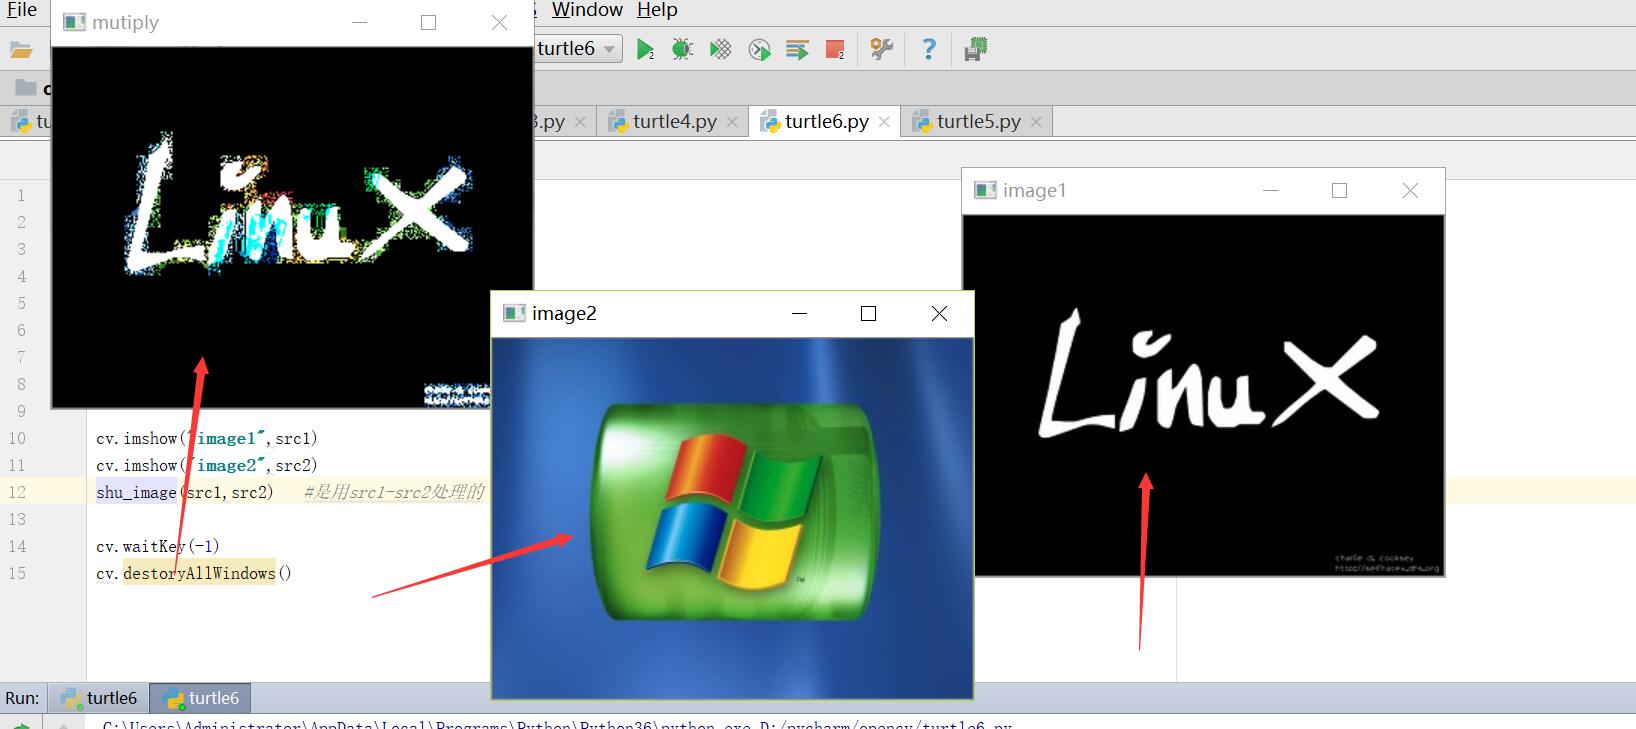
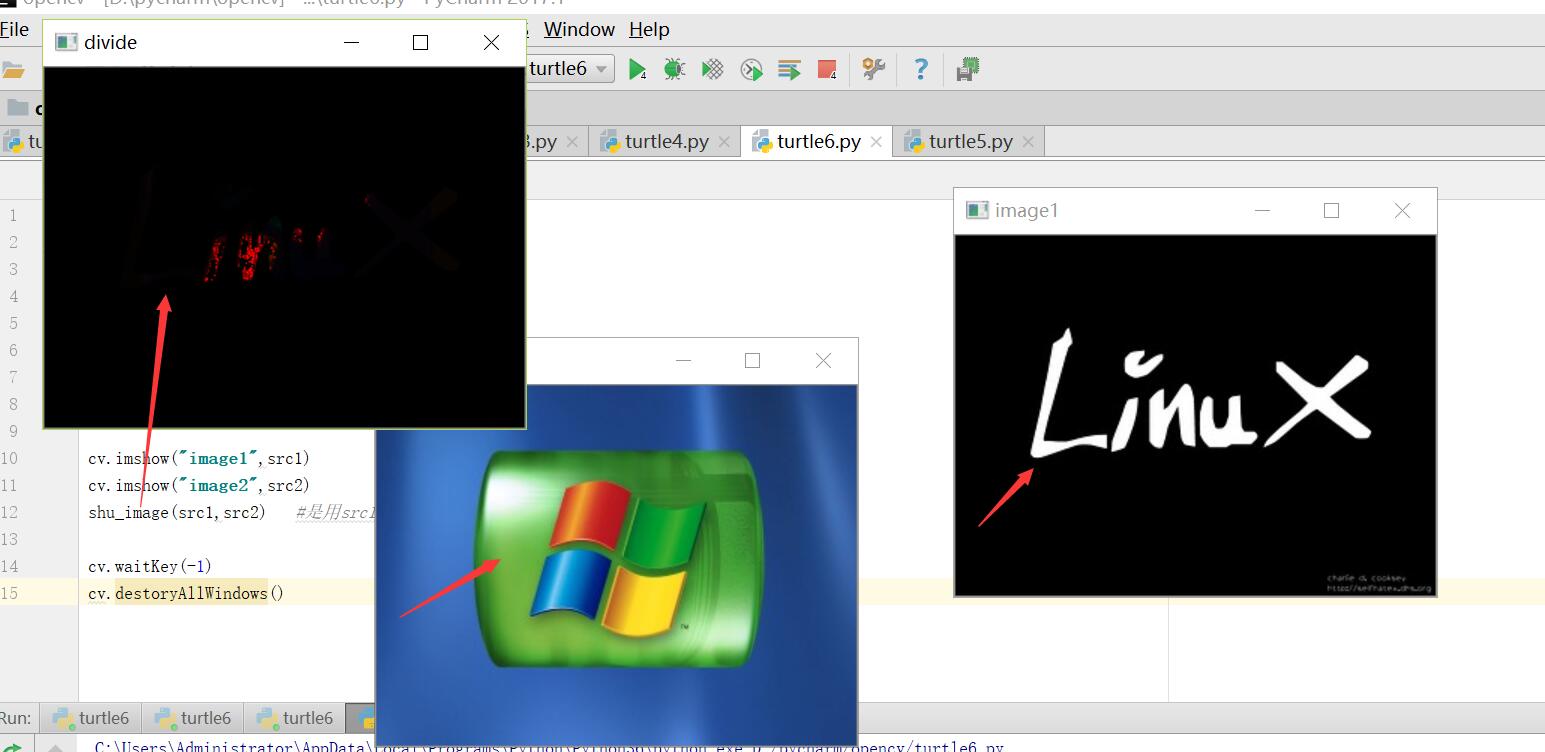
4、进行相除处理,利用函数divide()处理:
 1 import cv2 as cv
 2
 3 def shu_image(m1,m2):
 4      src=cv.divide(m1,m2)
 5      cv.imshow('divide',src)
 6
 7 src1=cv.imread("D:/hhh.jpg")
 8 src2=cv.imread("D:/hhhh.jpg")
 9
10 cv.imshow("image1",src1)
11 cv.imshow("image2",src2)
12 shu_image(src1,src2)
13
14 cv.waitKey(-1)
15 cv.destoryAllWindows()
实现效果如下:
二、逻辑运算:
1、逻辑运算函数:
a、bitwise_and() 与运算
b、bitwise_or() 或运算
c、bitwise_not() 非运算
d、 bitwise_xor() 异或运算
2、代码操作:
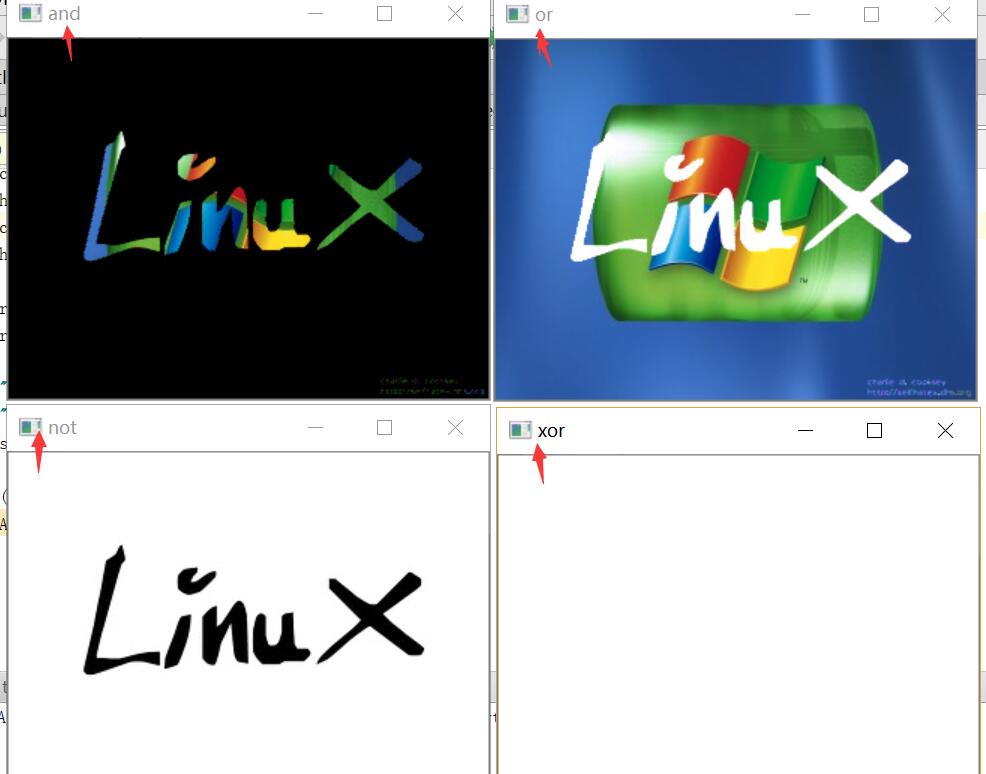
 1 import cv2 as cv
 2
 3 def luo_image(m1,m2):
 4     src=cv.bitwise_and(m1,m2)  #与运算
 5     cv.imshow('and',src)
 6     src = cv.bitwise_or(m1, m2) #或运算
 7     cv.imshow('or', src)
 8     src = cv.bitwise_not(m1, m2)  #非运算
 9     cv.imshow('not', src)
10     src = cv.bitwise_xor(m1, m2)  #异或运算
11     cv.imshow('xor', src)
12
13 src1=cv.imread("D:/hhh.jpg")
14 src2=cv.imread("D:/hhhh.jpg")
15
16 cv.imshow("image1",src1)
17 cv.imshow("image2",src2)
18 luo_image(src1,src2)
19
20 cv.waitKey(0)
21 cv.destoryAllWindows()
实现效果如下:
三、对比度调节,用addWeighted()函数处理:
这个addWeighted()参数比较多,看一下它标准参数有哪些:
 1 Help on built-in function addWeighted:
 2
 3 addWeighted(...)
 4     addWeighted(src1, alpha, src2, beta, gamma[, dst[, dtype]]) -> dst
 5     .   @brief Calculates the weighted sum of two arrays.
 6     .
 7     .   The function addWeighted calculates the weighted sum of two arrays as follows:
 8     .   f[	exttt{dst} (I)= 	exttt{saturate} ( 	exttt{src1} (I)* 	exttt{alpha} +  	exttt{src2} (I)* 	exttt{beta} +  	exttt{gamma} )f]
 9     .   where I is a multi-dimensional index of array elements. In case of multi-channel arrays, each
10     .   channel is processed independently.
11     .   The function can be replaced with a matrix expression:
12     .   @code{.cpp}
13     .   dst = src1*alpha + src2*beta + gamma;
14     .   @endcode
15     .   @note Saturation is not applied when the output array has the depth CV_32S. You may even get
16     .   result of an incorrect sign in the case of overflow.
17     .   @param src1 first input array.
18     .   @param alpha weight of the first array elements.
19     .   @param src2 second input array of the same size and channel number as src1.
20     .   @param beta weight of the second array elements.
21     .   @param gamma scalar added to each sum.
22     .   @param dst output array that has the same size and number of channels as the input arrays.
23     .   @param dtype optional depth of the output array; when both input arrays have the same depth, dtype
24     .   can be set to -1, which will be equivalent to src1.depth().
25     .   @sa  add, subtract, scaleAdd, Mat::convertTo
然后我们实现功能代码:
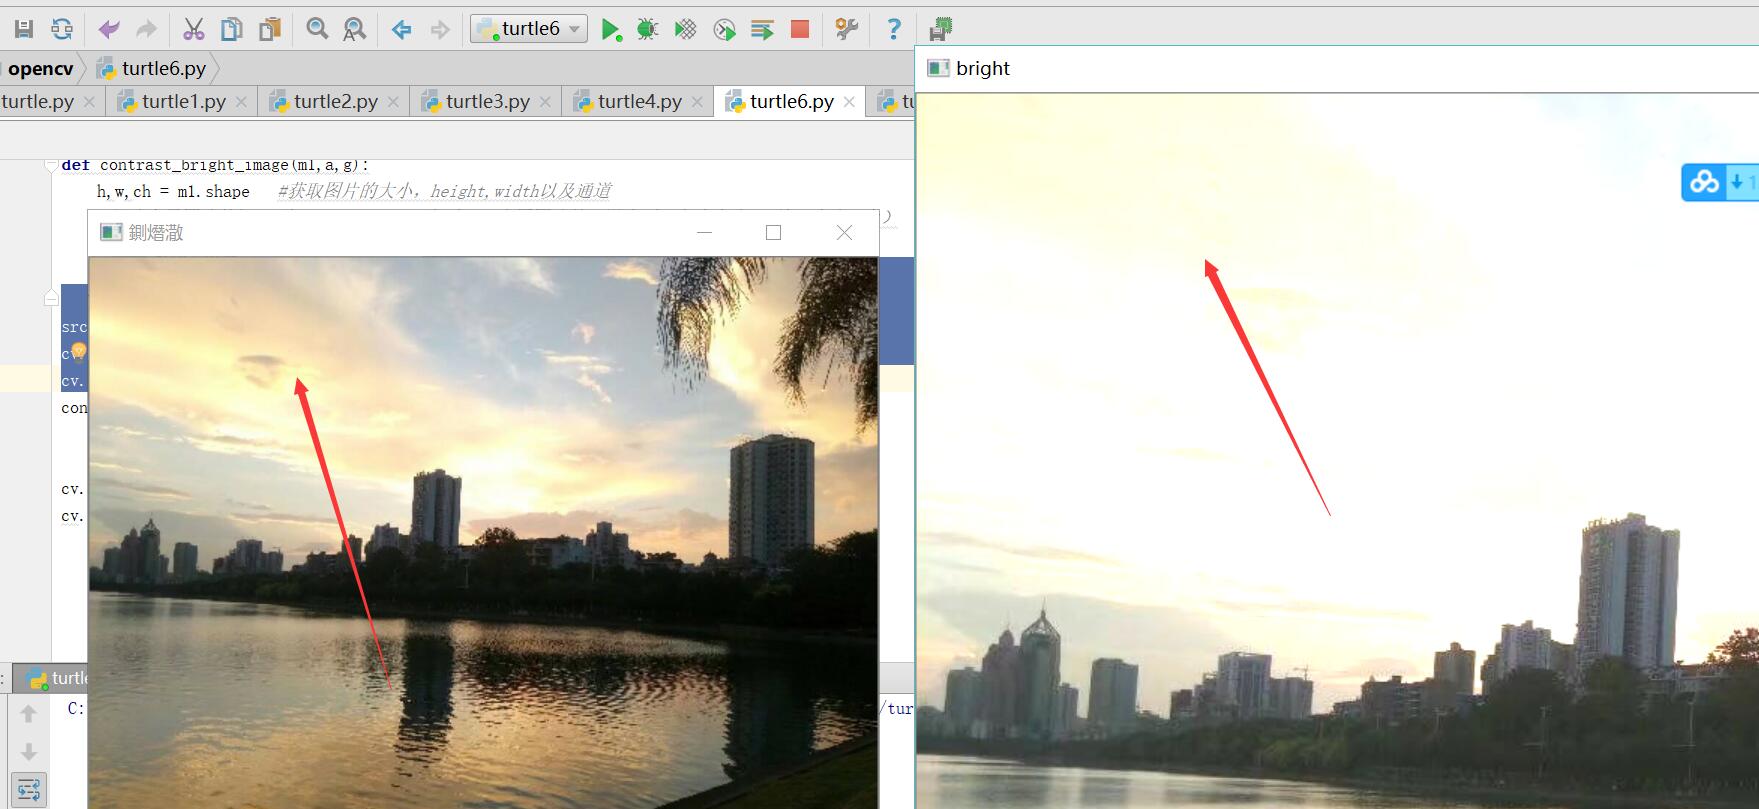
 1 import cv2 as cv
 2 import numpy as np
 3 def contrast_bright_image(m1,a,g):
 4     h,w,ch = m1.shape   #获取图片的大小,height,width以及通道
 5     #新建全零图片数组m2,将height和width,类型设置为原图片的通道类型(色素全为0,输出全为黑色)
 6     m2=np.zeros([h,w,ch],m1.dtype)    #利用numpy 的矩阵处理功能
 7     dst=cv.addWeighted(m1,a,m2,1-a,g)
 8     cv.imshow('bright',dst)
 9 src=cv.imread("D:/hh.JPG")
10 cv.namedWindow('原来',cv.WINDOW_NORMAL)
11 cv.imshow("原来",src)
12 contrast_bright_image(src,1.2,30) # 1.2 表示对比度,10表示亮度值
13
14 cv.waitKey(0)
15 cv.destoryAllWindows()
效果如下:
好了今天的分享就到这里了,明天继续加油。