20175203 2018-2019 实验四《Android 开发基础》
实验要求
- 参考Android开发简易教程
- 完成云班课中的检查点,也可以先完成实验报告,直接提交。注意不能只有截图,要有知识点,原理,遇到的问题和解决过程等说明。实验报告中一个检查点要有多张截图。
- 发表实验报告博客,标题“学期(如2018-2019-2) 学号(如20175300) 实验四《Android开发基础》实验报告”
实验内容
Android程序设计-1
Android Stuidio的安装测试: 参考《Java和Android开发学习指南(第二版)(EPUBIT,Java for Android 2nd)》第二十四章:
- 参考http://www.cnblogs.com/rocedu/p/6371315.html#SECANDROID,安装 Android Stuidio
- 完成Hello World, 要求修改res目录中的内容,Hello World后要显示自己的学号,自己学号前后一名同学的学号,提交代码运行截图和码云Git链接,截图没有学号要扣分
- 学习Android Stuidio调试应用程序
Android程序设计-2
Activity测试: 参考《Java和Android开发学习指南(第二版)(EPUBIT,Java for Android 2nd)》第二十五章:
- 构建项目,运行教材相关代码
- 创建 ThirdActivity, 在ThirdActivity中显示自己的学号,修改代码让MainActivity启动ThirdActivity
- 提交代码运行截图和码云Git链接,截图要有学号水印,否则会扣分
Android程序设计-3
UI测试: 参考《Java和Android开发学习指南(第二版)(EPUBIT,Java for Android 2nd)》第二十六章:
- 构建项目,运行教材相关代码
- 修改代码让Toast消息中显示自己的学号信息
- 提交代码运行截图和码云Git链接,截图要有学号水印,否则会扣分
Android程序设计-4
布局测试: 参考《Java和Android开发学习指南(第二版)(EPUBIT,Java for Android 2nd)》第二十七章:
- 构建项目,运行教材相关代码
- 修改布局让P290页的界面与教材不同
- 提交代码运行截图和码云Git链接,截图要有学号水印,否则会扣分
Android程序设计-5
事件处理测试: 参考《Java和Android开发学习指南(第二版)(EPUBIT,Java for Android 2nd)》第二十八章:
- 构建项目,运行教材相关代码
- 提交代码运行截图和码云Git链接,截图要有学号水印,否则会扣分
实验步骤
- Android程序设计-1
1.首先我们要在http://www.cnblogs.com/rocedu/p/6371315.html#SECANDROID中安装 Android Stuidio这个都是老生常谈的东西了,要注意的一点是看好自己盘的内存,大概下载完成需要2GB,不要造成没地方装的现象,也可以直接从同学那里考这个软件,但是还是需要联网下载后续内容大概700MB左右,其次就是其中的sdk可能有的人在下载时会出现报错,这个我得解决方法是退出重下(。。。我也不懂为啥,但多试几次就成功了)
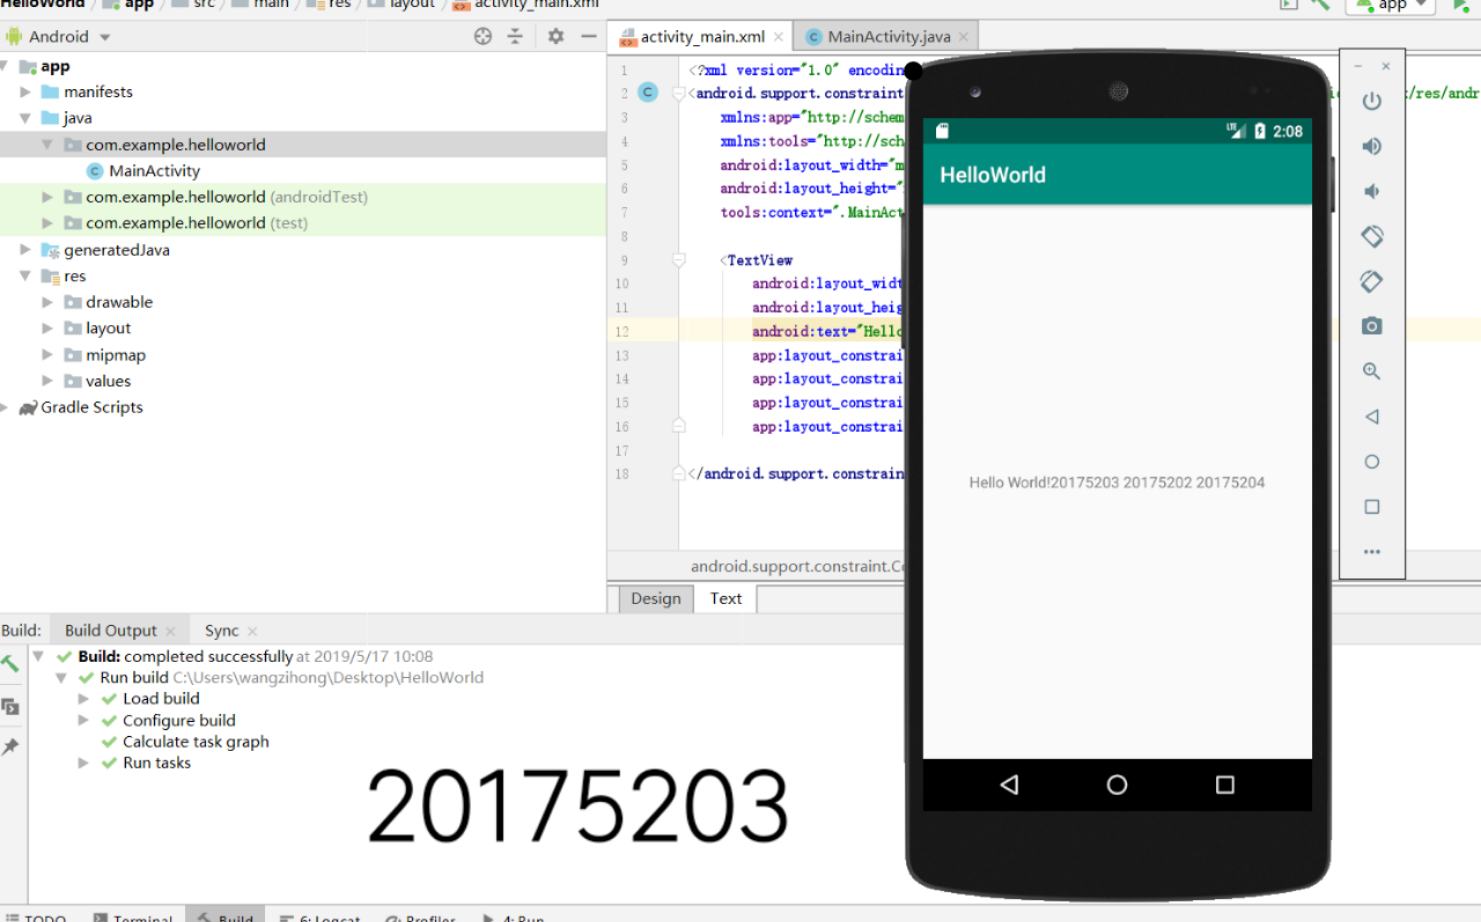
2.然后下载完成后这个就很简单了,就是把布局文件activity_main.xml里面的andriod:text="Hello World!"改为andriod:text="Hello World!20175203 20175202 20175204"
3.截图如下
*Android程序设计-2
1.首先我们要配置Activity :找到文件AndroidManifest.xml ,在元素application 中添加activity子元素即可
2.我们需要对MainActivity进行修改,保证MainActivity可以启动ThirdActivity
(```)
package com.example.helloworld;
import android.content.Intent;
import android.support.v7.app.AppCompatActivity;
import android.os.Bundle;
import android.view.MotionEvent;
import android.view.View;
public class MainActivity extends AppCompatActivity {
@Override
protected void onCreate(Bundle savedInstanceState) {
    super.onCreate(savedInstanceState);
    Intent intent = new Intent(this,ThirdActivity.class);
    startActivity(intent);
}
}
(```)
3.截图如下
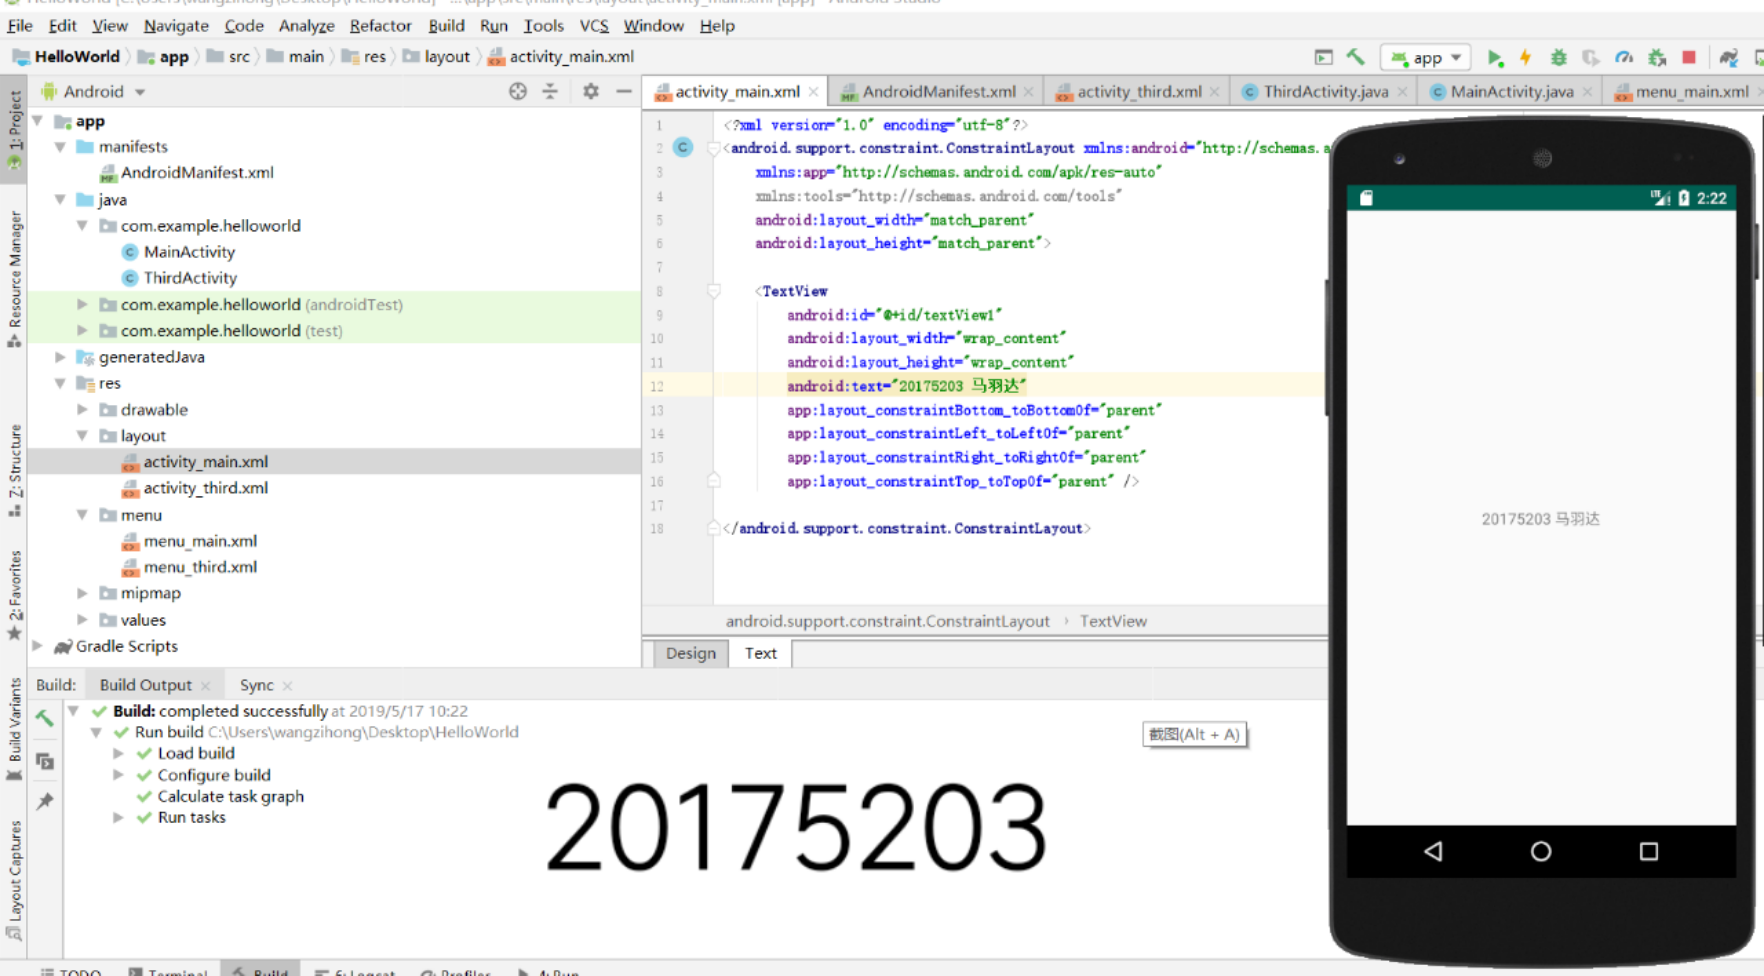
- Android程序设计-3
1.修改MainActivity代码如下
(```)
package com.example.shadow.ex4_3;
import android.content.Context;
import android.support.v7.app.AppCompatActivity;
import android.os.Bundle;
import android.app.Activity;
import android.util.AttributeSet;
import android.view.Menu;
import android.view.MenuItem;
import android.view.View;
import android.widget.Button;
import android.widget.Toast;
public class MainActivity extends AppCompatActivity {
@Override
protected void onCreate(Bundle savedInstanceState) {
    super.onCreate(savedInstanceState);
    setContentView(R.layout.activity_main);
    Button btnshow1 = (Button) findViewById(R.id.btn1);
    btnshow1.setOnClickListener(new View.OnClickListener() {
        @Override
        public void onClick(View v) {
            Toast toast = Toast.makeText(MainActivity.this, "20175203马羽达", Toast.LENGTH_LONG);
            toast.show();

        }
    });
}

@Override
public boolean onCreateOptionsMenu(Menu menu) {
    // Inflate the menu; this adds items to the action bar if it
    // is present.
    getMenuInflater().inflate(R.menu.menu_main, menu);
    return true;
}
}
2.实验截图如下

*Android程序设计-4
1.在activity_third.xml中点击design,切换到布局设计模式,之后在右边的工具栏里可以调整字体的颜色,背景等,我添加的是那个小信封,截图如下
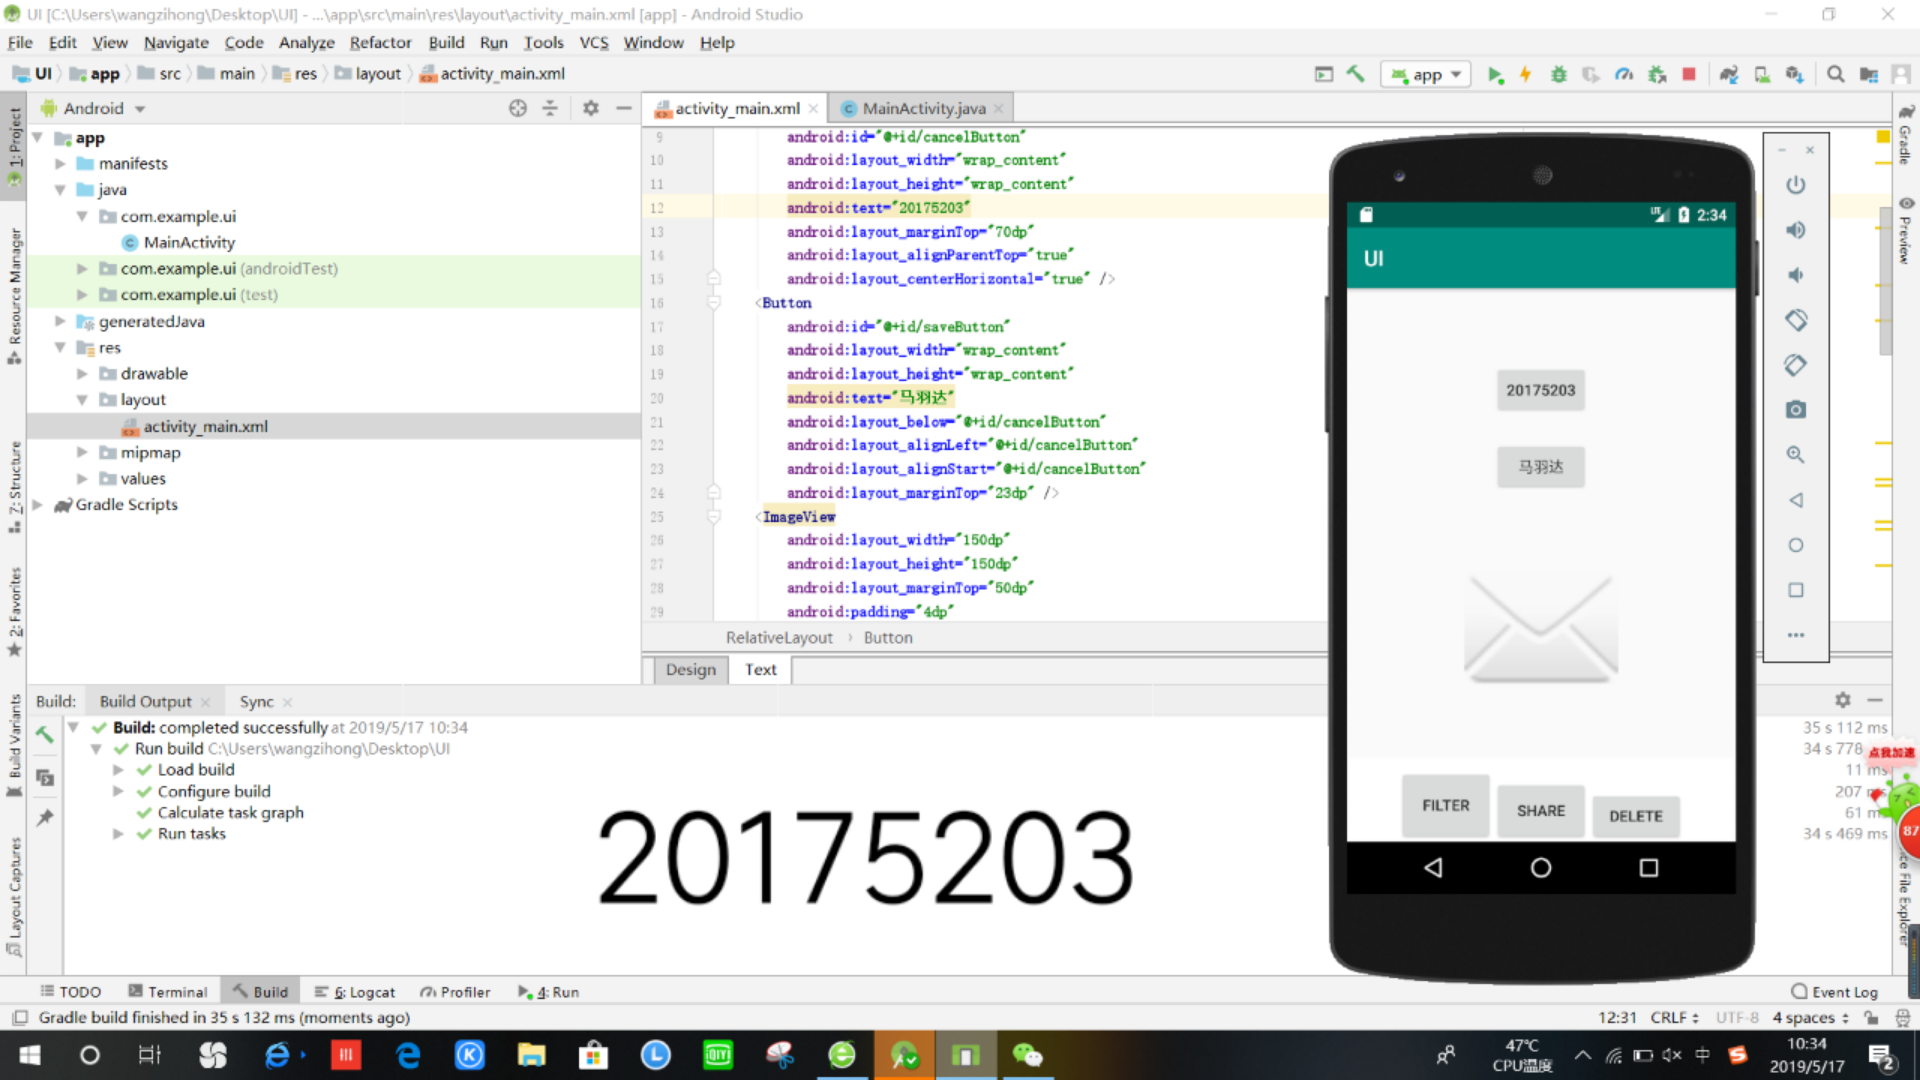
之后再看代码已发生改变
() <RelativeLayout xmlns:android="http://schemas.android.com/apk/res/android" xmlns:tools="http://schemas.android.com/tools" android:layout_width="match_parent" android:layout_height="match_parent" android:paddingLeft="2dp" android:paddingRight="2dp"> <Button android:id="@+id/cancelButton" android:layout_width="wrap_content" android:layout_height="wrap_content" android:text="20175203" android:layout_marginTop="70dp" android:layout_alignParentTop="true" android:layout_centerHorizontal="true" /> <Button android:id="@+id/saveButton" android:layout_width="wrap_content" android:layout_height="wrap_content" android:text="马羽达" android:layout_below="@+id/cancelButton" android:layout_alignLeft="@+id/cancelButton" android:layout_alignStart="@+id/cancelButton" android:layout_marginTop="23dp" /> <ImageView android:layout_width="150dp" android:layout_height="150dp" android:layout_marginTop="50dp" android:padding="4dp" android:src="@android:drawable/ic_dialog_email" android:id="@+id/imageView" android:layout_below="@+id/saveButton" android:layout_centerHorizontal="true" /> <LinearLayout android:id="@+id/filter_button_container" android:layout_width="match_parent" android:layout_height="wrap_content" android:layout_alignParentBottom="true" android:gravity="center|bottom" android:background="@android:color/white" android:orientation="horizontal" > <Button android:id="@+id/filterButton" android:layout_width="wrap_content" android:layout_height="fill_parent" android:layout_marginTop="10dp" android:text="Filter" /> <Button android:id="@+id/shareButton" android:layout_width="wrap_content" android:layout_height="fill_parent" android:layout_marginTop="20dp" android:text="Share" /> <Button android:id="@+id/deleteButton" android:layout_width="wrap_content" android:layout_height="fill_parent" android:layout_marginTop="30dp" android:text="Delete" /> </LinearLayout> </RelativeLayout> ()
*Android程序设计-5
1.按要求修改MainActivity.java中的代码
(```)
package com.example.shadow.ex4_5;
import android.app.Activity;
import android.graphics.Color;
import android.os.Bundle;
import android.view.Menu;
import android.view.View;
import android.widget.AnalogClock;
public class MainActivity extends Activity {
int counter = 0;
int[] colors = { Color.BLACK, Color.BLUE, Color.CYAN,
        Color.DKGRAY, Color.GRAY, Color.GREEN, Color.LTGRAY,
        Color.MAGENTA, Color.RED, Color.WHITE, Color.YELLOW };

@Override
protected void onCreate(Bundle savedInstanceState) {
    super.onCreate(savedInstanceState);
    setContentView(R.layout.activity_main);
}

@Override
public boolean onCreateOptionsMenu(Menu menu) {
    getMenuInflater().inflate(R.menu.menu_main, menu);
    return true;
}

public void changeColor(View view) {
    if (counter == colors.length) {
        counter = 0;
    }
    view.setBackgroundColor(colors[counter++]);
}
}
(```)
2.修改activity_main.xml
(```)
<AnalogClock
    android:id="@+id/analogClock1"
    android:layout_width="wrap_content"
    android:layout_height="wrap_content"
    android:layout_alignParentTop="true"
    android:layout_centerHorizontal="true"
    android:layout_marginTop="150dp"
    android:onClick="changeColor"
    />
本次实验中遇到的问题
1.首先就是正版源的问题,一定要在老师给的网址里边下载!!!!!!!不要贪图省事在360啊,软件管家啊什么的里边进行傻瓜式下载,我得电脑就是由于在这些破软件里下载造成了电脑死机,现在还在修理中...
2.本次实验比较遗憾的是没有在自己的电脑上完成,很多类似设计5中的activity_main.xml里面的"http://schemas.android.com/apk/res/android"等路径都不是自己找的,有待于在自己电脑上的进一步完善,在此也感谢王梓鸿同学能在周末借我电脑并耐心指导我完成此次实验。