实验5 数独游戏界面设计
【目的】
实现数独游戏的完整界面设计
【要求】
1 显示与隐藏ActionBar
2 使用ActionBar显示OptionMenu的菜单项MenuItem
3 在Activity类中添加和重写以下方法
【过程】
1 显示与隐藏ActionBar
<uses-sdk
        android:minSdkVersion="18"
        android:targetSdkVersion="18" />
2 使用ActionBar显示OptionMenu的菜单项MenuItem
<item
        android:id="@+id/item1"
        android:alphabeticShortcut="B"
        android:orderInCategory="200"
        android:title="返回">
    </item>
    <item
        android:id="@+id/help"
        android:title="帮助"
        android:showAsAction="always"/>

      <item
        android:id="@+id/about"
        android:title="关于"
        android:showAsAction="always"/>

      <item
        android:id="@+id/clock"
        android:title="时钟"
        android:showAsAction="always"
        android:actionLayout="@layout/clock"/>
3 在Activity类中添加和重写以下方法
public boolean onCreateOptionsMenu(Menu menu) {
  // TODO Auto-generated method stub
  MenuInflater inflater = new MenuInflater(this);
  inflater.inflate(R.menu.main, menu);
  return super.onCreateOptionsMenu(menu);
 }

 public boolean onOptionsItemSelected(MenuItem item) {
  // TODO Auto-generated method stub
  switch (item.getItemId()) {
  case android.R.id.home:
   //创建启动MainActivity的Intent
   Intent intent=new Intent(this,MainActivity.class);
   //添加额外的Flag,将Activity栈中处于MainActivity之上的Activity弹出
   intent.addFlags(Intent.FLAG_ACTIVITY_CLEAR_TOP);
   startActivity(intent);
   break;
  case R.id.help:
   Intent intent1=new Intent(this,HelpActivity.class);
   startActivity(intent1);
   break;
  default:
   break;
  }
  return super.onOptionsItemSelected(item);
 }
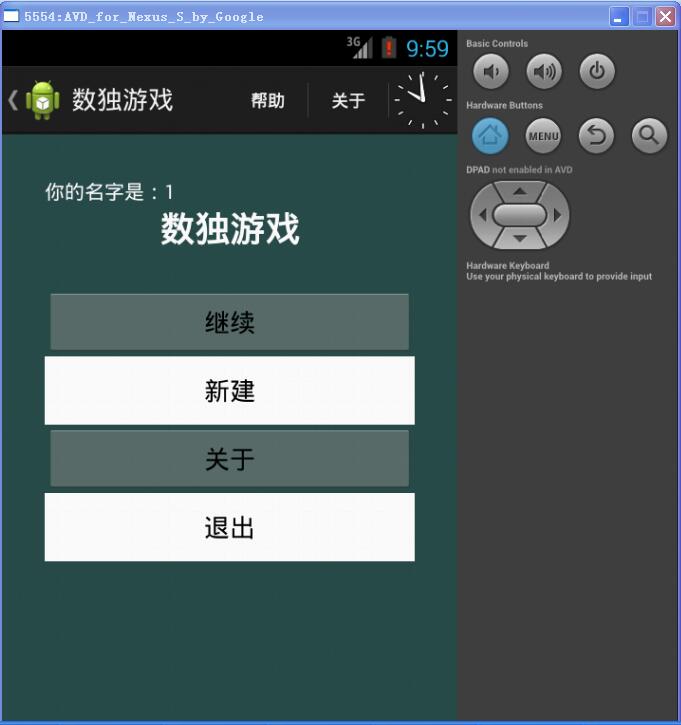
4 运行结果

5 使用程序图标导航
在protected void onCreate(Bundle savedInstanceState)方法中添加以下代码,对ActionBar初始化设置:
ActionBar actionBar = getActionBar();//获取ActionBar对象
        actionBar.setDisplayShowHomeEnabled(true);//显示应用程序图标
        actionBar.setDisplayHomeAsUpEnabled(true);//将应用程序图标转变为可点击图标,并添加一个返回箭头。
实现点击程序图标后返回到上一个页面(程序图标的ID默认为Android.R.id.home)
@Override
    Public Boolean onOptionsItemSelected(MenuItem item) {
        // TODO Auto-generated method stub
        switch (item.getItemId()) {
        case android.R.id.home:
            //创建启动MainActivity的Intent
            Intent intent=new Intent(this,MainActivity.class);
            //添加额外的Flag,将Activity栈中处于MainActivity之上的Activity弹出
            intent.addFlags(Intent.FLAG_ACTIVITY_CLEAR_TOP);
            startActivity(intent);
            break;

        default:
            break;
        }
        returnsuper.onOptionsItemSelected(item);
    }
运行结果

6 添加Action View
ActionBar除了可以显示普通的ActionItem之外,还可以显示普通的UI控件,如在ActionBar上显示一个时钟。
方法:定义Action Item时使用android:actionLayout="@layout/clock"属性指定ActionView对应的视图布局资源。
步骤:
在layout文件夹中新建一个显示时钟的布局文件clock.xml
<?xml version="1.0" encoding="utf-8"?>
<LinearLayout xmlns:android="http://schemas.android.com/apk/res/android"
    android:layout_width="match_parent"
    android:layout_height="match_parent"
    android:orientation="vertical" >

    <AnalogClock
        android:id="@+id/analogClock1"
        android:layout_width="wrap_content"
        android:layout_height="wrap_content" />

</LinearLayout>
在菜单资源文件main.xml中添加Action Item
 <item
        android:id="@+id/clock"
        android:title="时钟"
        android:showAsAction="always"
        android:actionLayout="@layout/clock"/>
查看效果
【实验小结】
通过这次试验,加深了对跳转和界面设置的理解,也加深了我对安卓程序的了解。