开发环境:Windows 10 x64,Android Studio 3.0
很多APP都会在启动主界面(MainActivity)之前显示一个短暂的欢迎页面,设置微博,知乎,百度之类APP还是在欢迎页面上显示广告。
尝试着做一个欢迎页面,会短暂停留三秒后转到主界面。
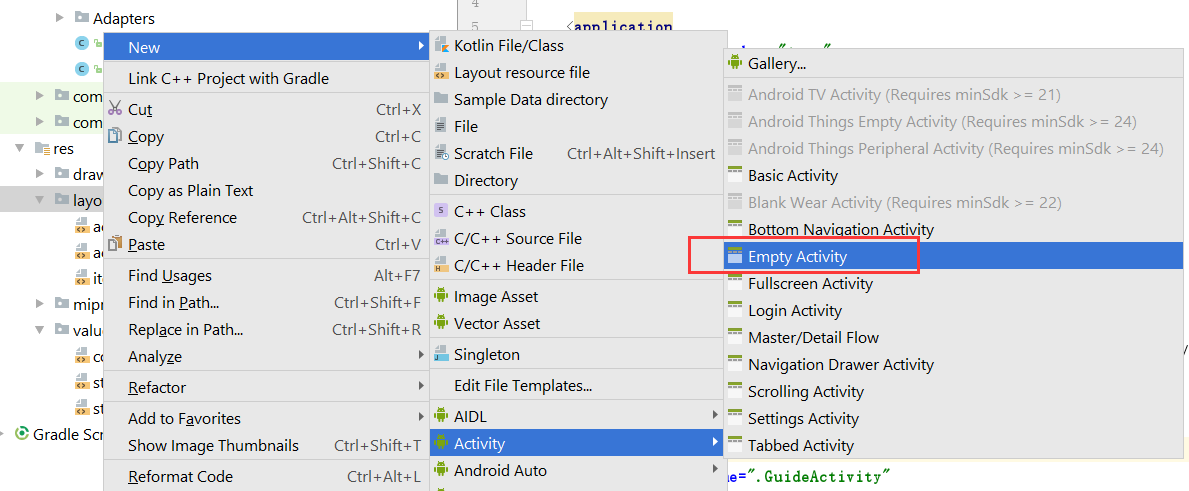
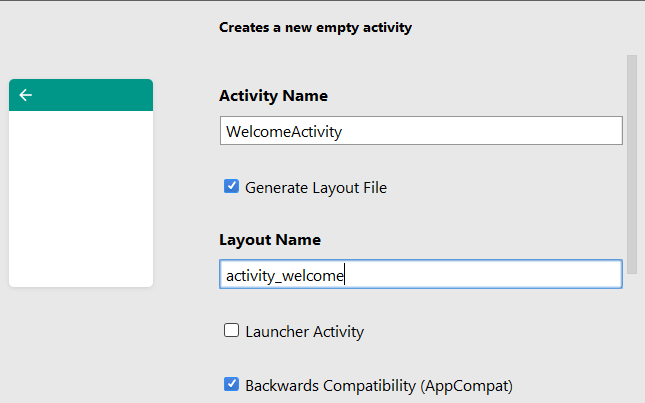
创建了WelcomeActivity,然后在自动生成的activity_welcome.xml布局上随便写一个布局。
回到WelcomeActivity.java,将OnCreate修改如下:
@Override
    protected void onCreate(Bundle savedInstanceState) {
        super.onCreate(savedInstanceState);
        setContentView(R.layout.activity_welcome);

        Handler handler = new Handler();
        //当计时结束,跳转至主界面
        handler.postDelayed(new Runnable() {
            @Override
            public void run() {
                Intent intent = new Intent(WelcomeActivity.this, MainActivity.class);
                startActivity(intent);
                WelcomeActivity.this.finish();
            }
        }, 3000);
    }
MainActivity是app的主界面。
为了让app启动的时候显示现实Welcome页面,我们还需要修改一下AndroidManifest.xml文件:
<activity
            android:name=".WelcomeActivity"
            android:theme="@style/Theme.AppCompat.Light.NoActionBar">
            <intent-filter>
                <action android:name="android.intent.action.MAIN" />

                <category android:name="android.intent.category.LAUNCHER" />
            </intent-filter>
        </activity>
---------------------------------------------------------------------------------------------------------------------------------------------------------
至于引导页面,一般出现在app安装后首次使用的时候。
我们先创建一个item_guide.xml文件,作为引导页面的布局文件。
<RelativeLayout xmlns:android="http://schemas.android.com/apk/res/android"
    xmlns:app="http://schemas.android.com/apk/res-auto"
    xmlns:tools="http://schemas.android.com/tools"
    android:layout_width="match_parent"
    android:layout_height="match_parent">

    <ImageView
        android:id="@+id/item_guide_iv_lunch"
        android:layout_width="match_parent"
        android:layout_height="match_parent"
        android:scaleType="fitXY"/>                    全屏的图片

    <RadioGroup
        android:id="@+id/item_guide_rg_indicate"
        android:layout_width="wrap_content"
        android:layout_height="wrap_content"
        android:layout_alignParentBottom="true"
        android:layout_centerHorizontal="true"
        android:orientation="horizontal"
        android:layout_margin="20dp">                   引导页面下端的一组RadioButton,会显示当前是第几页的引导页

    </RadioGroup>

    <Button
        android:id="@+id/item_guide_btn_start"
        android:layout_width="wrap_content"
        android:layout_height="wrap_content"
        android:layout_centerInParent="true"
        android:visibility="gone"
        android:text="立即开始!"></Button>                 按钮,出现在最后一个页面
</RelativeLayout>
为了不同引导页让RadioButton显示不同的状态,我们需要顶一个selector
在drawable文件夹添加三个文件:launch_guide_radio_btn.xml, icon_point_c.png, icon_point_n.png 文件内容分别如下:
<?xml version="1.0" encoding="utf-8"?>
<selector xmlns:android="http://schemas.android.com/apk/res/android">
    <item android:state_checked="true" android:drawable="@drawable/icon_point_c" />
    <item android:drawable="@drawable/icon_point_n" />
</selector>


然后,我们需要定义一个Adapter
public class LaunchSimpleAdapter extends PagerAdapter {

    private LayoutInflater mInflater;
    private Context mContext;
    private ArrayList<View> mViewList = new ArrayList<View>();

    public LaunchSimpleAdapter(Context context, int[] imageArray) {
        mInflater = LayoutInflater.from(context);
        mContext = context;
        for (int i=0; i<imageArray.length; i++) {
            View view = mInflater.inflate(R.layout.item_guide, null);
            ImageView iv_launch = (ImageView) view.findViewById(R.id.item_guide_iv_lunch);
            RadioGroup rg_indicate = (RadioGroup) view.findViewById(R.id.item_guide_rg_indicate);
            Button btn_start = (Button) view.findViewById(R.id.item_guide_btn_start);
            iv_launch.setImageResource(imageArray[i]);
            for (int j=0; j<imageArray.length; j++) {
                RadioButton radio = new RadioButton(mContext);
                radio.setLayoutParams(new LayoutParams(LayoutParams.WRAP_CONTENT, LayoutParams.WRAP_CONTENT));   //android.view.ViewGroup.LayoutParams
                radio.setButtonDrawable(R.drawable.launch_guide_radio_btn);
                radio.setPadding(10, 10, 10, 10);
                rg_indicate.addView(radio);
            }
            ((RadioButton)rg_indicate.getChildAt(i)).setChecked(true);
            if (i == imageArray.length-1) {
                btn_start.setVisibility(View.VISIBLE);
                btn_start.setOnClickListener(new OnClickListener() {
                    @Override
                    public void onClick(View v) {
                        Toast.makeText(mContext, "Welcome to XXX App", Toast.LENGTH_SHORT).show();
                    }
                });
            }
            mViewList.add(view);
        }
    }

    @Override
    public int getCount() {
        return mViewList.size();
    }

    @Override
    public boolean isViewFromObject(View arg0, Object arg1) {
        return arg0 == arg1;
    }

    @Override
    public void destroyItem(ViewGroup container, int position, Object object) {
        container.removeView(mViewList.get(position));
    }

    @Override
    public Object instantiateItem(ViewGroup container, int position) {
        container.addView(mViewList.get(position));
        return mViewList.get(position);
    }

}
最后,我们需要创建GuideActivity
<?xml version="1.0" encoding="utf-8"?>
<RelativeLayout xmlns:android="http://schemas.android.com/apk/res/android"
    xmlns:app="http://schemas.android.com/apk/res-auto"
    xmlns:tools="http://schemas.android.com/tools"
    android:layout_width="match_parent"
    android:layout_height="match_parent"
    >

    <android.support.v4.view.ViewPager
        android:id="@+id/vp_launch"
        android:layout_width="match_parent"
        android:layout_height="match_parent" />

</RelativeLayout>
public class GuideActivity extends AppCompatActivity {

    private int[] lanuchImageArray = {
            R.drawable.guide_1, R.drawable.guide_2, R.drawable.guide_3, R.drawable.guide_4};

    @Override
    protected void onCreate(Bundle savedInstanceState) {
        super.onCreate(savedInstanceState);
        setContentView(R.layout.activity_guide);

        ViewPager vp_launch = (ViewPager) findViewById(R.id.vp_launch);
        LaunchSimpleAdapter adapter = new LaunchSimpleAdapter(this, lanuchImageArray);
        vp_launch.setAdapter(adapter);
        vp_launch.setCurrentItem(0);
    }
}
这样,一个最建议的引导页面就完成了。当然,现在的引导页面不是全屏的。如果希望全屏,我们可以做如下修改:
在values/styles.xml页面添加一个样式:
<!-- 引导页-->
    <style name="FullScreen" parent="Theme.AppCompat.Light.NoActionBar">
        <item name="android:windowFullscreen">true</item>  //设置全屏
        <item name="android:windowNoTitle">true</item> //设置没有状态栏
        <item name="android:textSize">20sp</item>
        <item name="android:textStyle">bold|italic</item>
    </style>
然后在AndroidManifest.xml修改一下:
<activity
            android:name=".GuideActivity"
            android:theme="@style/FullScreen">
        </activity>
参考文章: