准备:
用Idea、maven搭建一个简单的Servlet项目,环境要求(版本不要求统一):JDK1.8、Tomcat8.5.42、Maven3.5.3、Idea2017、Mysql5.5。
搭建(以Idea为例):
Idea:
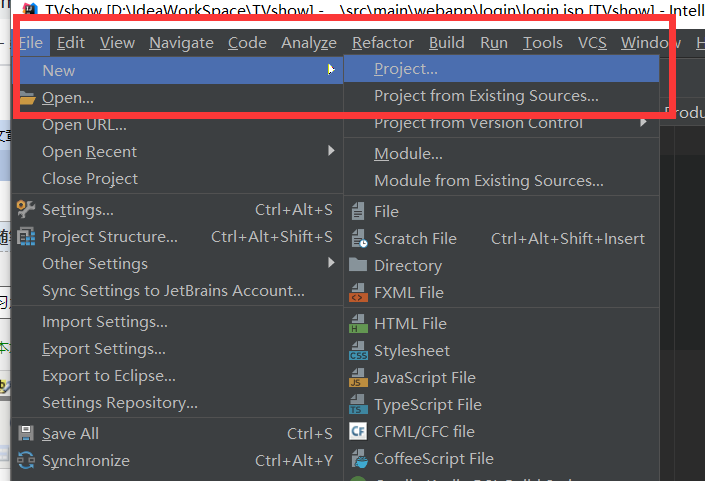
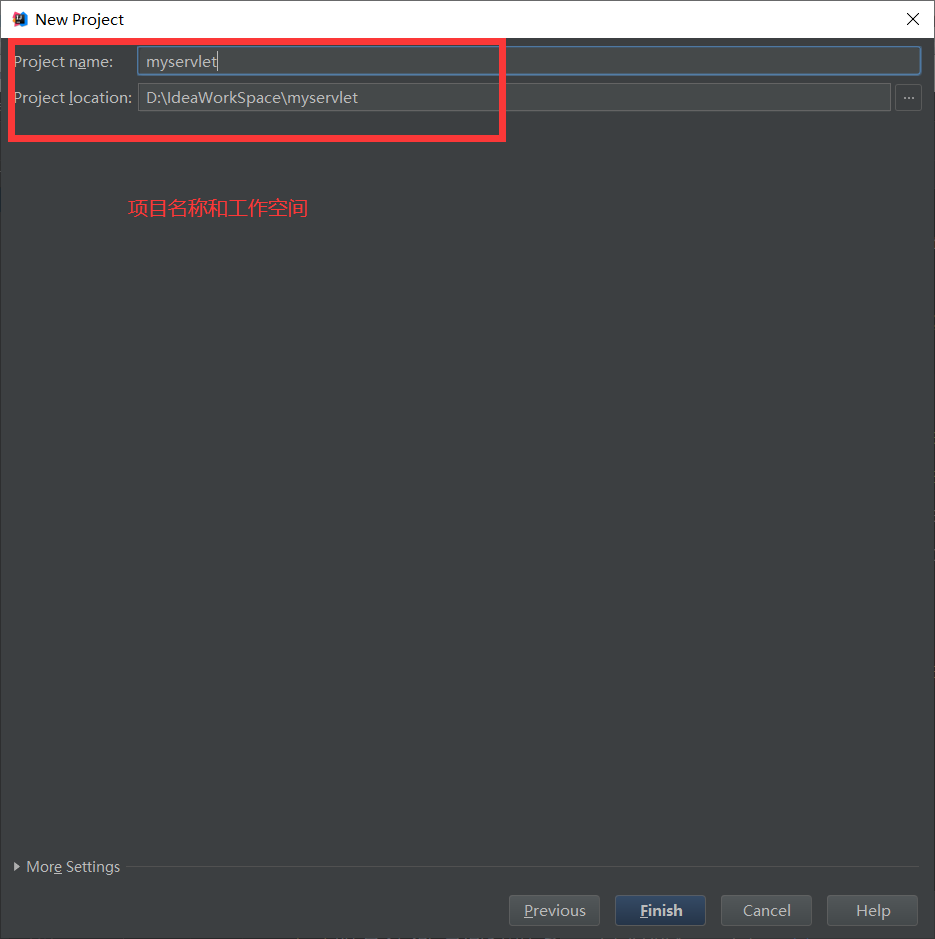
1、点击file-new-project,会弹出右图窗口

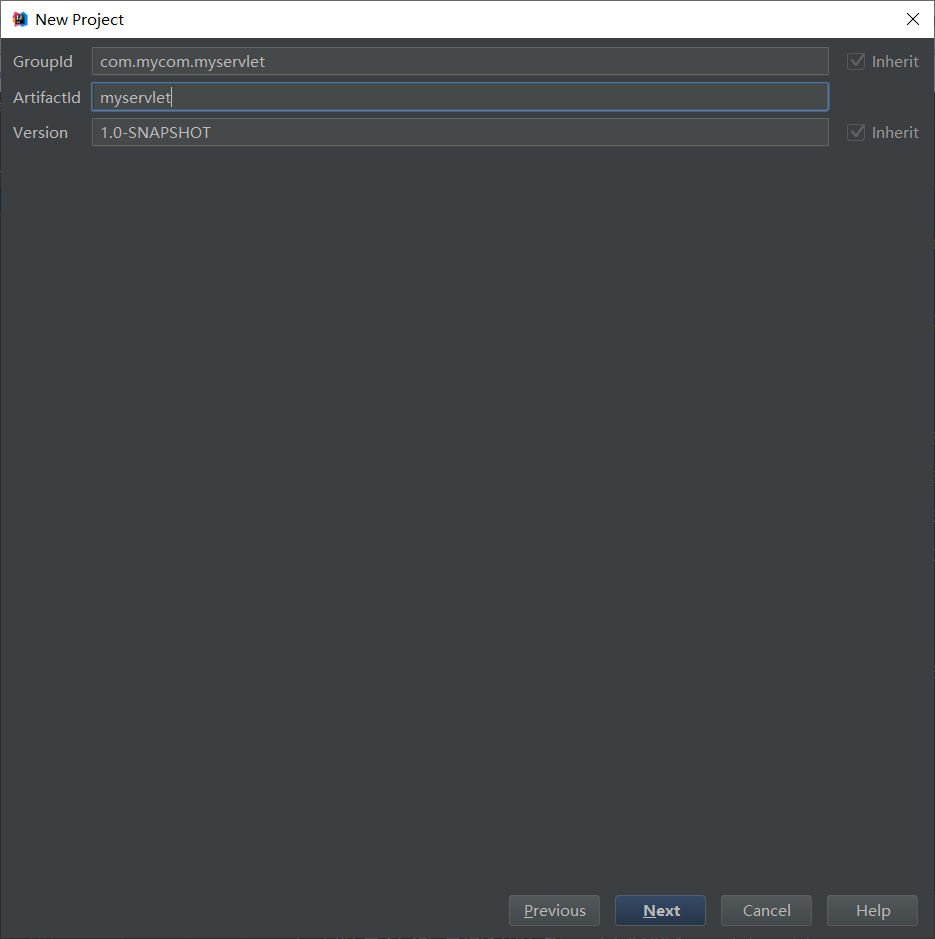
2、选中maven,勾选“create from archetype”,然后并选中找到“maven-archetype-webapp”,点击next,然后填上GroupId和ArtifactId。
补充:
groupId
定义了项目属于哪个组,举个例子,如果你的公司是mycom,有一个项目为myservlet,那么groupId就应该是com.mycom.myservlet.
artifacted
定义了当前maven项目在组中唯一的ID(名称),比如myservlet。

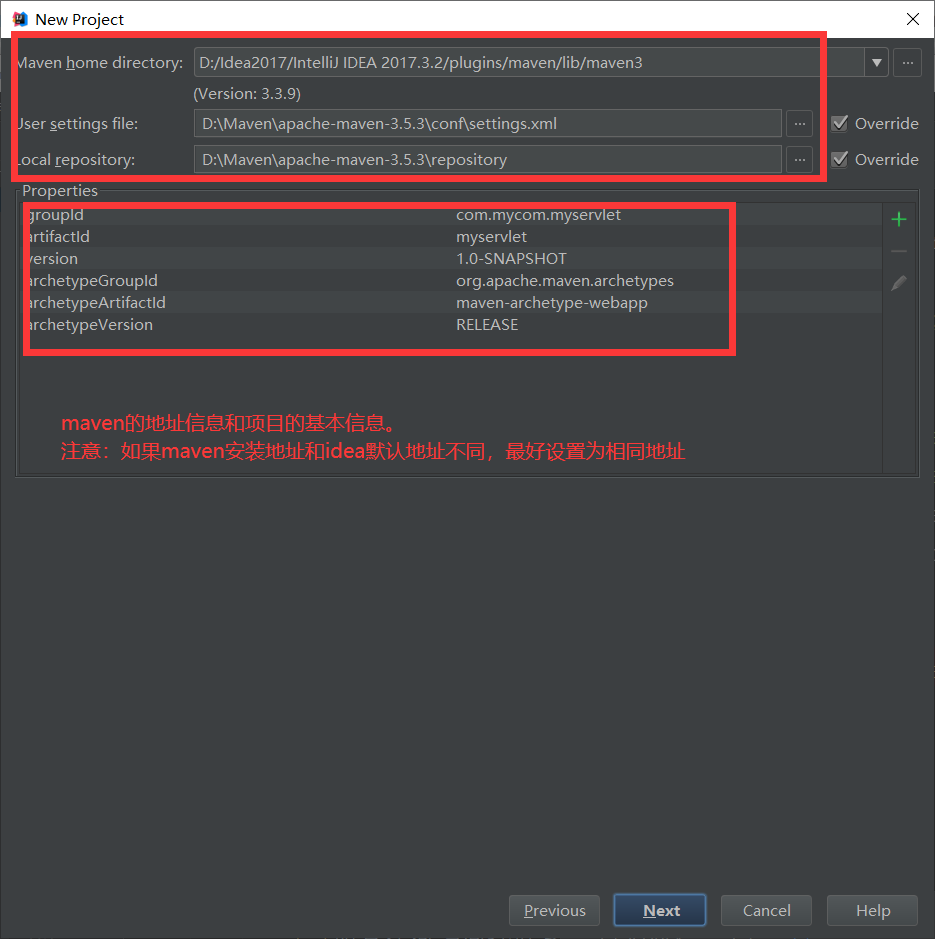
3、点击上图的流程后就会创建一个 如下图结构的项目雏形。

Pom.xml文件中的版本是默认的,可以根据实际要求调整,例如默认的JDK是1.7,我用的是1.8。


<?xml version="1.0" encoding="UTF-8"?>

<project xmlns="http://maven.apache.org/POM/4.0.0" xmlns:xsi="http://www.w3.org/2001/XMLSchema-instance"
  xsi:schemaLocation="http://maven.apache.org/POM/4.0.0 http://maven.apache.org/xsd/maven-4.0.0.xsd">
  <modelVersion>4.0.0</modelVersion>

  <groupId>com.mycom.myservlet</groupId>
  <artifactId>myservlet</artifactId>
  <version>1.0-SNAPSHOT</version>
  <packaging>war</packaging>

  <name>myservlet Maven Webapp</name>
  <!-- FIXME change it to the project's website -->
  <url>http://www.example.com</url>

  <properties>
    <project.build.sourceEncoding>UTF-8</project.build.sourceEncoding>
    <maven.compiler.source>1.7</maven.compiler.source>
    <maven.compiler.target>1.7</maven.compiler.target>
  </properties>

  <dependencies>
    <dependency>
      <groupId>junit</groupId>
      <artifactId>junit</artifactId>
      <version>4.11</version>
      <scope>test</scope>
    </dependency>
  </dependencies>

  <build>
    <finalName>myservlet</finalName>
    <pluginManagement><!-- lock down plugins versions to avoid using Maven defaults (may be moved to parent pom) -->
      <plugins>
        <plugin>
          <artifactId>maven-clean-plugin</artifactId>
          <version>3.1.0</version>
        </plugin>
        <!-- see http://maven.apache.org/ref/current/maven-core/default-bindings.html#Plugin_bindings_for_war_packaging -->
        <plugin>
          <artifactId>maven-resources-plugin</artifactId>
          <version>3.0.2</version>
        </plugin>
        <plugin>
          <artifactId>maven-compiler-plugin</artifactId>
          <version>3.8.0</version>
        </plugin>
        <plugin>
          <artifactId>maven-surefire-plugin</artifactId>
          <version>2.22.1</version>
        </plugin>
        <plugin>
          <artifactId>maven-war-plugin</artifactId>
          <version>3.2.2</version>
        </plugin>
        <plugin>
          <artifactId>maven-install-plugin</artifactId>
          <version>2.5.2</version>
        </plugin>
        <plugin>
          <artifactId>maven-deploy-plugin</artifactId>
          <version>2.8.2</version>
        </plugin>
      </plugins>
    </pluginManagement>
  </build>
</project>


部署Tomcat
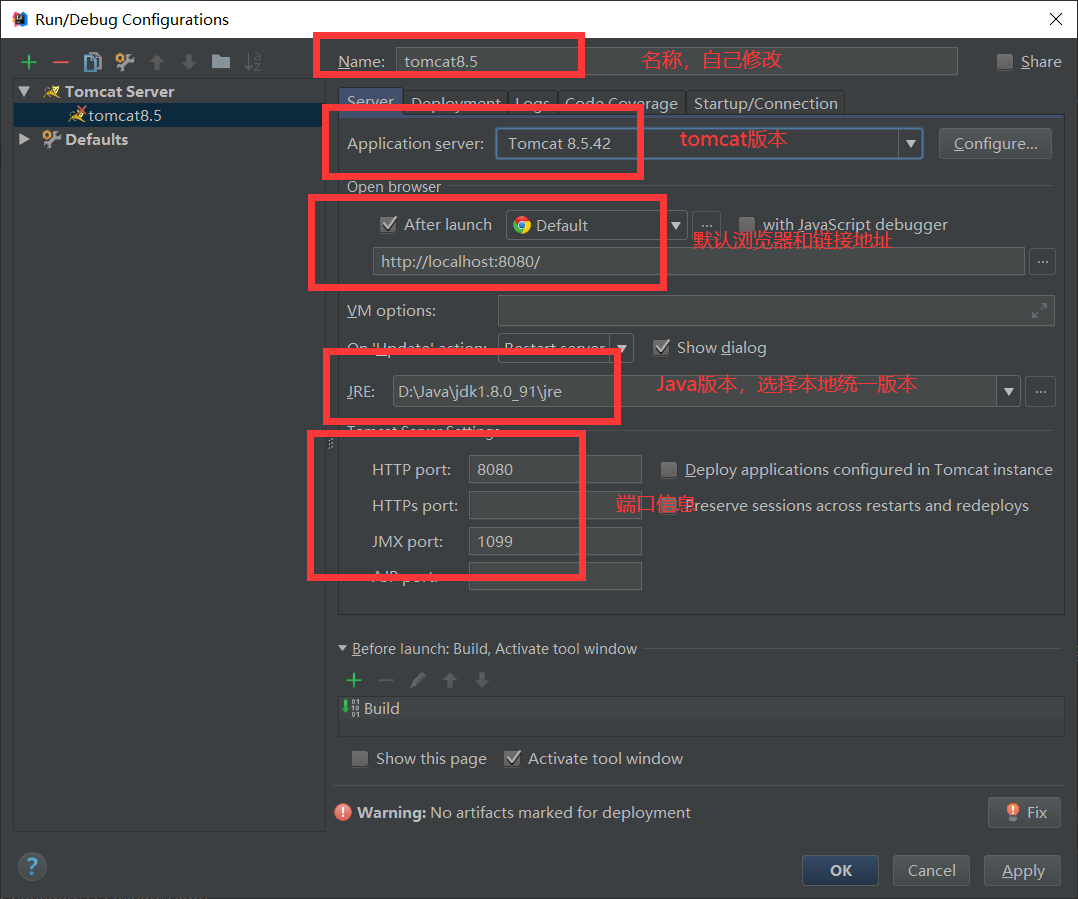
1、点击右上角的“Edit Configurations”,会弹出下图窗口。


2、点击加号、选中“tomcat server”,选“local”

3、修改一下Tomcat的基本信息


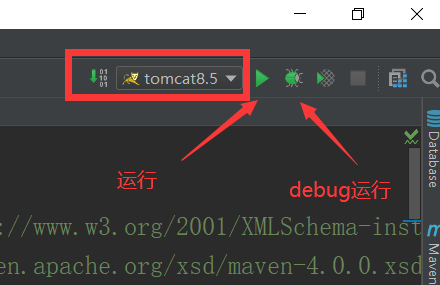
4、点击OK,右上角变成可tomcat运行。一般默认debug运行,便于调试。
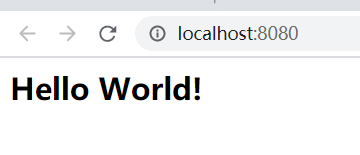
结果(因为默认index.jsp只有helloworld,所以显示helloworld):