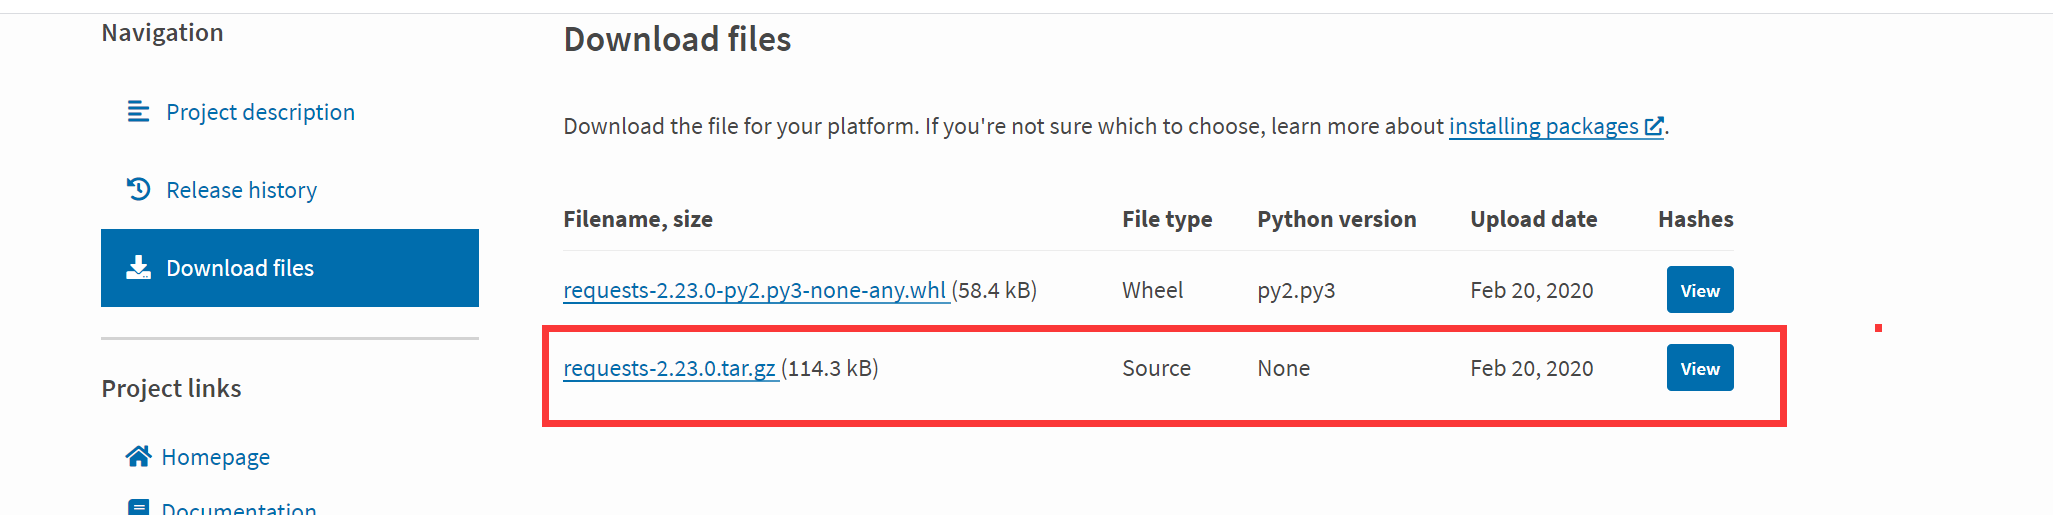
安装方式
方式一:
pip install -U reqiests
模拟get请求
import requests
response = requests.get('http://www.hnxmxit.com')
如果想在控制台看到访问结果,可使用
# 方法一
print(response.content.decode('utf-8'))

# 方法二
print(response.text)
备注:方法二会有乱码,原因是因为response.text返回的是Unicode格式,通常需要转换为utf-8格式
response.encoding = 'utf-8'
print(response.text)
模拟带参数的get请求
import requests

# 方式1:将参数写入url地址
response_01 = requests.get("https://api.weixin.qq.com/cgi-bin/token?grant_type=client_credential&appid=APPID&secret=APPSECRET")
print(response_01.content.decode('utf-8'))
import requests

# 方式2:将传入参数携程字典,然后在放到requests.get("url",parameter_data)中
parameter_data = {
    'grant_type' : 'client_credential',
    'appid' : 'APPID',
    'secret' : 'APPSECRET'
}
#
response_02 = requests.get("https://api.weixin.qq.com/cgi-bin/token", parameter_data)
print(response_02.content.decode('utf-8'))
模拟请求头
import requests

search_data = {"wd": "新梦想软测"}
header_info = {
    'User-Agent': "Mozilla/5.0 (Macintosh; Intel Mac OS X 10_15_3) AppleWebKit/537.36 (KHTML, like Gecko) Chrome/81.0.4044.138 Safari/537.36",
    'Accept': "text/html,application/xhtml+xml,application/xml;q=0.9,image/webp,image/apng,*/*;q=0.8,application/signed-exchange;v=b3;q=0.9",
    'Accept-Encoding': "gzip, deflate, br",
    'Accept-Language': "zh-CN,zh;q=0.9",
}

response = requests.get(url="https://www.baidu.com", params=search_data, headers=header_info)
print(response.content.decode('utf-8'))
备注:如果带请求头,必须按博主这样写requests.get(url='', params="", headers="")
模拟post请求-json数据传输
在python中,可以将每一个dict看成是一个json对象
json.jumps() -- 用于将字典形式的数据转化为字符串
json.loads() -- 用于将字符串形式的数据转化为字典
# 模拟post请求json数据传输方式一:将传送的json数据使用jumps方法转化为字符串格式再用传输数据的方式进行传输
import json
import requests

params_data = {
    "access_token": '34_2icB2gvMB_RKpvIBGFoHU5zbPZPj9XRnfZPBtg9BIv1PxQPe4ELw6uQ6cjMbXSvCpi9PKkkMvM4kAiWyAGdwgX4synUQMrB9GpwPwpqorlzXP-yT52TdJt8AmuwgV2607BLYmJKv_wOle7YGYYCaAAAOOS'}
head_infos = {'Content-Type': 'application/json'}
post_params_data = {"tag": {"id": 148, "name": "test00001"}}
response = requests.post(url="https://api.weixin.qq.com/cgi-bin/tags/update",
                         params=params_data,
                         data=json.dumps(post_params_data),
                         headers=head_infos)

print(response.content.decode('utf-8'))
# 模拟post请求json数据传输方式二:直接使用json=post_params_data将json数据传输
import json
import requests

params_data = {"access_token": '34_IfKhYb3sA-xvxgrxZtJqY2NSAVch4Y6gS0q5FgnRYpzJLhCaUTr4ayaEZlUU3HVWoQUVa8p-7lt5KlJU6P6NhO5RKn2TdM9fLORu0atbhYkx1LR8iOTp5SxJzMQjTdTU8REM9ti1HvRTeNq6KWLeABAQCR'}
head_infos = {'Content-Type': 'application/json'}
post_params_data = {"tag": {"id": 148, "name": "test00002"}}
response = requests.post(url="https://api.weixin.qq.com/cgi-bin/tags/update",
                         params=params_data,
                         json=post_params_data,
                         headers=head_infos)

print(response.content.decode('utf-8'))
模拟post请求-文件上传
# 简单方法
import requests

excel_file_upload = {"file": open('csv_data.excel', 'rb')}
fileResponse = requests.post("http://httpbin.org/post", files=excel_file_upload)
print(fileResponse.content.decode('utf-8'))
# 显示地设置文件名,文件类型,请求头和到期时间
import requests

excel_file_upload = {"file": ('csv_data.xls', open('csv_data.csv', 'rb'), 'application/vnd.ms-excel', {'Expires': "0"})}
response = requests.post("http://httpbin.org/post", files=csv_file_upload)
print(response.content.decode('utf-8'))
获取响应内容
import requests

response = requests.get('http://www.hnxmxit.com')
# 获取响应状态码
print(response.status_code)
# 获取响应信息
print(response.reason)
# 获取响应头
print(response.headers)
# 获取请求地址
print(response.url)
# 获取cookies
print(response.cookies)
# 获取响应的编码格式
print(response.encoding)
# 获取响应内容
response.encoding='utf-8'
print(response.text)
# 二进制获取响应内容
print(response.content.decode('utf-8'))
json相应内容:
Requests中有一个内置的JSON解码器.json(),处理返回的JSON数据。使用后,会把返回的数据作为一个python中的json数据对象看待。如果JSON解码失败,r.json()就会抛出一个异常
# 使用json()方法获取access_token值
parameter_data = {
    'grant_type' : 'client_credential',
    'appid' : 'wxec83eaada223a9c8',
    'secret' : '1867d7f1cabb3bafae0b7304e8251a09'
}

response_02 = requests.get("https://api.weixin.qq.com/cgi-bin/token", parameter_data)
# 获取返回json中的键值方式一:
print(response_02.json()['access_token'])
# 获取返回json中的键值方式二:
json_data = response_02.json()
print(json_data['access_token'])
下载图片文件
import requests
from PIL import Image
from io import BytesIO

response = requests.get('https://w.wallhaven.cc/full/ey/wallhaven-eyggo8.jpg')
img_upload = Image.open(BytesIO(response.content))
img_upload.save('test.png')
代理设置
1.代理设置
代理(英文:Proxy),也称为网络代理,是一种特殊的网络服务,英文全称是(Proxy Server),其功能就是代理网络用户去取得网络信息。形象的说:它是网络信息的中转站。代理服务器就好象一个大的Cache,这样就能显著提高浏览速度和效率。
使用代理格式
import requests

proxies = {
    "http": "http://ip:端口号",
    "https":"https://ip:端口号"
}
requests.get("url", proxies=proxies)
使用需要账号和密码的代理
import requests

proxies = {
    "http": "http://username:password@ip:端口号",
    "https": "https://username:password@ip:端口号"
}
requests.get("url", proxies=proxies)
示例


import requests

# 使用代理获取百度首页
header_info = {
    'User-Agent': "Mozilla/5.0 (Macintosh; Intel Mac OS X 10_15_3) AppleWebKit/537.36 (KHTML, like Gecko) Chrome/81.0.4044.138 Safari/537.36",
    'Accept': "text/html,application/xhtml+xml,application/xml;q=0.9,image/webp,image/apng,*/*;q=0.8,application/signed-exchange;v=b3;q=0.9",
    'Accept-Encoding': "gzip, deflate, br",
    'Accept-Language': "zh-CN,zh;q=0.9",
}
#  定义代理的字典
proxies = {
    "http": "http://127.0.0.1:8889"
}

# 使用代理给服务器发送请求
response = requests.get("https://www.baidu.com", proxies=proxies, headers=header_info)
# 获取状态
print(response.status_code)
print(response.content.decode('utf-8'))
超时设置
import requests

# 接收数据超时时间
response_01 = requests.get('https://www.baidu.com', timeout=0.002)
print(response_01 .status_code)
print(response_01 .content.decode('utf-8'))
import requests

# 0.1代表链接超时,0.2代表接受数据的超时时间
response_02 = requests.get('https://www.baidu.com', timeout=(0.1, 0.2))
print(response_02.status_code)
print(response_02.content.decode('utf-8'))
import requests

# 如果网址访问速度慢,可以使用timeout=None
response_03 = requests.get('https://www.baidu.com', timeout=None)
print(response_03.status_code)
print(response_03.content.decode('utf-8'))
重定向设置
import requests

response = requests.get("http://www.360buy.com")
# 查看重定向
print(response.history)
import requests
# 关闭重定向
response = requests.get("http://www.360buy.com", allow_redirects=False)
print(response.history)
SSL Cert Verification
很多网站都是HTTPS,(HTTPS 在HTTP 的基础下加入SSL 层,HTTPS 的安全基础是 SSL,因此加密的详细内容就需要 SSL。)但是不用证书也可以访问,大多数情况都是可以携带也可以不携带证书,如百度知乎等都是没有硬性要求,但是有硬性要求的则必须带,比如对于定向用户,拿到证书才有权限访问某个特定网站。
访问网址时,如果是SSL请求,首先会检查证书是否合法,不合法报错
import requests

response = requests.get('https://www.xxxx.com')
print(response.content.decode())
访问网址时,不验证证书的方法
import requests

response = requests.get('https://www.xxxx.com', verify=False)
print(response.content.decode())
但是如果不验证证书,会报警告
D:Softwarepythonlibsite-packagesurllib3connectionpool.py:979: InsecureRequestWarning: Unverified HTTPS request is being made to host 'www.baidu.com'. Adding certificate verification is strongly advised. See: https://urllib3.readthedocs.io/en/latest/advanced-usage.html#ssl-warnings
  warnings.warn(
解决警告的三种方法
方法一:缺点:只有安装'requests==2.6.0'版本才能使用这个方法(pip install --upgrade --force-reinstall 'requests==2.6.0' urllib3)
import requests
from requests.packages import urllib3

urllib3.disable_warnings() #关闭警告
response = requests.get('https://www.baidu.com', verify=False)
print(response.content.decode())
方法二:加上证书
import requests

response = requests.get('https://www.xxxxxx.com', cert=('/path/server.crt', '/path/key'))
print(response.content.decode())
方法三:忽略警告
import requests
import warnings

# 忽略警告
warnings.filterwarnings("ignore")
response = requests.get('https://www.baidu.com', verify=False)
print(response.content.decode())