首先从官网下载OpenCV最新版本
截至我写这文章,4.0已经发布预览版了,不过在这是没有的,只能用3.4.2:
https://opencv.org/releases.html
一:安装
安装过程不做细解,照着提示做即可
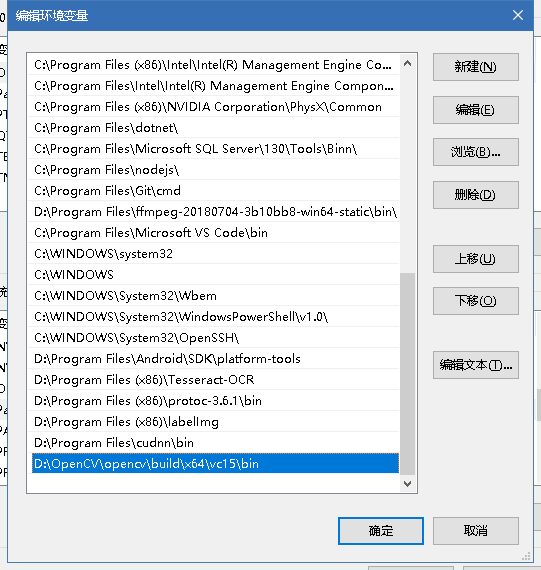
安装完成,找到这个目录

添加到环境变量Path
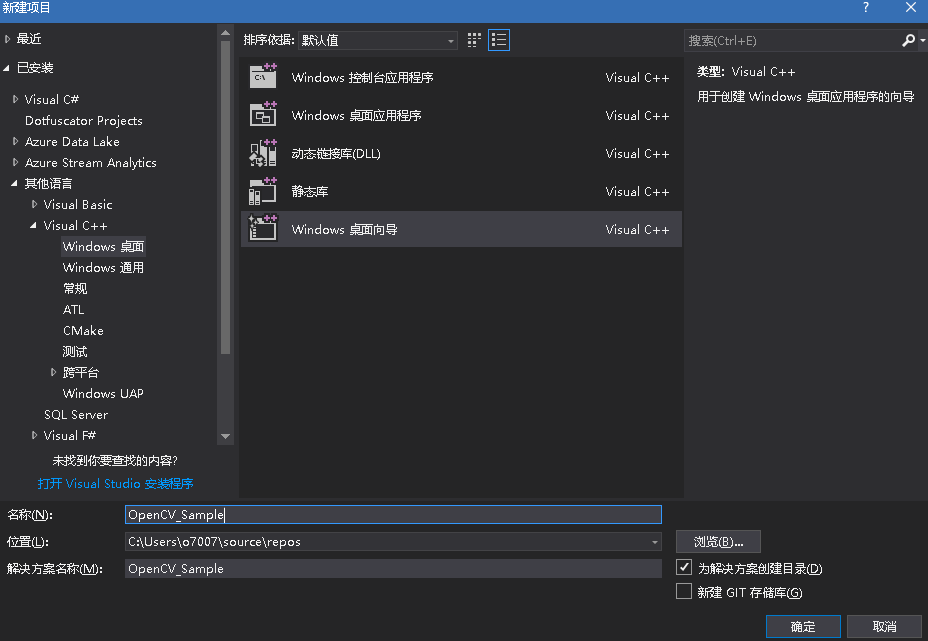
二:创建工程
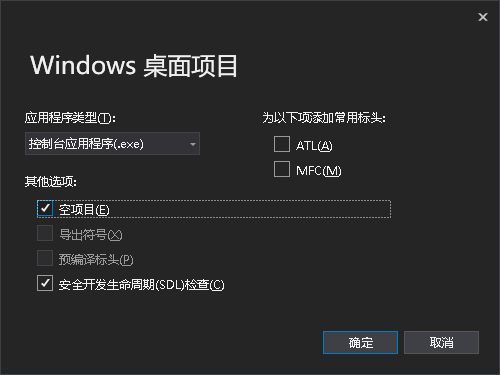
1. 新建个C++工程
打开VS2017新建一个C++工程
2. 配置
有些属性需要配置
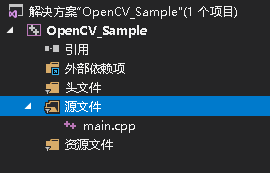
3. 添加文件
添加一个文件用于写代码
4. 包含OpenCV的include和lib
打开项目属性,到x64这里选"编辑"
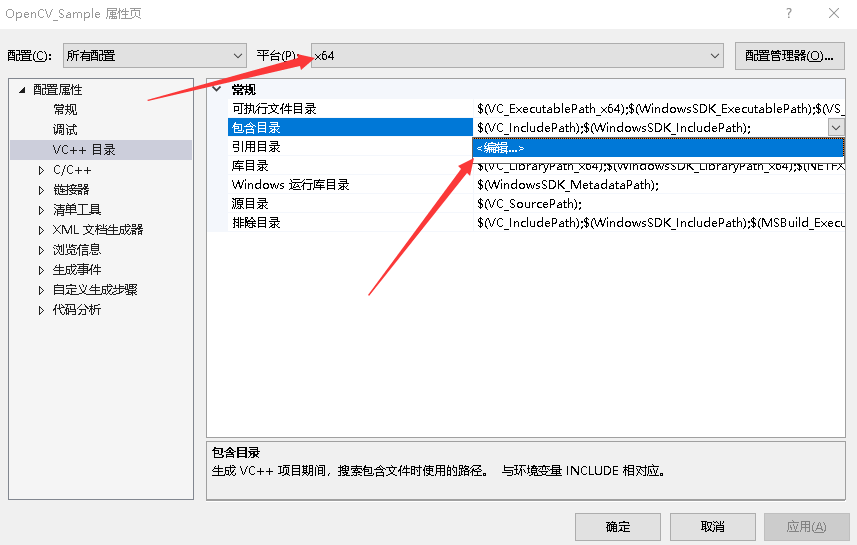
添加这3个目录(请在之前安装的opencv目录里找)

库目录也添加一下

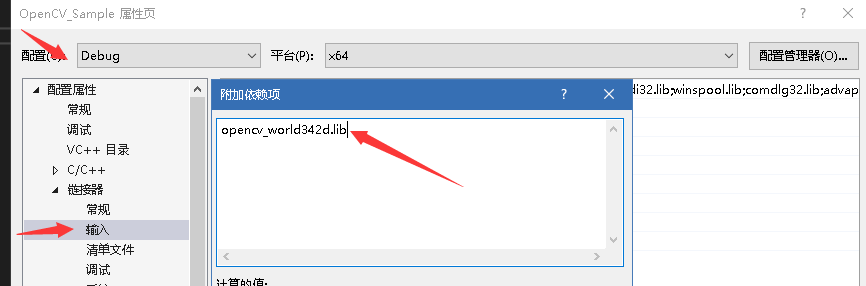
连接器也要
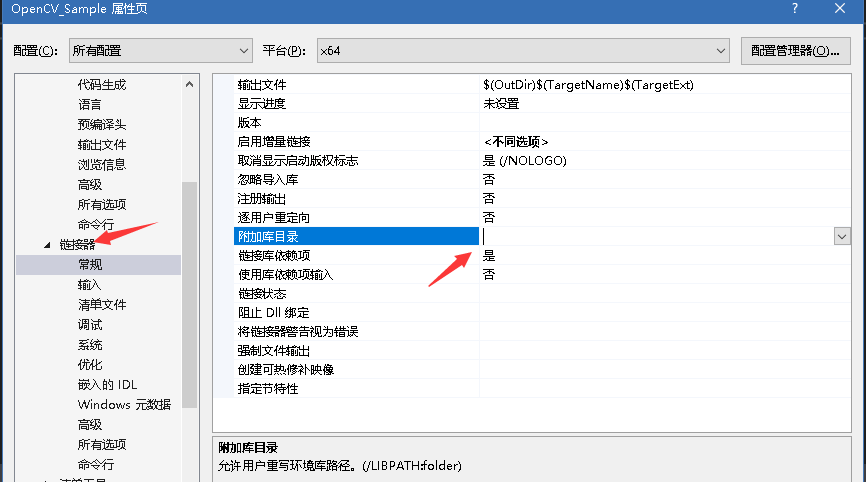
最后添加lib文件,注意这里要区分debug和release
添加的文件一个文件名是带d一个是不带的
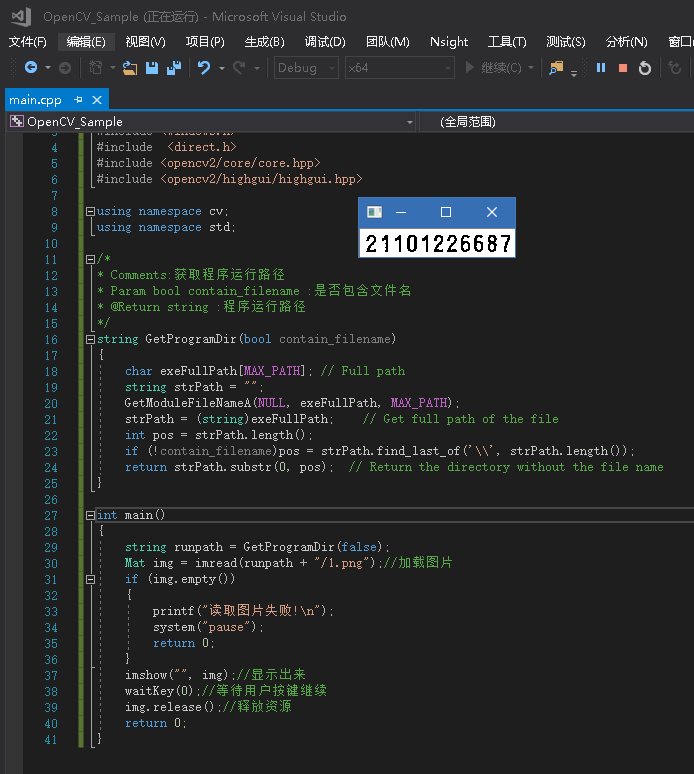
三:编辑代码验证
#include <iostream>
#include <string>
#include <Windows.h>
#include  <direct.h>
#include <opencv2/core/core.hpp>
#include <opencv2/highgui/highgui.hpp>

using namespace cv;
using namespace std;

/*
* Comments:获取程序运行路径
* Param bool contain_filename :是否包含文件名
* @Return string :程序运行路径
*/
string GetProgramDir(bool contain_filename)
{
	char exeFullPath[MAX_PATH]; // Full path
	string strPath = "";
	GetModuleFileNameA(NULL, exeFullPath, MAX_PATH);
	strPath = (string)exeFullPath;    // Get full path of the file
	int pos = strPath.length();
	if (!contain_filename)pos = strPath.find_last_of('\', strPath.length());
	return strPath.substr(0, pos);  // Return the directory without the file name
}

int main()
{
	string runpath = GetProgramDir(false);
	Mat img = imread(runpath + "/1.png");//加载图片
	if (img.empty())
	{
		printf("读取图片失败!
");
		system("pause");
		return 0;
	}
	imshow("", img);//显示出来
	waitKey(0);//等待用户按键继续
	img.release();//释放资源
	return 0;
}
四:运行试试