一、更换国内源,修改为清华镜像源(PS. 如果不更换,可能…………)
备份原文件:
sudo cp /etc/apt/sources.list /etc/apt/sources.list.bak
sudo cp /etc/apt/sources.list.d/raspi.list /etc/apt/sources.list.d/raspi.list.bak
更改系统源文件:
sudo vim /etc/apt/sources.list
将原内容注释掉,然后添加:
deb http://mirrors.tuna.tsinghua.edu.cn/raspbian/raspbian/ buster main contrib non-free rpi
deb-src http://mirrors.tuna.tsinghua.edu.cn/raspbian/raspbian/ buster main contrib non-free rpi
更改系统源:
sudo vim /etc/apt/sources.list.d/raspi.list
将原内容注释并改为
deb http://mirrors.tuna.tsinghua.edu.cn/raspberrypi/ buster main ui
deb-src http://mirrors.tuna.tsinghua.edu.cn/raspberrypi/ buster main ui
玩客云:
deb http://mirrors.tuna.tsinghua.edu.cn/ubuntu-ports/ focal main restricted universe multiverse
# deb-src http://mirrors.tuna.tsinghua.edu.cn/ubuntu-ports/ focal main restricted universe multiverse

deb http://mirrors.tuna.tsinghua.edu.cn/ubuntu-ports/ focal-security main restricted universe multiverse
# deb-src http://mirrors.tuna.tsinghua.edu.cn/ubuntu-ports/ focal-security main restricted universe multiverse

deb http://mirrors.tuna.tsinghua.edu.cn/ubuntu-ports/ focal-updates main restricted universe multiverse
# deb-src http://mirrors.tuna.tsinghua.edu.cn/ubuntu-ports/ focal-updates main restricted universe multiverse

deb http://mirrors.tuna.tsinghua.edu.cn/ubuntu-ports/ focal-backports main restricted universe multiverse
# deb-src http://mirrors.tuna.tsinghua.edu.cn/ubuntu-ports/ focal-backports main restricted universe multiverse
更新软件包索引
sudo apt-get update
sudo apt-get upgrade
一、安装Nginx
安装Nginx,输入下面的命令
sudo apt-get install -y nginx
安装完毕后启动nginx服务:
sudo service nginx restart
二、安装PHP
安装PHP7.0,输入下面的命令
sudo apt-get install -y nginx php7.0-fpm php7.0-cli php7.0-curl php7.0-gd php7.0-mcrypt php7.0-cgi php7.0-mysql php7.0-mbstring
安装完毕后启动php7.0服务
sudo service php7.0-fpm restart
三、安装MySQL(MariaDB)
「重要前提」上面的 “更新软件包索引” 必须执行成功之后,才能进行安装
安装MySQL(MariaDB)
sudo apt-get install mariadb-server
运行 mysql_secure_installation 工具:
sudo mysql_secure_installation
根据向导指引进行相关设置:
- 第一步: “输入 root 的当前密码:”,默认为空,直接按Enter即可;
- 第二步: “设置 root 密码?”,这里请输入 Y 并按 Enter。设置 root 登陆密码确保数据安全。然后向导将要求输入新密码和确认密码。
- 第三步: “删除匿名用户?”,输入 Y 或 N 并按 Enter。
- 第四步: “禁止远程 root 登录?”,输入 Y 或 N 并按 Enter;根据自己需要设置,我这里设置为N。
- 第五步: “删除测试数据库并访问它?”,输入 Y 或 N 并按 Enter。
开始尽情使用 MySQL 吧:
sudo mysql -u root -p
输入前面设置的密码并回车,然后……就和我们平时使用的 mysql 一样了!
四、配置Nginx+PHP+MySQL
1.配置Nginx让它能处理 PHP
sudo nano /etc/nginx/sites-available/default
找到下面这段代码:
location / {
       # First attempt to serve request as file, then
       # as directory, then fall back to displaying a 404.
       try_files $uri $uri/ =404;
}
在这段代码的{}里面,添加一行代码:index index.html index.htm index.php;
location / {
       # First attempt to serve request as file, then
       # as directory, then fall back to displaying a 404.
       try_files $uri $uri/ =404;
       index index.html index.htm index.php;
}
再找到下面的代码:
#location ~ .php$ {
        #       include snippets/fastcgi-php.conf;
        #
        #       # With php-fpm (or other unix sockets):
        #       fastcgi_pass unix:/var/run/php/php7.0-fpm.sock;
        #       # With php-cgi (or other tcp sockets):
        #       fastcgi_pass 127.0.0.1:9000;
        #}
改为:(注意要去掉location 和 }前面的“#”号)
location ~ .php$ {
        #       include snippets/fastcgi-php.conf;
        #
        #       # With php-fpm (or other unix sockets):
                fastcgi_pass unix:/run/php/php7.0-fpm.sock;
                fastcgi_param SCRIPT_FILENAME $document_root$fastcgi_script_name;
                include fastcgi_params;
        #       # With php-cgi (or other tcp sockets):
        #       fastcgi_pass 127.0.0.1:9000;
        }
Ctrl + O 保存再 Ctrl + X 退出。
最后重启 Nginx 即可:
sudo service nginx restart
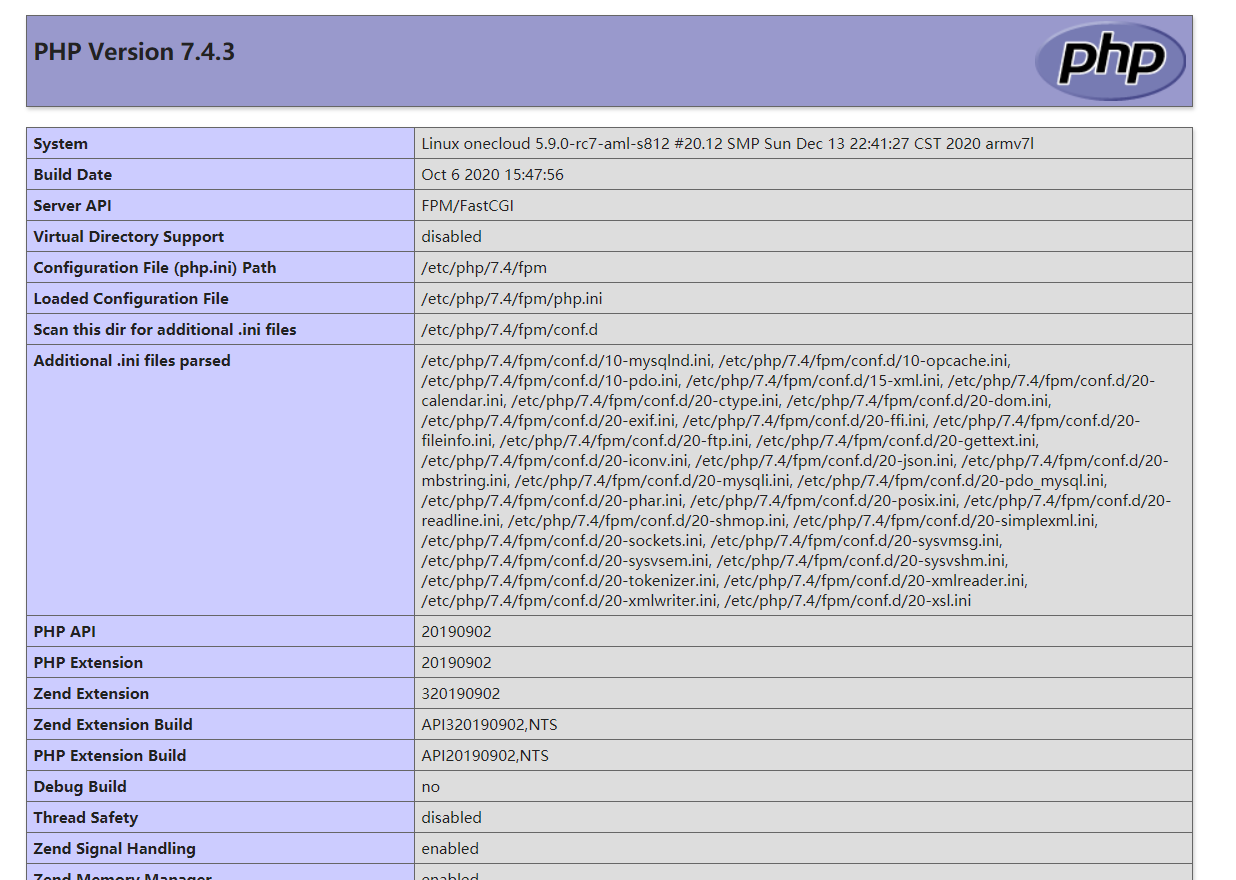
测试运行php文件,在/var/www/html/目录下新建一个index.php文件,这里直接su获取最高权限来完成:
pi@raspberrypi:~ $ su
密码:《输入你的root密码》
root@raspberrypi:/home/pi# cat >/var/www/html/index.php		#回车进入编辑状态
<?php
phpinfo();
?>
好了,用浏览器打开http:// 树莓派的IP你就可以看到熟悉的页面啦!
配置MySQL,允许远程连接
用shell登录mysql:
#默认无密码,直接回车
mysql -u root -p

#设置允许远程连接并修改root密码,123456为root用户的新密码,%代表所有主机
UPDATE mysql.user SET host='%',authentication_string=PASSWORD('123456'), PLUGIN='mysql_native_password' WHERE USER='root';

#刷新权限
FLUSH PRIVILEGES;

#退出myslq
exit

#重启mysql服务
sudo service mysql restart
如果远程连接提示“100061”错误,那就继续修改/etc/mysql/mariadb.conf.d文件夹中的50-server.cnf文件
#用nano打开50-server.cnf
sudo nano /etc/mysql/mariadb.conf.d/50-server.cnf

#修改其中的bind-address为
bind-address = 0.0.0.0

#Ctrl + O 保存再 Ctrl + X 退出,并重启mysql服务即可生效。
sudo service mysql restart
五、安装PhpMyAdmin
1.要将PHPMyAdmin软件包安装到树莓派中,需要运行以下命令。
sudo apt install phpmyadmin
2.PHPMyAdmin现在将开始安装到树莓派。在此过程中,系统将会询问你已经运行的Web服务器类型。
我这里使用的是nginx,所以点击Esc退出,你可以根据自己的情况选择
安装完毕后,再把phpmyadmin链接到/var/www/html目录下
sudo ln -s /usr/share/phpmyadmin /var/www/html
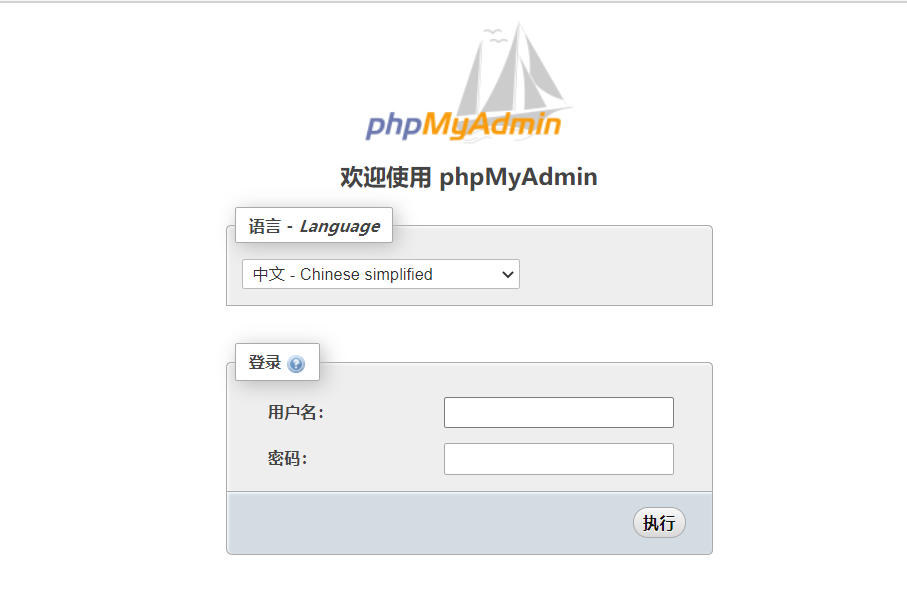
浏览器打开 http:// 树莓派ip/phpmyadmin 就可以用root和新密码登录管理mysql数据库了!!
好了,到这里就差不多结束了,遇到问题要多使用搜索引擎搜索哦!不要放弃,慢慢来。