WordPress是使用PHP语言开发的博客平台,用户可以在支持PHP和MySQL数据库的服务器上架设属于自己的网站。也可以把 WordPress当作一个内容管理系统(CMS)来使用。
WordPress是一款个人博客系统,并逐步演化成一款内容管理系统软件,它是使用PHP语言和MySQL数据库开发的。用户可以在支持 PHP 和 MySQL数据库的服务器上使用自己的博客。
WordPress有许多第三方开发的免费模板,安装方式简单易用。不过要做一个自己的模板,则需要你有一定的专业知识。比如你至少要懂的标准通用标记语言下的一个应用HTML代码、CSS、PHP等相关知识。
基于docker构建wordpress博客网站平台
1.自定义网络
# 创建docker网络lnmp
[root@VM_0_10_centos bin]# docker network create lnmp
3f84590bd82650c47405da35dc0d41700c1b35215fd57d5d7097aeed0387cbbc

# 查看docker网络信息(默认只显示前12位id)
[root@VM_0_10_centos bin]# docker network ls
NETWORK ID          NAME                DRIVER              SCOPE
88010dbd06c0        bridge              bridge              local
221f15f2552e        host                host                local
3f84590bd826        lnmp                bridge              local
ebe64efe6b83        none                null                local
2.创建mysql数据容器
# 先从仓库拉取mysql的镜像
[root@VM_0_10_centos ~]# docker pull mysql
Using default tag: latest
latest: Pulling from library/mysql
d599a449871e: Pull complete
f287049d3170: Pull complete
08947732a1b0: Pull complete
96f3056887f2: Pull complete
871f7f65f017: Pull complete
1dd50c4b99cb: Pull complete
5bcbdf508448: Pull complete
a59dcbc3daa2: Pull complete
13e6809ab808: Pull complete
2148d51b084d: Pull complete
93982f7293d7: Pull complete
e736330a6d9c: Pull complete
Digest: sha256:c93ba1bafd65888947f5cd8bd45deb7b996885ec2a16c574c530c389335e9169
Status: Downloaded newer image for mysql:latest
docker.io/library/mysql:latest

# 查看镜像
[root@VM_0_10_centos ~]# docker images
REPOSITORY            TAG                 IMAGE ID            CREATED             SIZE
mysql                 latest              d435eee2caa5        10 days ago         456MB

# 运行mysql容器 -itd以守护进程运行在后台  --network 指定mysql容器的网络  --mount指定了数据卷 -e设置mysql密码 -p 3307对外暴露的端口,3306为容器内部的端口
[root@VM_0_10_centos ~]# docker run -itd --name lnmp_mysql --network lnmp -p 3307:3306 --mount src=mysql-vol,dst=/var/lib/
mysql -e MYSQL_ROOT_PASSWORD=mysql密码 mysql --character-set-server=utf89b7666d5089713fc135c4a695be1725c17a22bf826e46eafe2c52151fdf20948

# 查看数据卷
[root@VM_0_10_centos ~]# docker volume ls
DRIVER              VOLUME NAME
local               6d34aaf134e3298590eab44809adf751d0ca17856bafe57135cf3295230dab6d
local               d18337c811e3cc0ec89552243255bea8b662e18a0b7ecb2a0f95073aceaac702
local               mysql-vol

# mysql数据均放在这个数据卷目录下
[root@VM_0_10_centos ~]# ls /var/lib/docker/volumes/mysql-vol/_data/

# 查看mysql日志
[root@VM_0_10_centos ~]# docker logs lnmp_mysql

# 查看mysql容器的进程
[root@VM_0_10_centos ~]# docker top lnmp_mysql
3.创建需要的数据库
# 进入mysql容器创建数据库
[root@VM_0_10_centos ~]# docker exec -it lnmp_mysql bash
root@9b7666d50897:/# mysql -uroot -p   # 回车,输入密码
# 创建wordpress数据库wp
mysql> create database wp;
或直接创建
# docker exec lnmp_mysql sh -c 'exec mysql -uroot -p"$MYSQL_ROOT_PASSWORD" -e"create database wp"'
退出容器,查看mysql容器的ip地址,通过本地登录mysql容器
# 查看容器ip
[root@VM_0_10_centos ~]# docker inspect -f '{{.NetworkSettings.Networks.lnmp.IPAddress}}'    lnmp_mysql
lnmp_mysql
172.18.0.2
# 本地访问mysql容器
[root@VM_0_10_centos ~]# mysql -h172.18.0.2 -uroot -p
Enter password:
# 出现报错
ERROR 2059 (HY000): Authentication plugin 'caching_sha2_password' cannot be loaded: /usr/lib64/mysql/plugin/caching_sha2_p
assword.so: cannot open shared object file: No such file or directory
可能是版本问题
[root@VM_0_10_centos ~]# docker exec -it lnmp_mysql bash
root@9b7666d50897:/# mysql -uroot -p
Enter password:
Server version: 8.0.18 MySQL Community Server - GPL

Copyright (c) 2000, 2019, Oracle and/or its affiliates. All rights reserved.

Type 'help;' or 'h' for help. Type 'c' to clear the current input statement.

mysql> alter user 'root'@'%' identified with mysql_native_password by 'root';
Query OK, 0 rows affected (0.01 sec)

mysql> flush privileges;
Query OK, 0 rows affected (0.01 sec)

# 退出容器,本地登录mysql容器
[root@VM_0_10_centos ~]# mysql -h172.18.0.2 -uroot -p
Enter password:
Welcome to the MariaDB monitor.  Commands end with ; or g.
Your MySQL connection id is 12
Server version: 8.0.18 MySQL Community Server - GPL

Copyright (c) 2000, 2018, Oracle, MariaDB Corporation Ab and others.

Type 'help;' or 'h' for help. Type 'c' to clear the current input statement.

MySQL [(none)]> show databases;
+--------------------+
| Database           |
+--------------------+
| information_schema |
| mysql              |
| performance_schema |
| sys                |
| wp                 |
+--------------------+
5 rows in set (0.00 sec)
4.创建PHP环境容器
# 先搜索是否有这个镜像
# docker search nginx-php-fpm

# 拉取镜像
[root@VM_0_10_centos ~]# docker pull richarvey/nginx-php-fpm

# 运行镜像==》容器# 先创建/app/wwwroot目录,不然运行文件指定的目录不存在会报错
[root@VM_0_10_centos ~]# mkdir -p /app/wwwroot
# --network lnmp 需要和链接的mysql容器的网络是同一个,不然不能连接mysql哈
[root@VM_0_10_centos wordpress]# docker run -itd --name lnmp_nginxphpfpm -p 88:80 --network lnmp --link lnmp_mysql:mysql --mount type=bind,src=/app/wwwroot,dst=/var/www/html richarvey/nginx-php-fpm
# 创建index文件
[root@VM_0_10_centos ~]# vi /app/wwwroot/index.html
<h1>Hello World!!!</h1>

# 这时通过浏览器http://ip:88会出现刚刚index.html文件中的内容
5.搭建wordpress博客系统
# 切换到源码安装的目录
[root@VM_0_10_centos ~]# cd /usr/local/src/

# 下载wordpress(好像浏览器请求报错429,后面我是通过朋友帮忙下载的,然后上传到服务器/usr/local/src目录下。也不知道原因为什么我这边下载不了)
https://cn.wordpress.org/wordpress-4.7.4-zh_CN.tar.gz

# 将wordpress解压到/app/wwwroot/目录下
[root@VM_0_10_centos src]# pwd
/usr/local/src
[root@VM_0_10_centos src]# tar -zxvf wordpress-4.7.4-zh_CN.tar.gz -C /app/wwwroot/
[root@VM_0_10_centos src]# ls /app/wwwroot/
index.html  wordpress
通过浏览器访问:http://ip:88/wprdpress即可

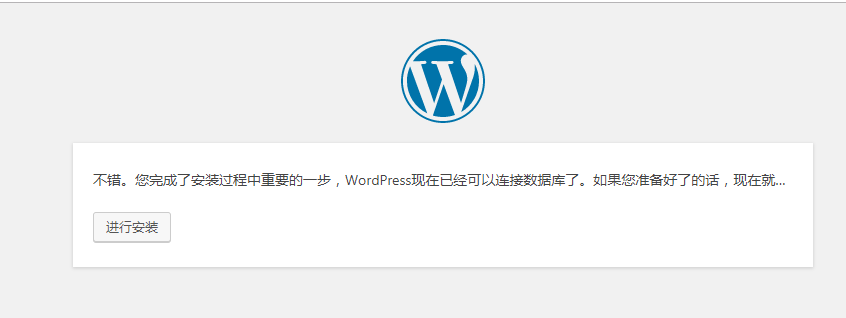
点击现在就开始,进行数据库配置

PS:在这里出现了数据库连接错误,经过排查是在润兴wordpress容器时没有与mysql数据库进行连接导致。上面润兴容器代码已更改。数据库配置完成后,会在/app/wwwroot/wordpress/目录生成一个wp-config.php配置文件
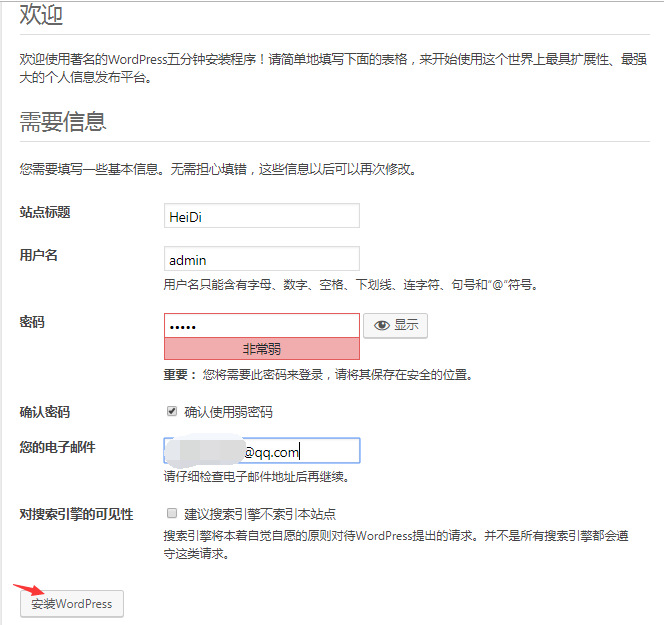
点击进行安装,填写wordpress信息
点击登录,使用刚刚创建的用户名和密码进行登录

登录之后进入主页
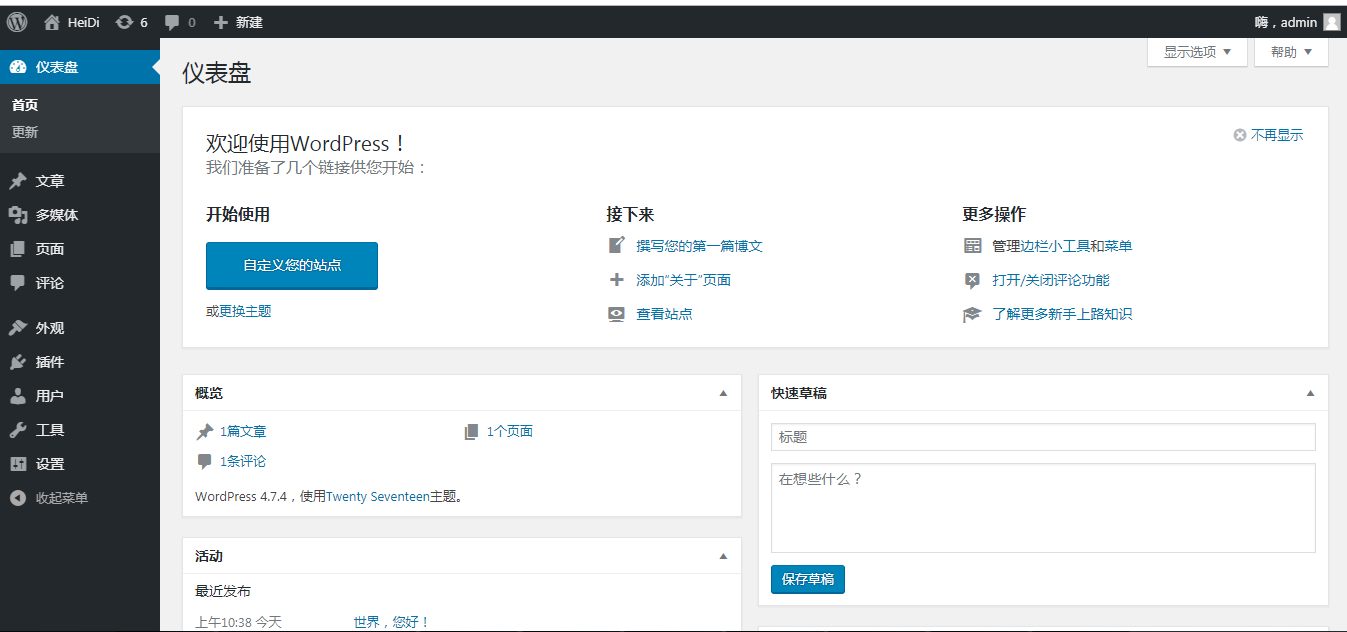
至此,部署完成。